Blue and White Paper Flower Bouquet Re-creation
DISCLOSURE — When you click on my affiliate links, I may earn a commission for qualifying purchases made through Amazon.com links in this post. This commission goes directly into the maintenance of my website, the technology that goes into my courses, and my art. Want to know more? Read my AMAZON AFFILIATE DISCLAIMER.
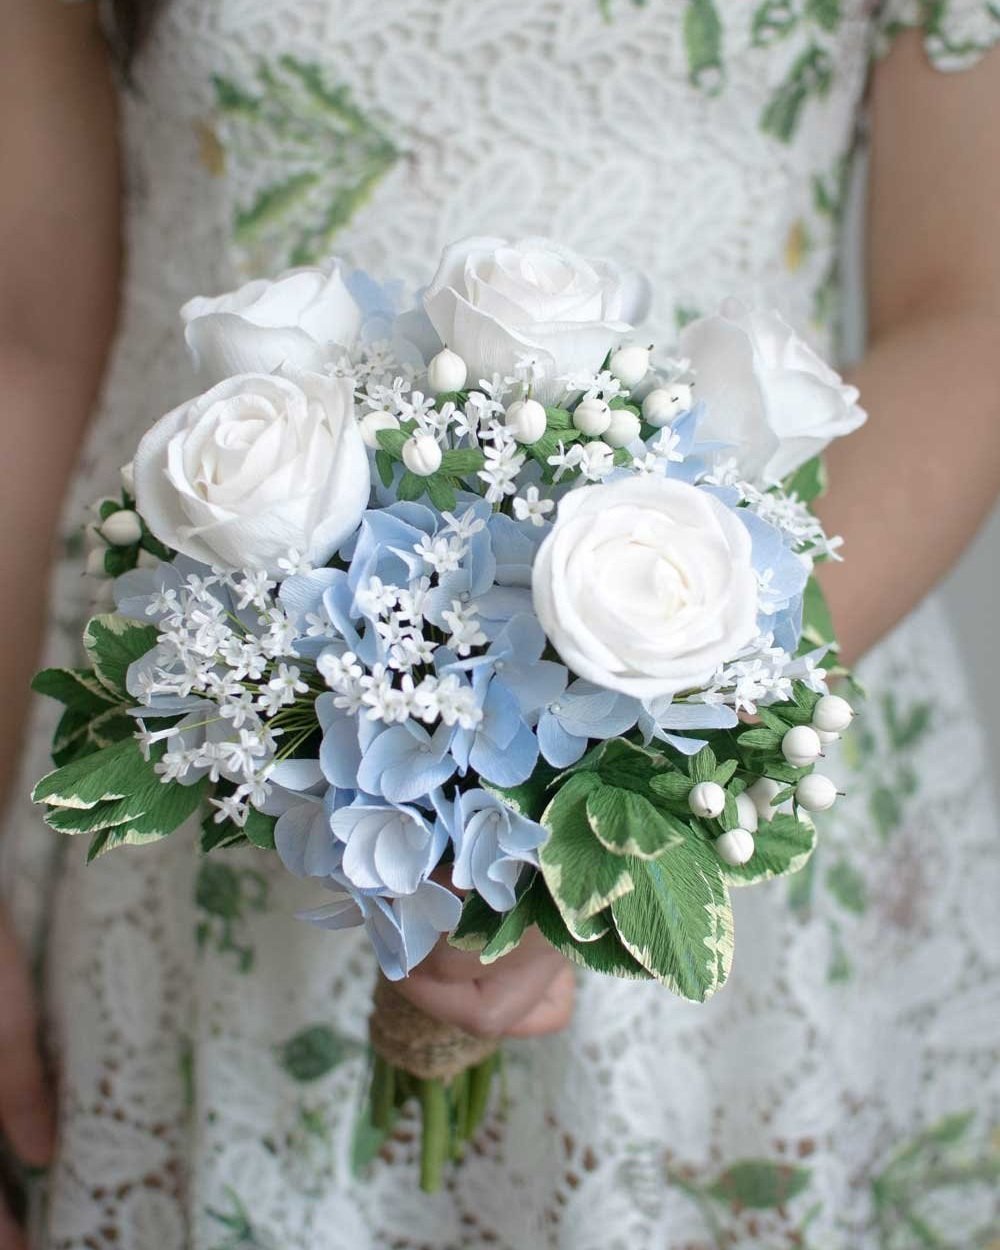
It's not every day that I'm tempted to re-create a real flower bouquet. When Katie first approached me of that possibility, I was both excited and hesitant. The bouquet was so pretty and sweet; it was simple and modest in size. The challenge presented itself immediately with the textures of berries, petals, and small details. Fine, I was up to the challenge. But with a real bouquet to compare to, would my work do it justice? Or will my interpretation just be another paper flower bouquet?
Despite my doubts, I actually had a TON of fun making this bouquet. Why didn't anyone tell me that re-creating bouquets is so much easier and faster than creating a new bouquet? And yet, still so darn satisfying. I was able to make my list of flowers, pump them out (often before the TV - hey it's the World Cup, it only takes place every 4 years), and then assemble. I didn't have to worry about whether or not the colours coordinated (other than the initial planning of how to achieve the colours to likeness). Or whether or not there was enough texture, or enough focal flowers, or if it matched my bride's dress. Nope. Not my design, not my problem. What I normally find as the most difficult part of making a bouquet - the designing/planning - wasn't here in this bouquet. And man did I enjoy that!
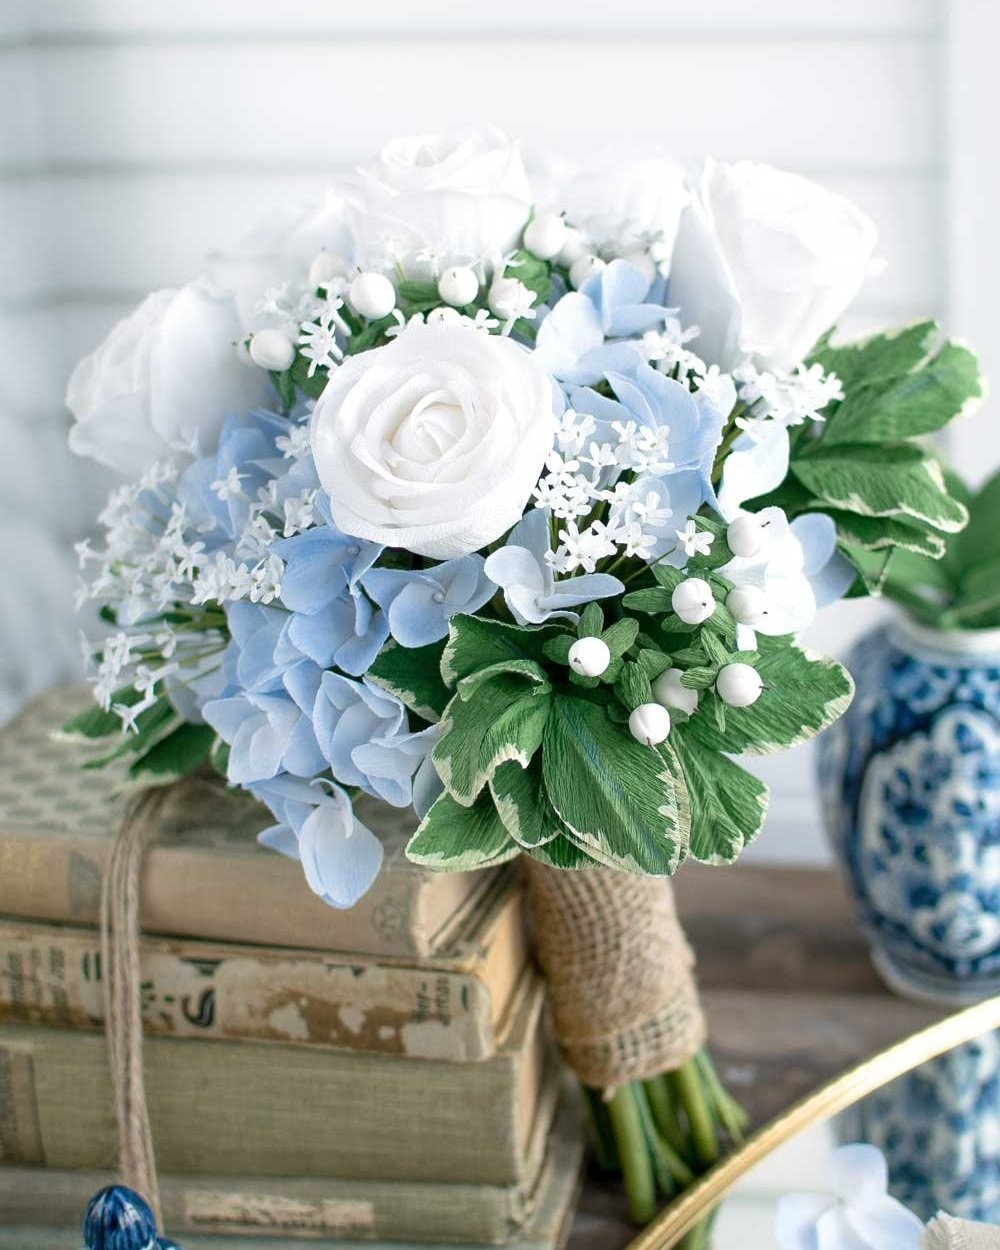
So, the breakdown of this bouquet was pretty straightforward:
6 white standard roses
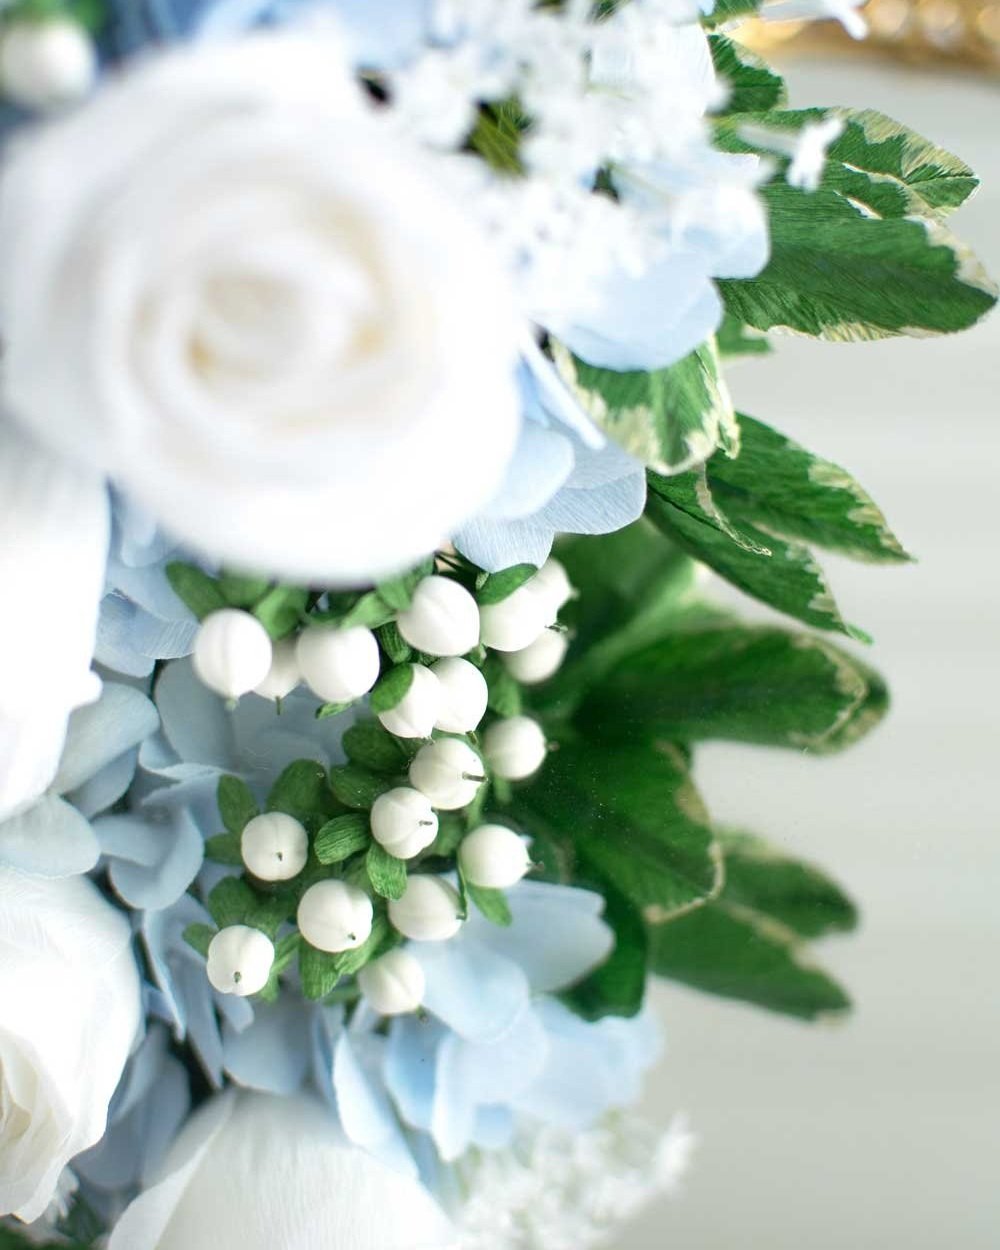
4-5 white hypericum berries
8 bunches of small white flowers
6 bunches of hydrangea
pittosporum variegated foliage
Here are photos of the original bouquet by Luda Flower Salon and photographed by Allicia of Alabaster Jar Photography.

Since I'm in love with doublette crepe paper these days, that's what I used for the white standard roses. Standard roses are so tricky to make; It's always challenging to get the placement of the petals just at the right angle. We think we know what they look like, and we see them all the time! But, they're not what we think they look like. That's why I like making open roses ;)For the hypericum berries, I took a trick I learned from Quynh of Pink & Posey (If you don't follow Quynh, you absolutely must. She's one of the most sunny and friendly and warm person I have ever known. Her work is always so colourful and feminine. I love talking with her about techniques and materials). Previously, I had tried using polymer clay to make berries. It worked great and was very easy to work with. I could bake it in the oven and it would be dry in a half-hour. The only thing I didn't like was that it was so heavy. So I tried Crayola Modeling Magic clay. It's made for children, so you know it's fairly safe. It's very easy to clean up and it air dries overnight. I rolled it into a small ball, poked a stem wire through the centre leaving a bit of the wire sticking out, and used a toothpick to create the quarters. I finished by gluing petals along the base of the berries, and colouring the tip of the stem a dark brown with a burnt sienna Pan Pastel.

I've experimented with different types of variegated foliage in the past for my other bouquets. This time was the first time I used the Italian florist crepe and I found it bled really easily. I've had a lot of questions about how I achieve the variegated edging. I simply use white acrylic paint you can find at any craft store. I used a small paint brush to apply it on the edges after I had put together that leaf. You might be tempted to water it down so it's easier to apply, but don't - the liquid will soak into the crepe paper and it will bleed on the other side. Here I used Ivy Green 180 g, and it will bleed blue on the other side. The white acrylic paint dries white tinged with yellow/green whether or not it is watered down. I was fine with this because the edging on pittosporum is not pale white. If you want a more white edge, I've had some success with gouache paint, which is a watercolour paint and comes thicker. Or try using the Chinese crepe paper instead, which doesn't bleed as easily. The other alternative is using an opaque whitener like Copic Opaque White (which is discontinued in Canada) or Jacquard Super Opaque. These two whiteners are on my list to try.My final comment about this bouquet is it's shape. It's a posey; the flowers are arranged so that there's a fairly round top, with the 6 roses protruding outwards and upwards. The part I love is the foliage. The way the foliage is placed under and around the bouquet changed it shape so it looks less round, and looks more natural and hand-held. At least that's how I interpreted the photos of the real flower bouquet.