Garden Wildflower Paper Flower Bouquet

DISCLOSURE — When you click on my affiliate links, I may earn a commission for qualifying purchases made through Amazon.com links in this post. This commission goes directly into the maintenance of my website, the technology that goes into my courses, and my art. Want to know more? Read my AMAZON AFFILIATE DISCLAIMER.
For the last several weeks, I have been working on a garden wildflower paper flower bouquet for a special client, Linda, of Facci Designs. She has been an enthusiastic supporter of my work from day one, so when she commissioned me to create a bouquet, I was eager to impress her.We talked about what she intended the bouquet to be used for (a year-round arrangement for her Airbnb cottage in Woodstock, New York), where she wanted to put it (on the fire mantel), what flowers she wanted in the bouquet (flowers from her garden or flowers that she liked), and the colour theme (she liked my "Study in Purple" post on Instagram of a purple ombre bouquet). In the end, she left most if not all of the decisions regarding flowers and colours and size to me, and I had pretty much free reign in the design of the bouquet. Such luxury! I love it when my clients know my work + style and completely trust me to make a bouquet or arrangement of their dreams.
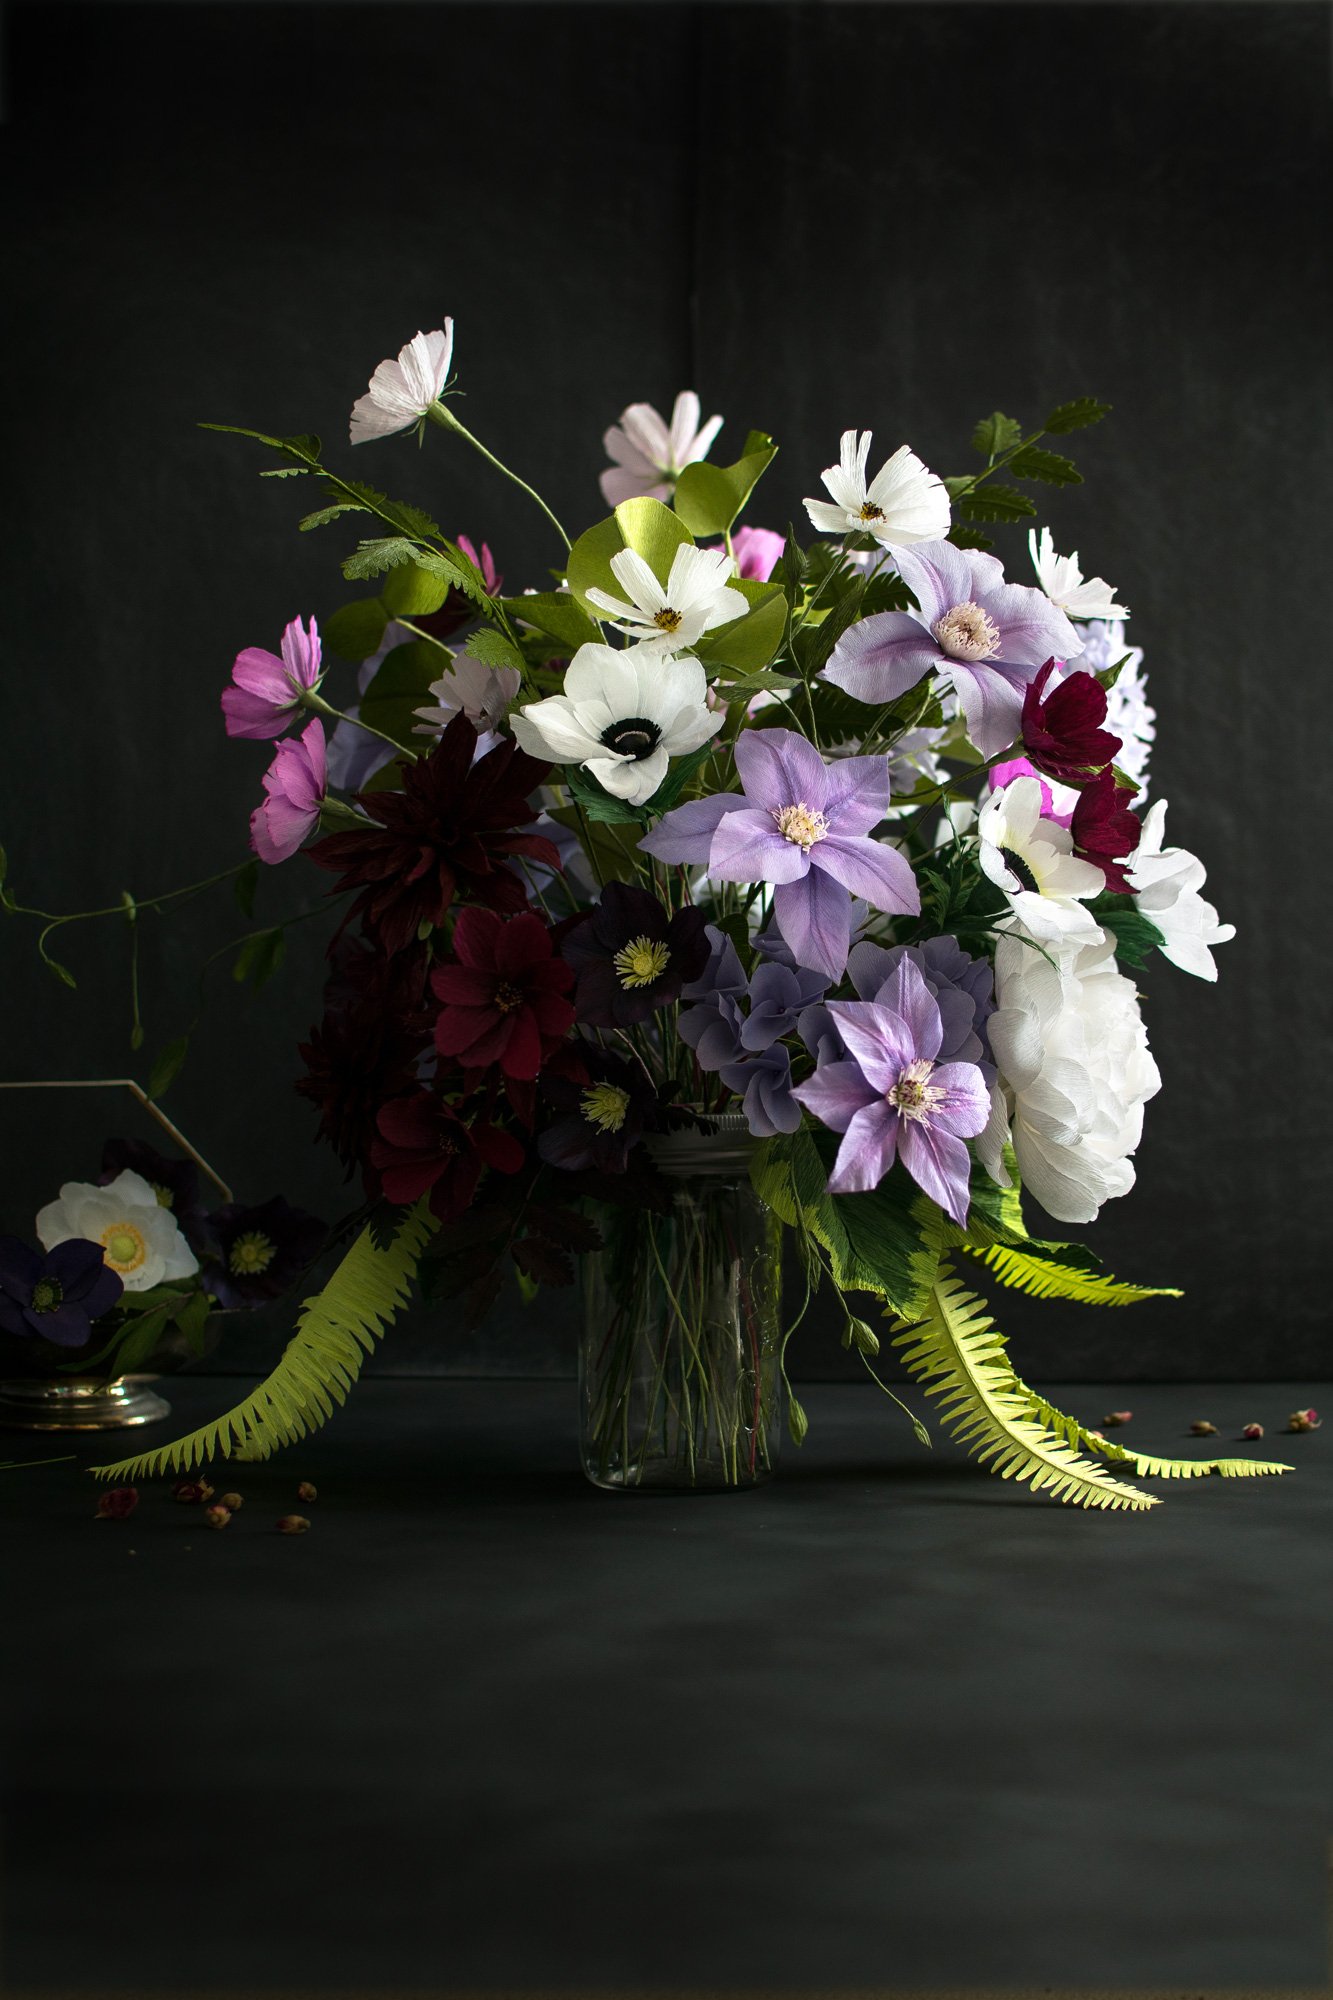
For this particular bouquet, I envisioned flowers that looked like they were freshly picked from Linda's garden. I wanted this garden wildflower paper flower bouquet to look loose, wild, natural and whimsical. I am really inspired by the new floral arrangement styles of Sara Winward, Alicia & Adam Rico of Bows and Arrows, and Ariella Chezar, so I took what I loved from their styles and tried to apply them to Linda's bouquet. This was the perfect bouquet to experiment with this floral style.
Here's the recipe for this garden wildflower paper flower bouquet:
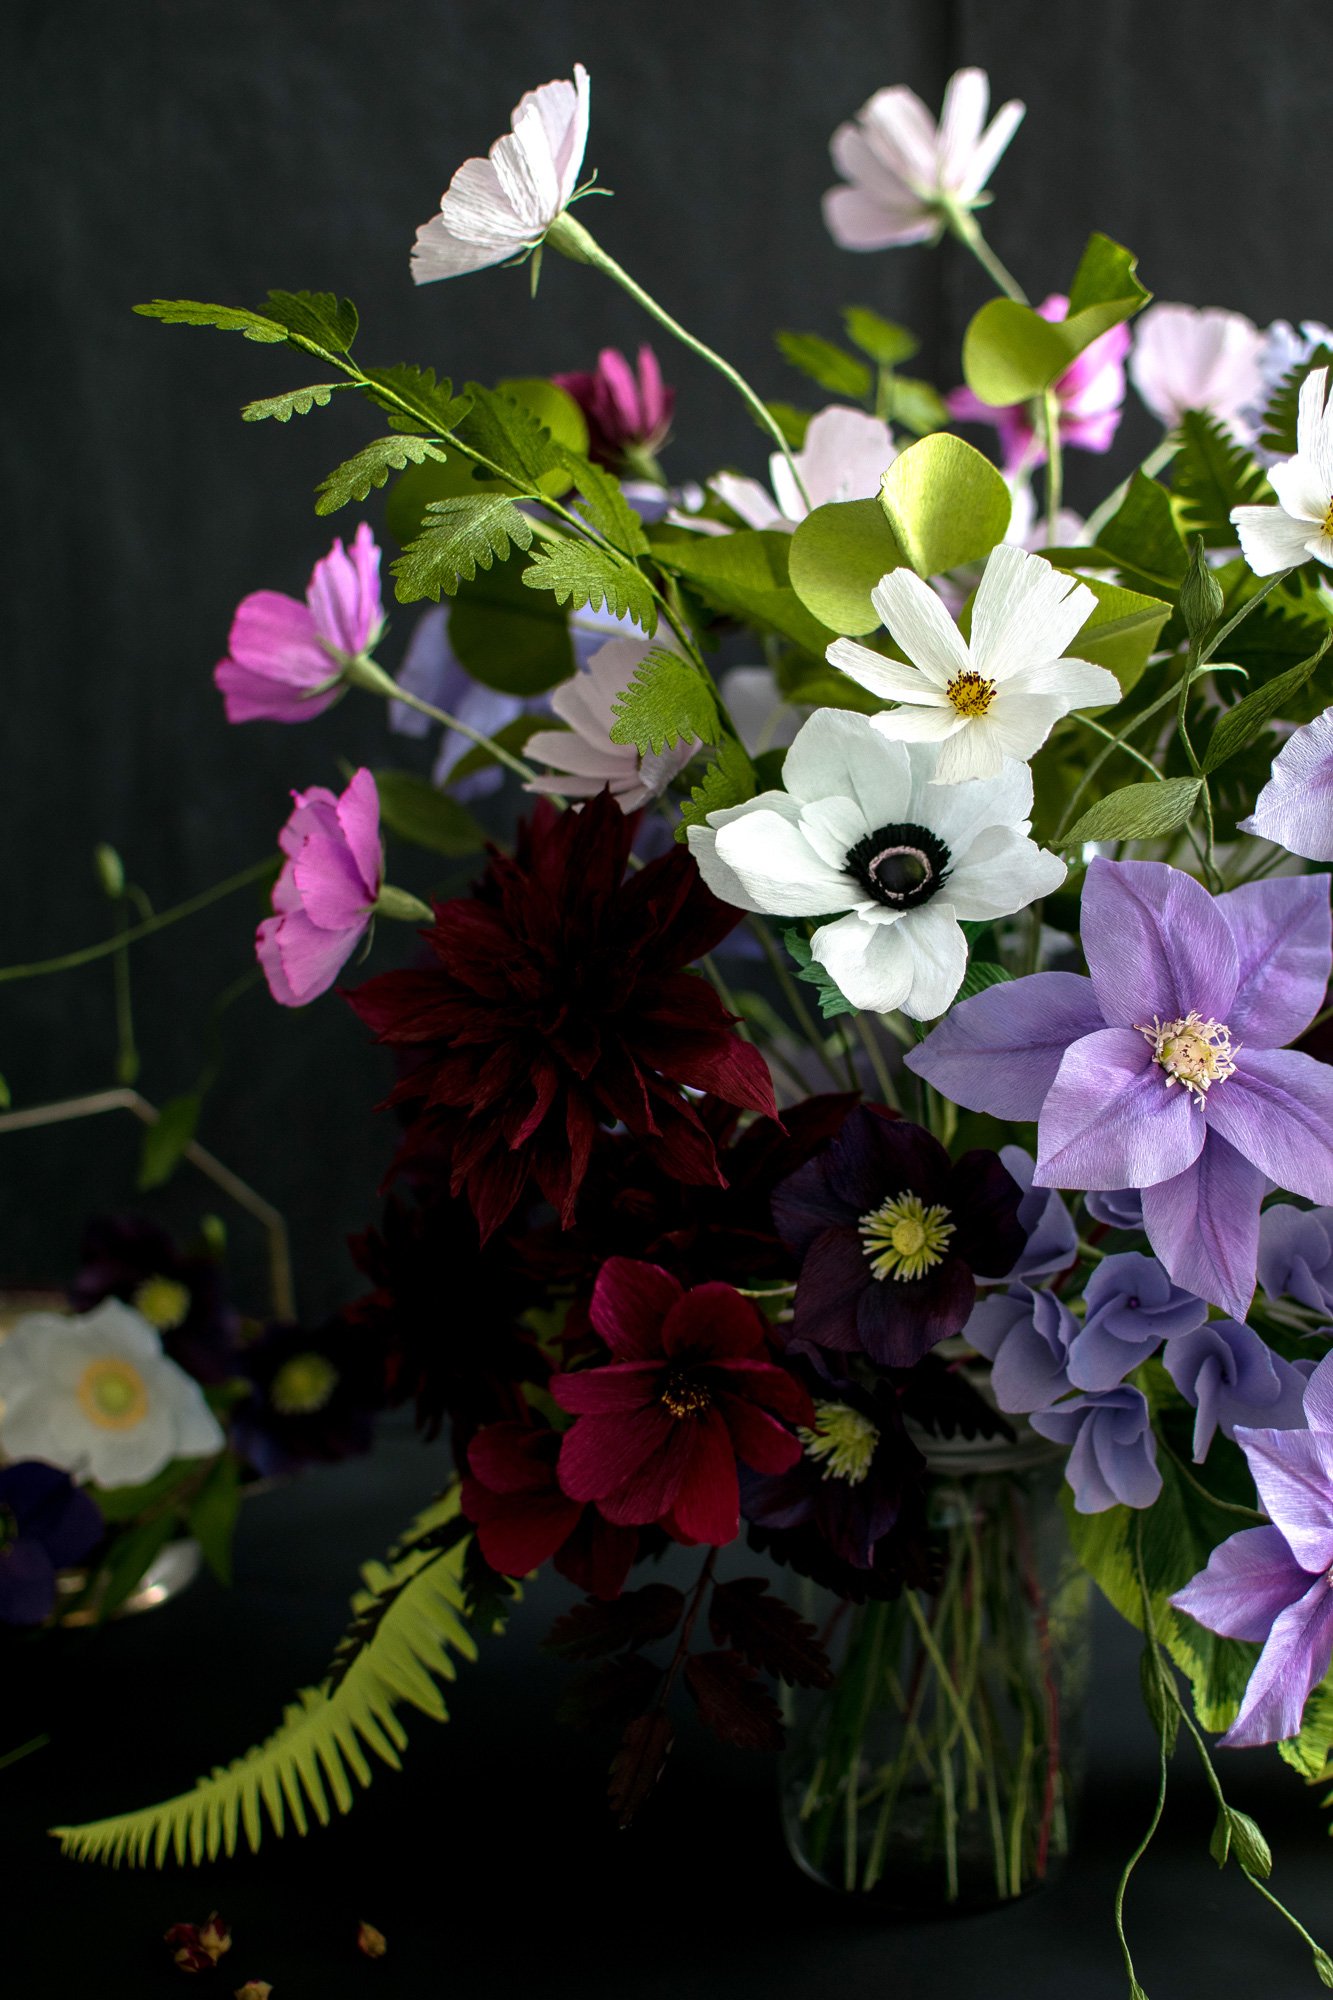
6 white cosmos
6 light purple cosmos
6 pink cosmos
7 chocolate cosmos
9 Mardi Gras plum shade hellebores
2 white double-petal peonies
2 purple hydrangeas
4 burgundy dahlias
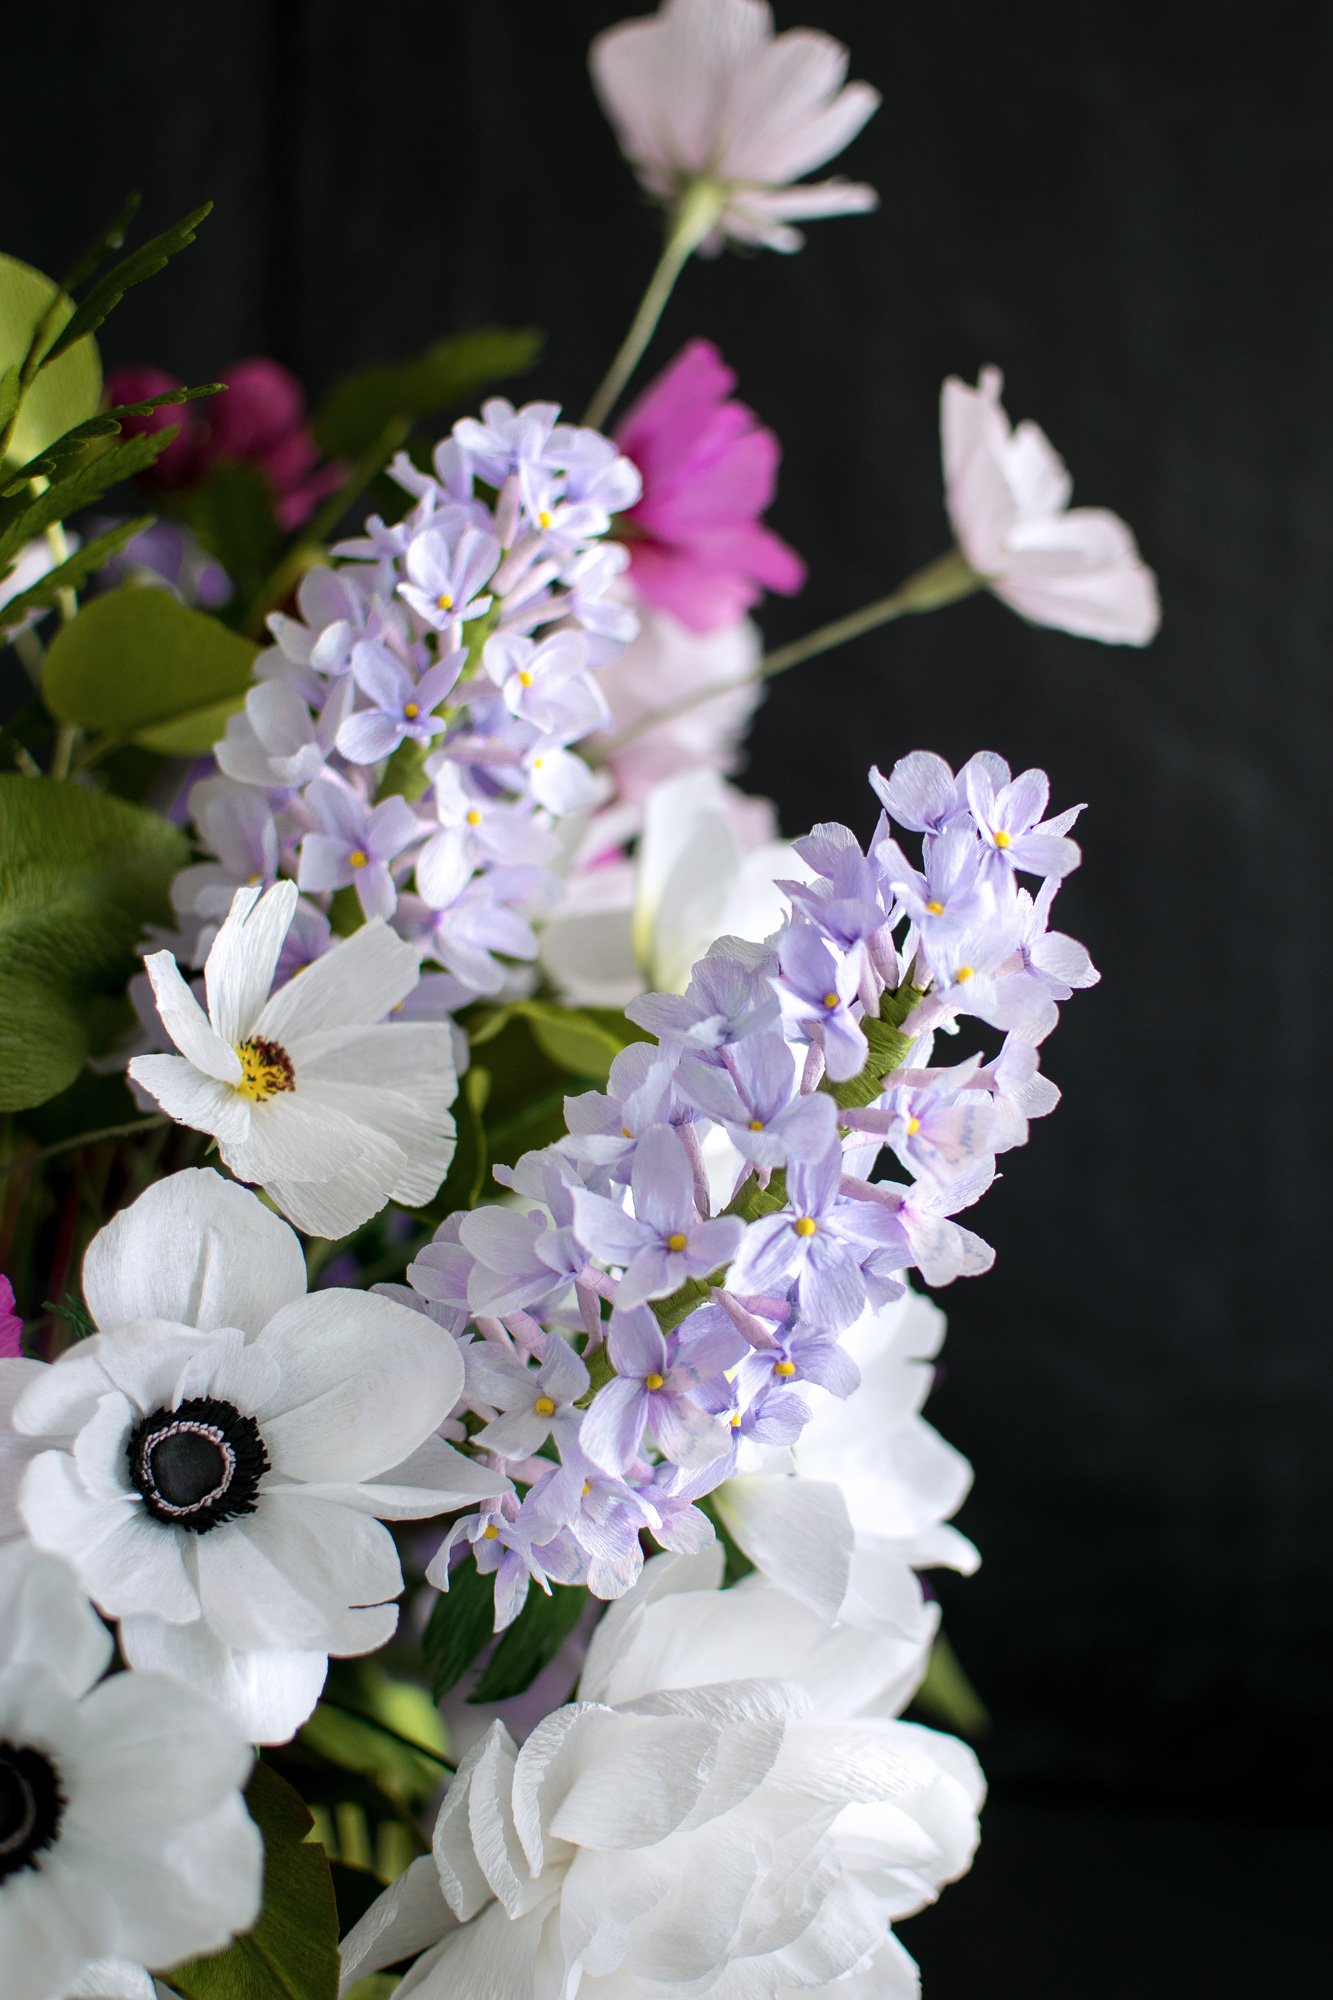
9 white anemones
2 lilacs
6 blue-purple clematis with vines
4 hosta leaves
3 green ferns and 2 burgundy ferns
5 boston ferns
4 lilac leaf stems
...Clearly, I have a weakness for using a lot of flowers and foliage in my bouquets!
For this bouquet, I used a 1L mason/ball jar as the vase. I have been using mason jars as bases because it's a DIY vase that anyone can buy inexpensively. I either use a small (500 mL) or large (1L) jar. I find that size of the vase naturally dictates how many stems I might need to make the bouquet look "full".
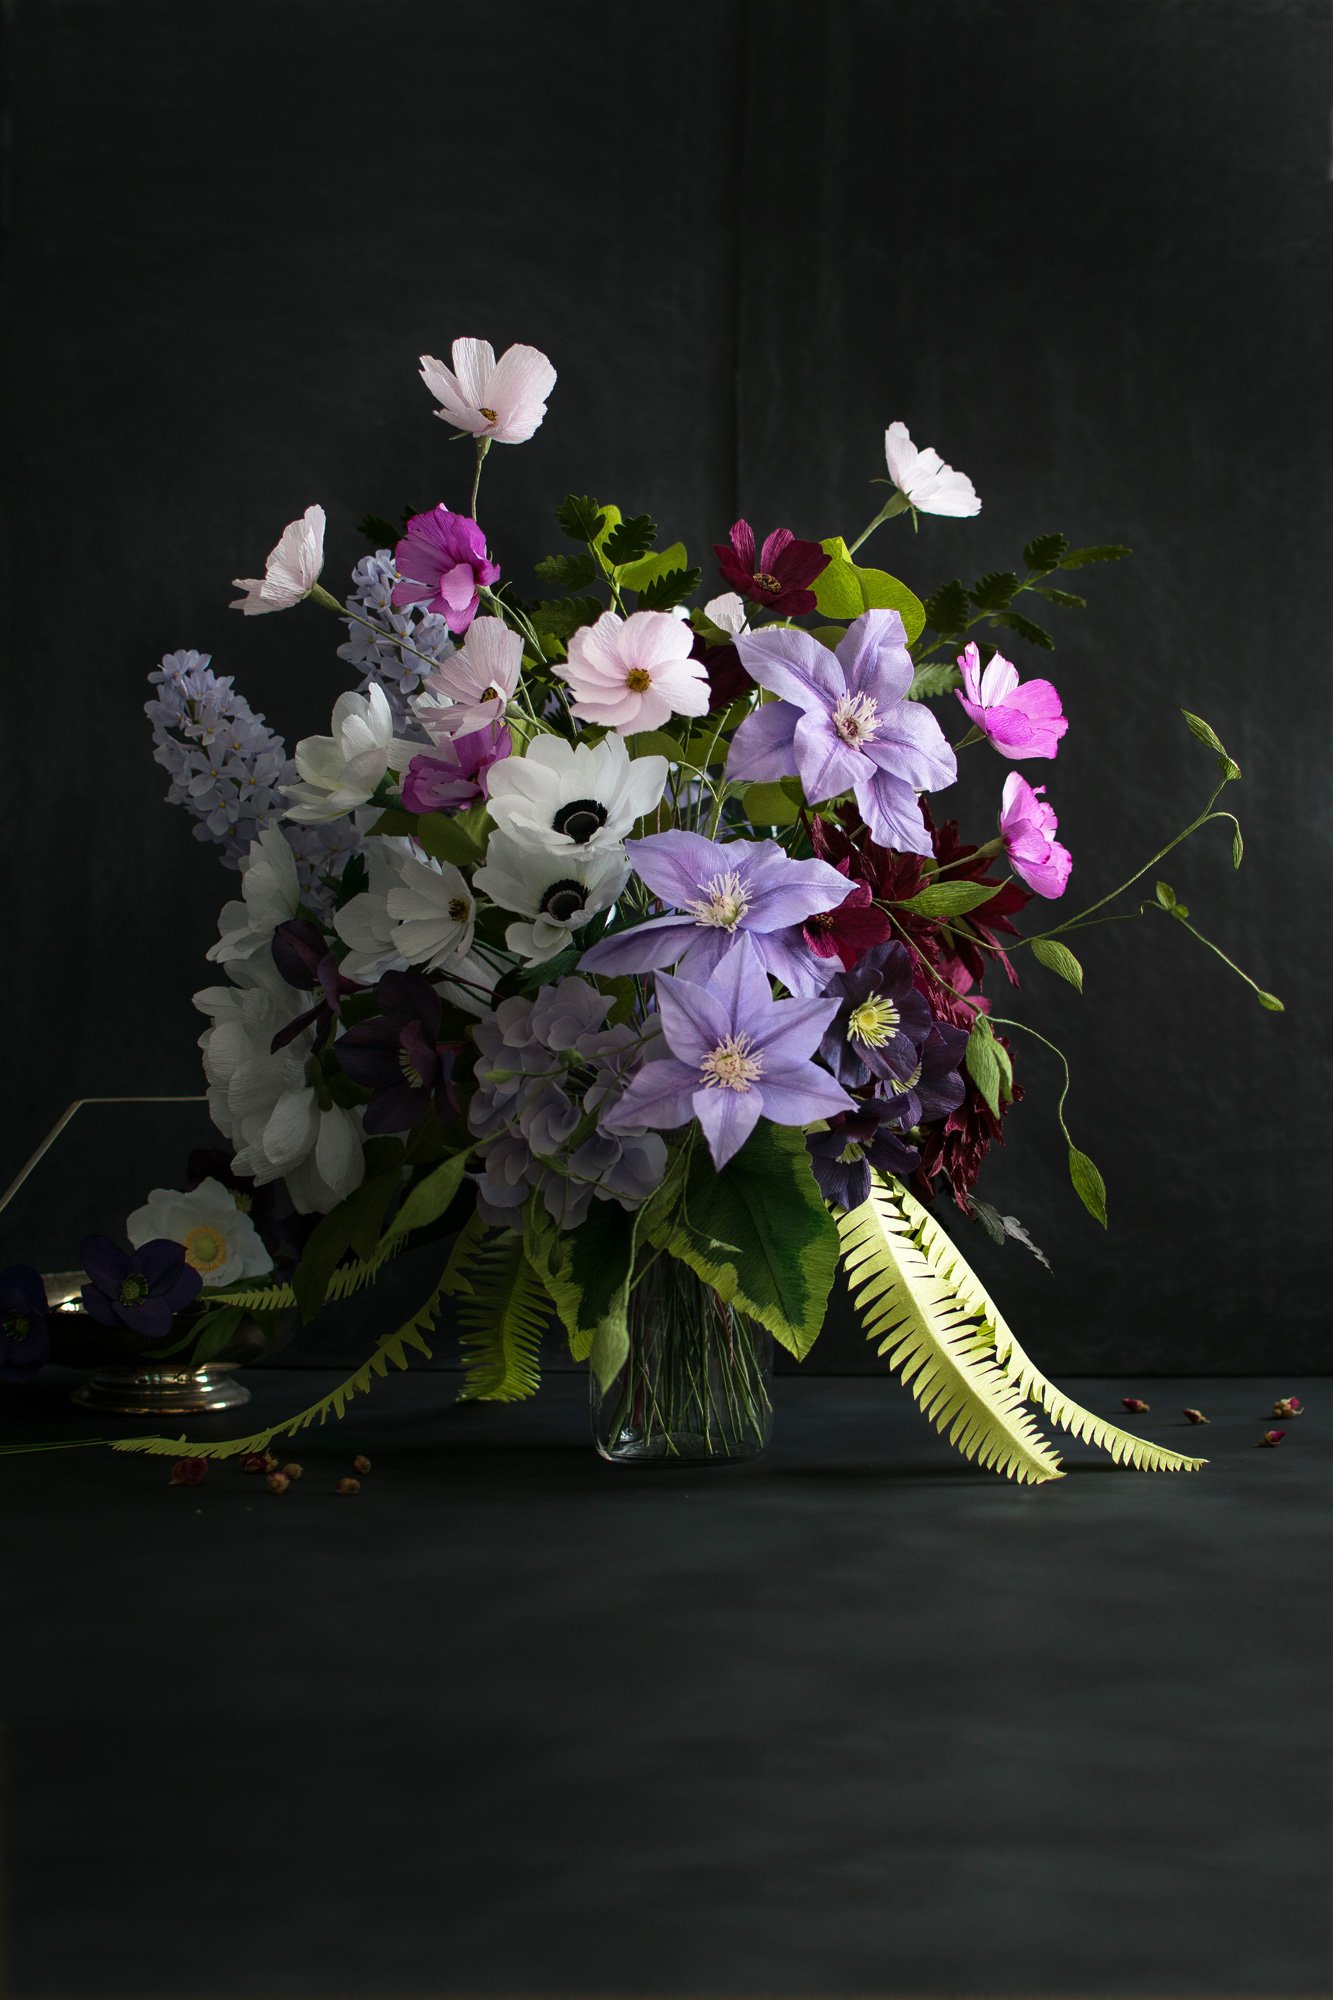
I usually start off with a general idea of what type of flowers and colours I want to use and then I mix and match colour with flower. I start by making the focus flowers, or the larger flowers, and placing each flower into the vase I am using and building from there. Once I think I am about 50% complete, I take what I have apart and re-arrange the stems, looking for spots in the arrangement for where transition pieces are required. Sometimes, I won't know what transition pieces I want to use from the start, so it's at this point that I'll look for inspiration and brainstorm. Lately, I've often turned to hellebores because they come in so many different shades of purple and even green. Transition pieces normally require me to dye or paint the crepe paper, so there might be additional experimenting at this point. At 80% complete, I rearrange the bouquet once again, and at this point, I'm usually still making transition pieces or foliage and looking at what else I am missing from the bouquet. I pretty much keep building the bouquet until I'm satisfied with how the flowers looks beside each other.
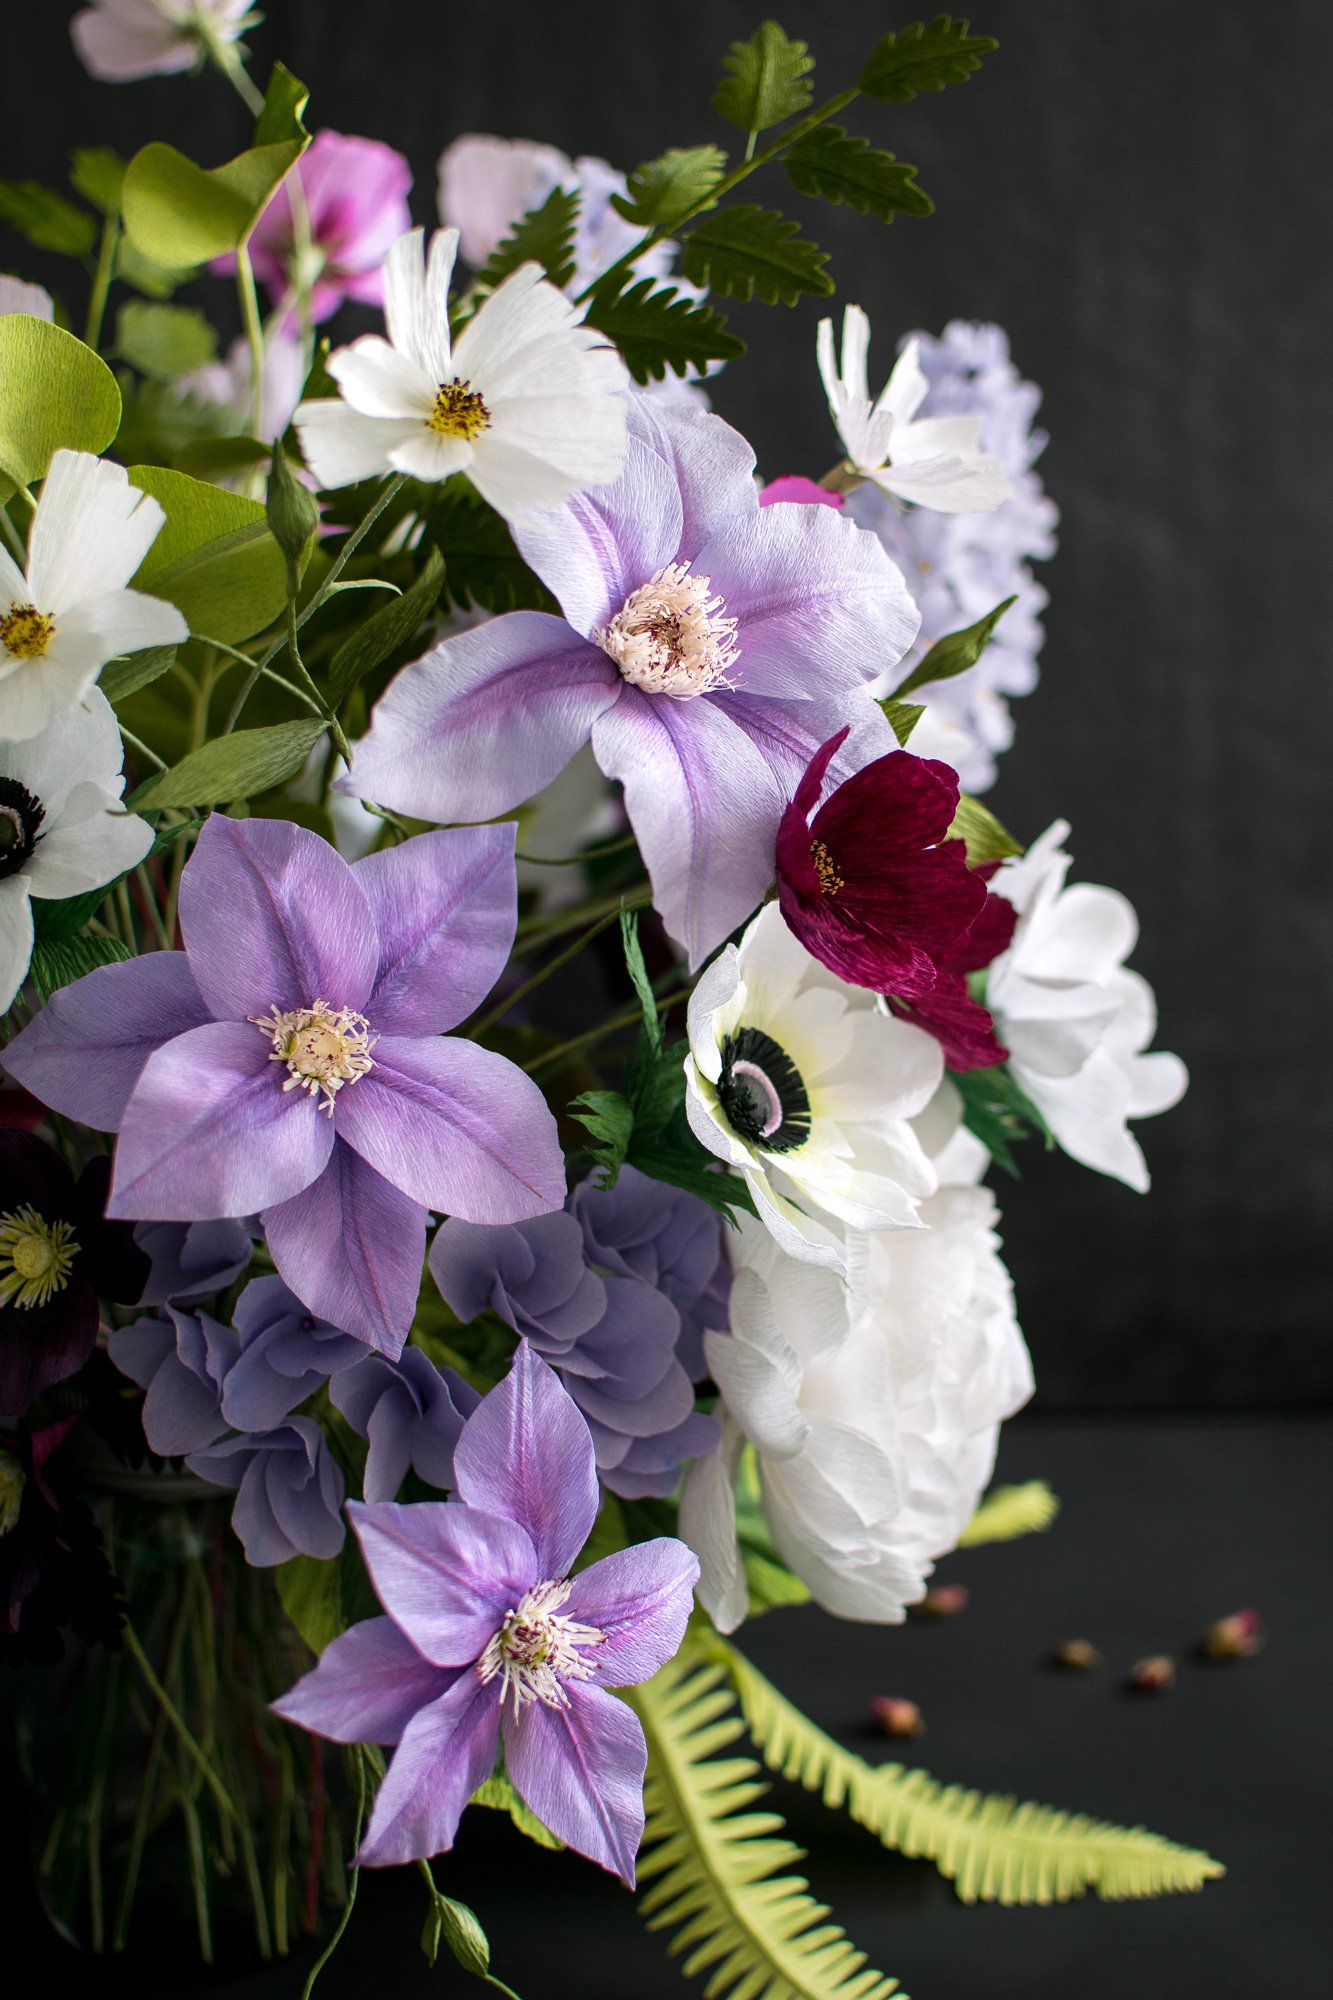
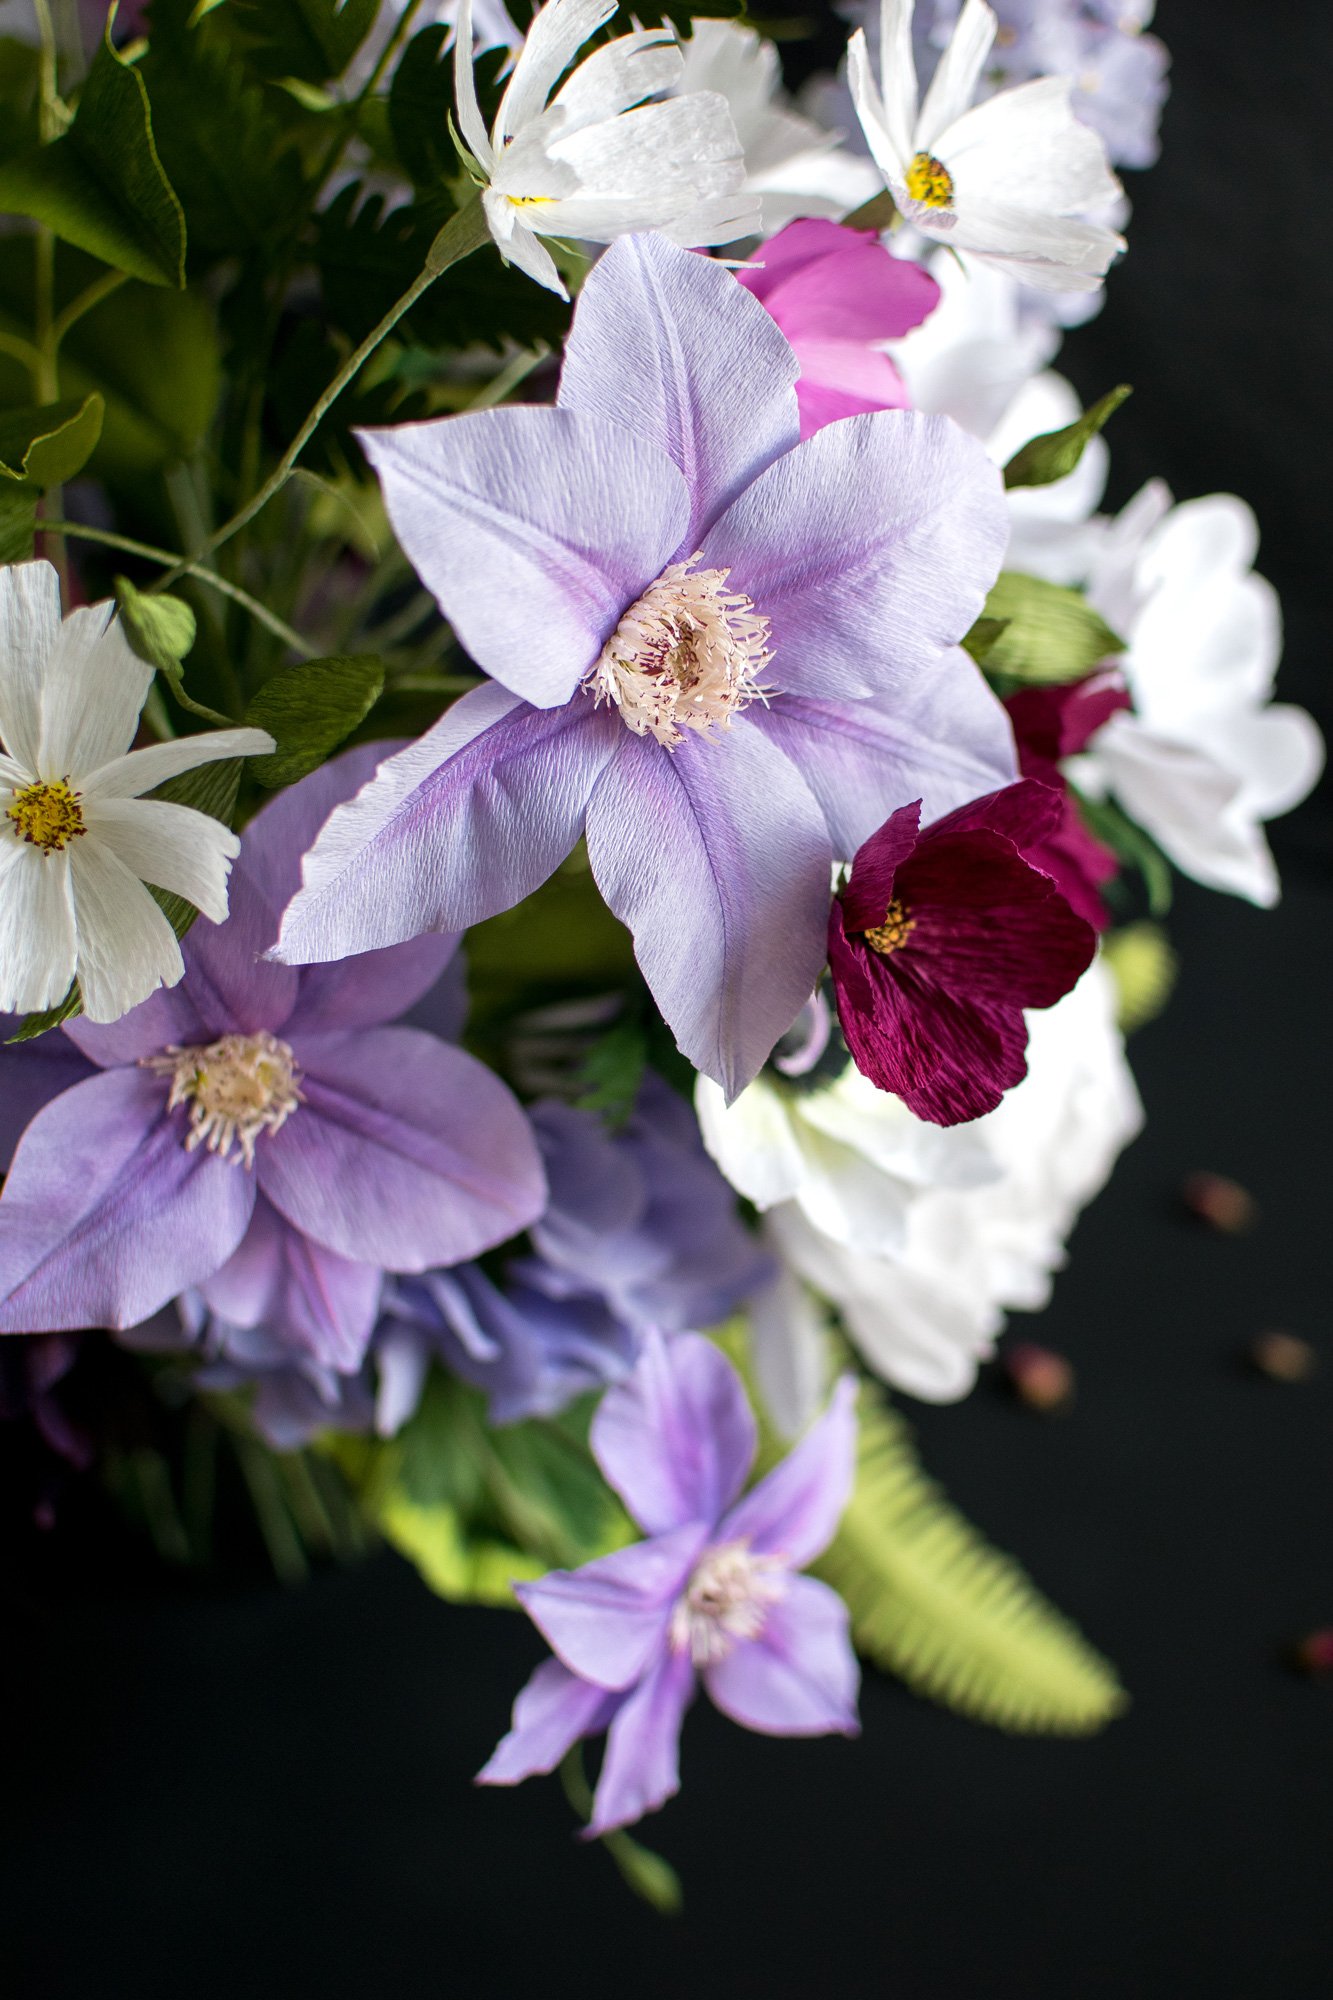
There a several flowers in this garden wildflower paper flower bouquet that I've never made before, and even the hellebores in this bouquet are improvements from the previous hellebores I've made. It was really nice not working with garden roses and peonies this time around; even though I love garden roses and peonies (*sigh* sooo gorgeous), as a creative person, I like variety and trying new forms. This time, I really fell in love with the cosmos - oh how they dance above the bouquet! And I truly grew to love the Queen of the Vine - the clematis - after I had put them in the arrangement and realized they were the star of the bouquet.
The garden wildflower paper flower bouquet took me about 6 weeks to complete. There were many days when I wouldn't touch my scissors. I often worked during Baby T's nap times, during his wake hours when he was able to play by himself, during the hours when I was able to drop him off with my parents for the day once a week, and more often than not, burning the midnight oil. I loved every minute of it though! I find making flowers and arranging them so therapeutic that I enjoy working late at night when it's quiet. Actually, I'm a bit of a night owl as I get more and more efficient the deeper into the night I work.I had a hard deadline of June 2nd. That was the day we were flying off to NYC to deliver the bouquet to Linda (and go on a mini vacation - the first flight for Baby T!), so I also had to shoot all my photos before June 2nd. Luckily, June 1st was a sunny day, so I was able to shoot my photos, take the bouquet apart, spray each stem with UV-protection spray, and prepare them for packaging....Packaging was an entirely different challenge! I originally packed it in one large box and had paper cones constructed for some of the flowers to protect their blooms, but then realized that if I put the box into our luggage, I couldn't fit anything else in there, so I ended up repacking the stems into two separate boxes, ditched the cone-head protectors, and just prayed that nothing would get squished. Oh and we ended up hand carrying the boxes too.
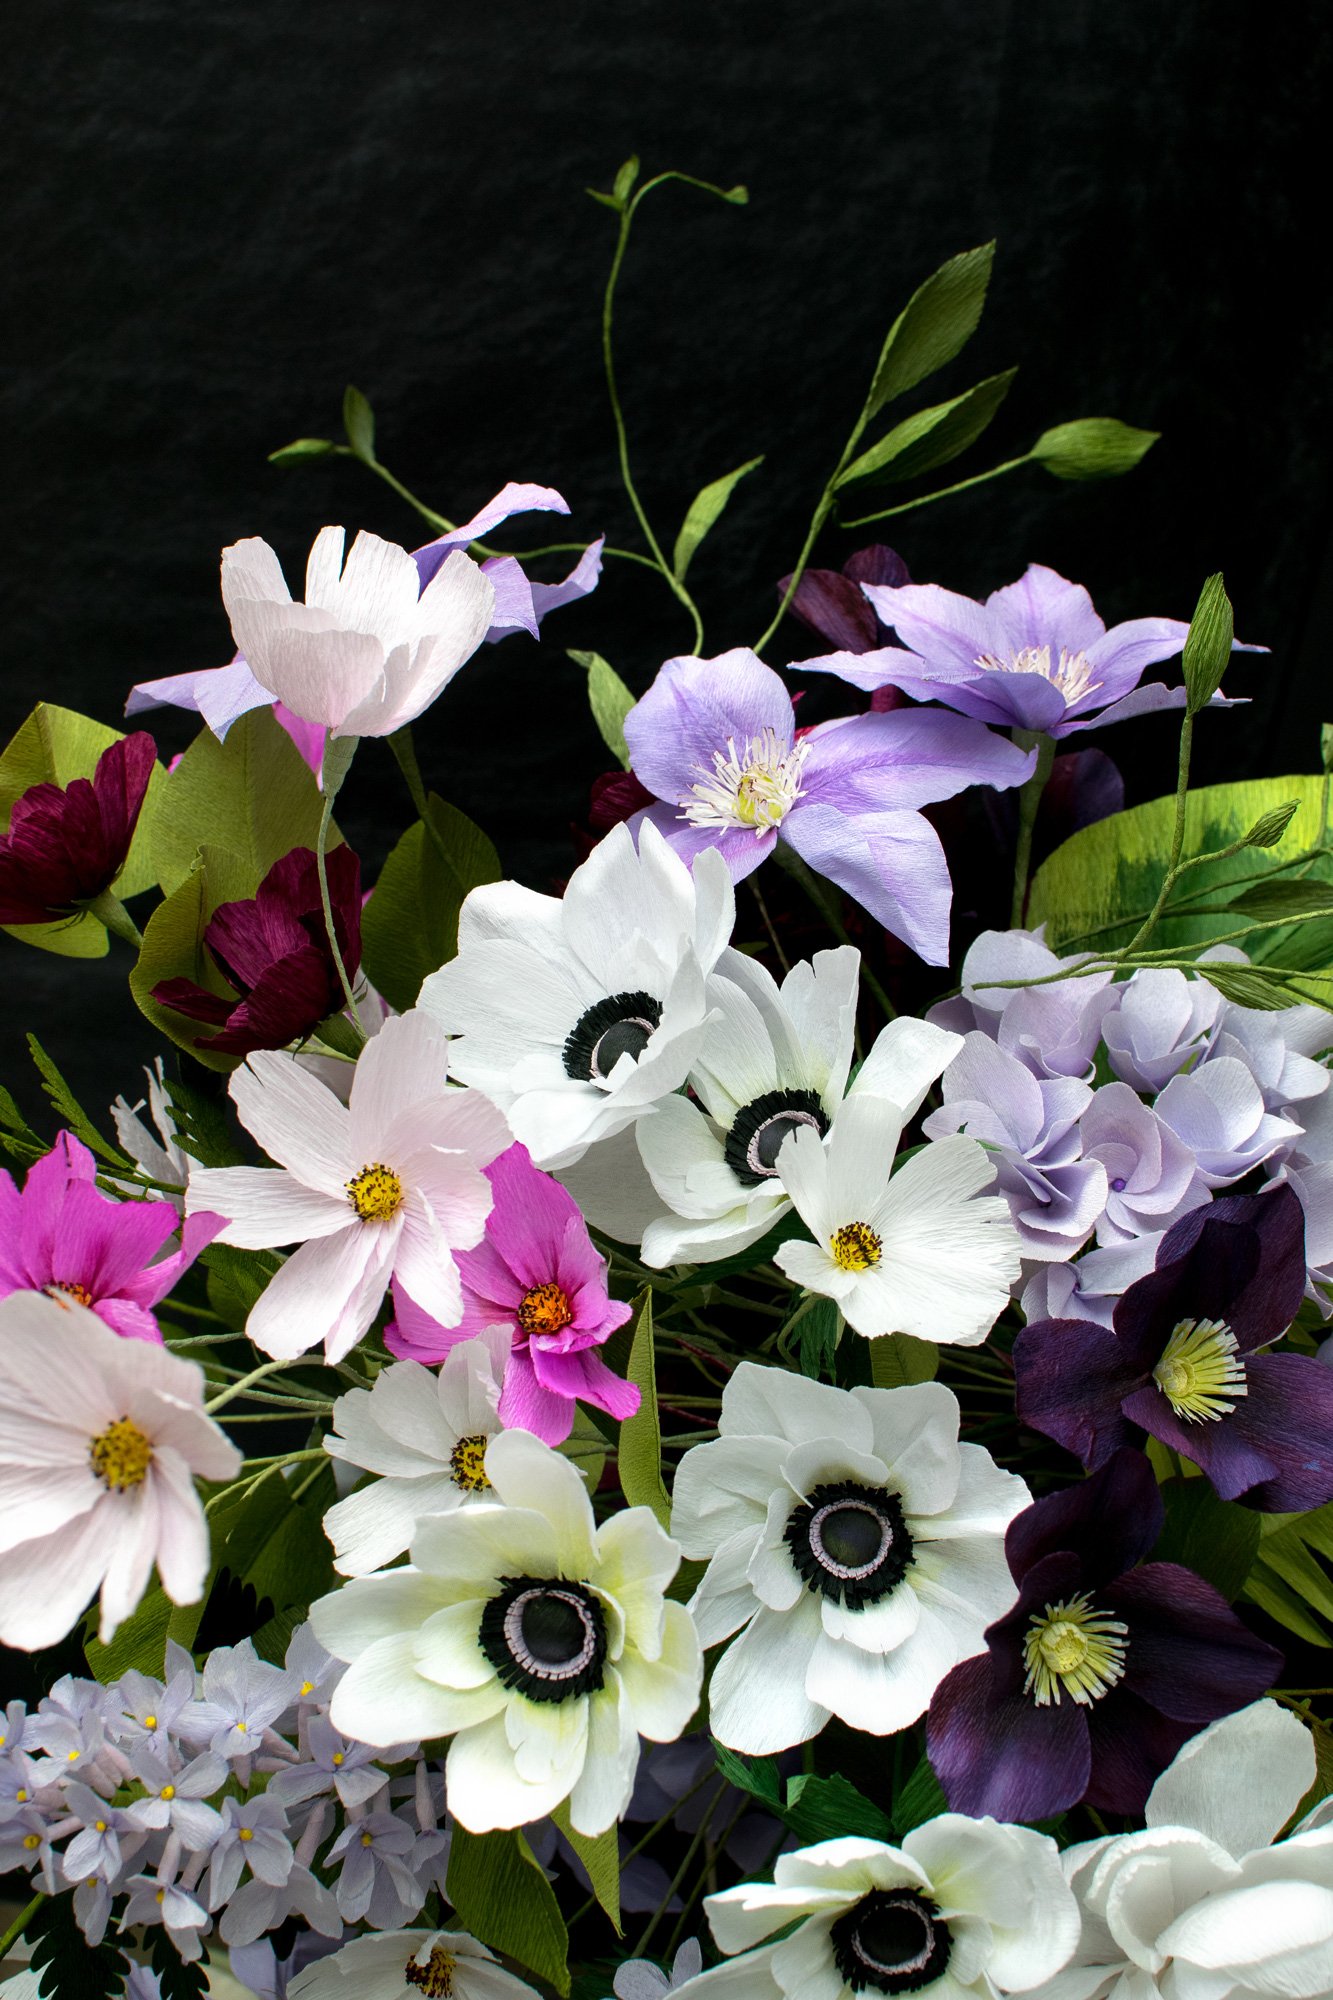
A word about the photography: This is the first time that I used a dark background for my flowers, and I absolute love it! I decided to go dark because white flowers are always so difficult to shoot - it's so easy to over-expose the white while trying to get a decent, clear, shot of the darker flowers. Still, I found it difficult to get everything in focus because I wasn't shooting under full light and did not use a bouncer. I'm going to continue to experiment with the dark background and hopefully improve on my photography, so bear with me!Some of you have been asking for tutorials - I'm really really hoping to post one very soon. I do want to post a tutorial on a flower that hasn't really gotten enough spotlight yet though, and one that I haven't taught at a workshop yet.Have a wonderful week everyone!
UPDATE AS OF JUNE 3/22 -
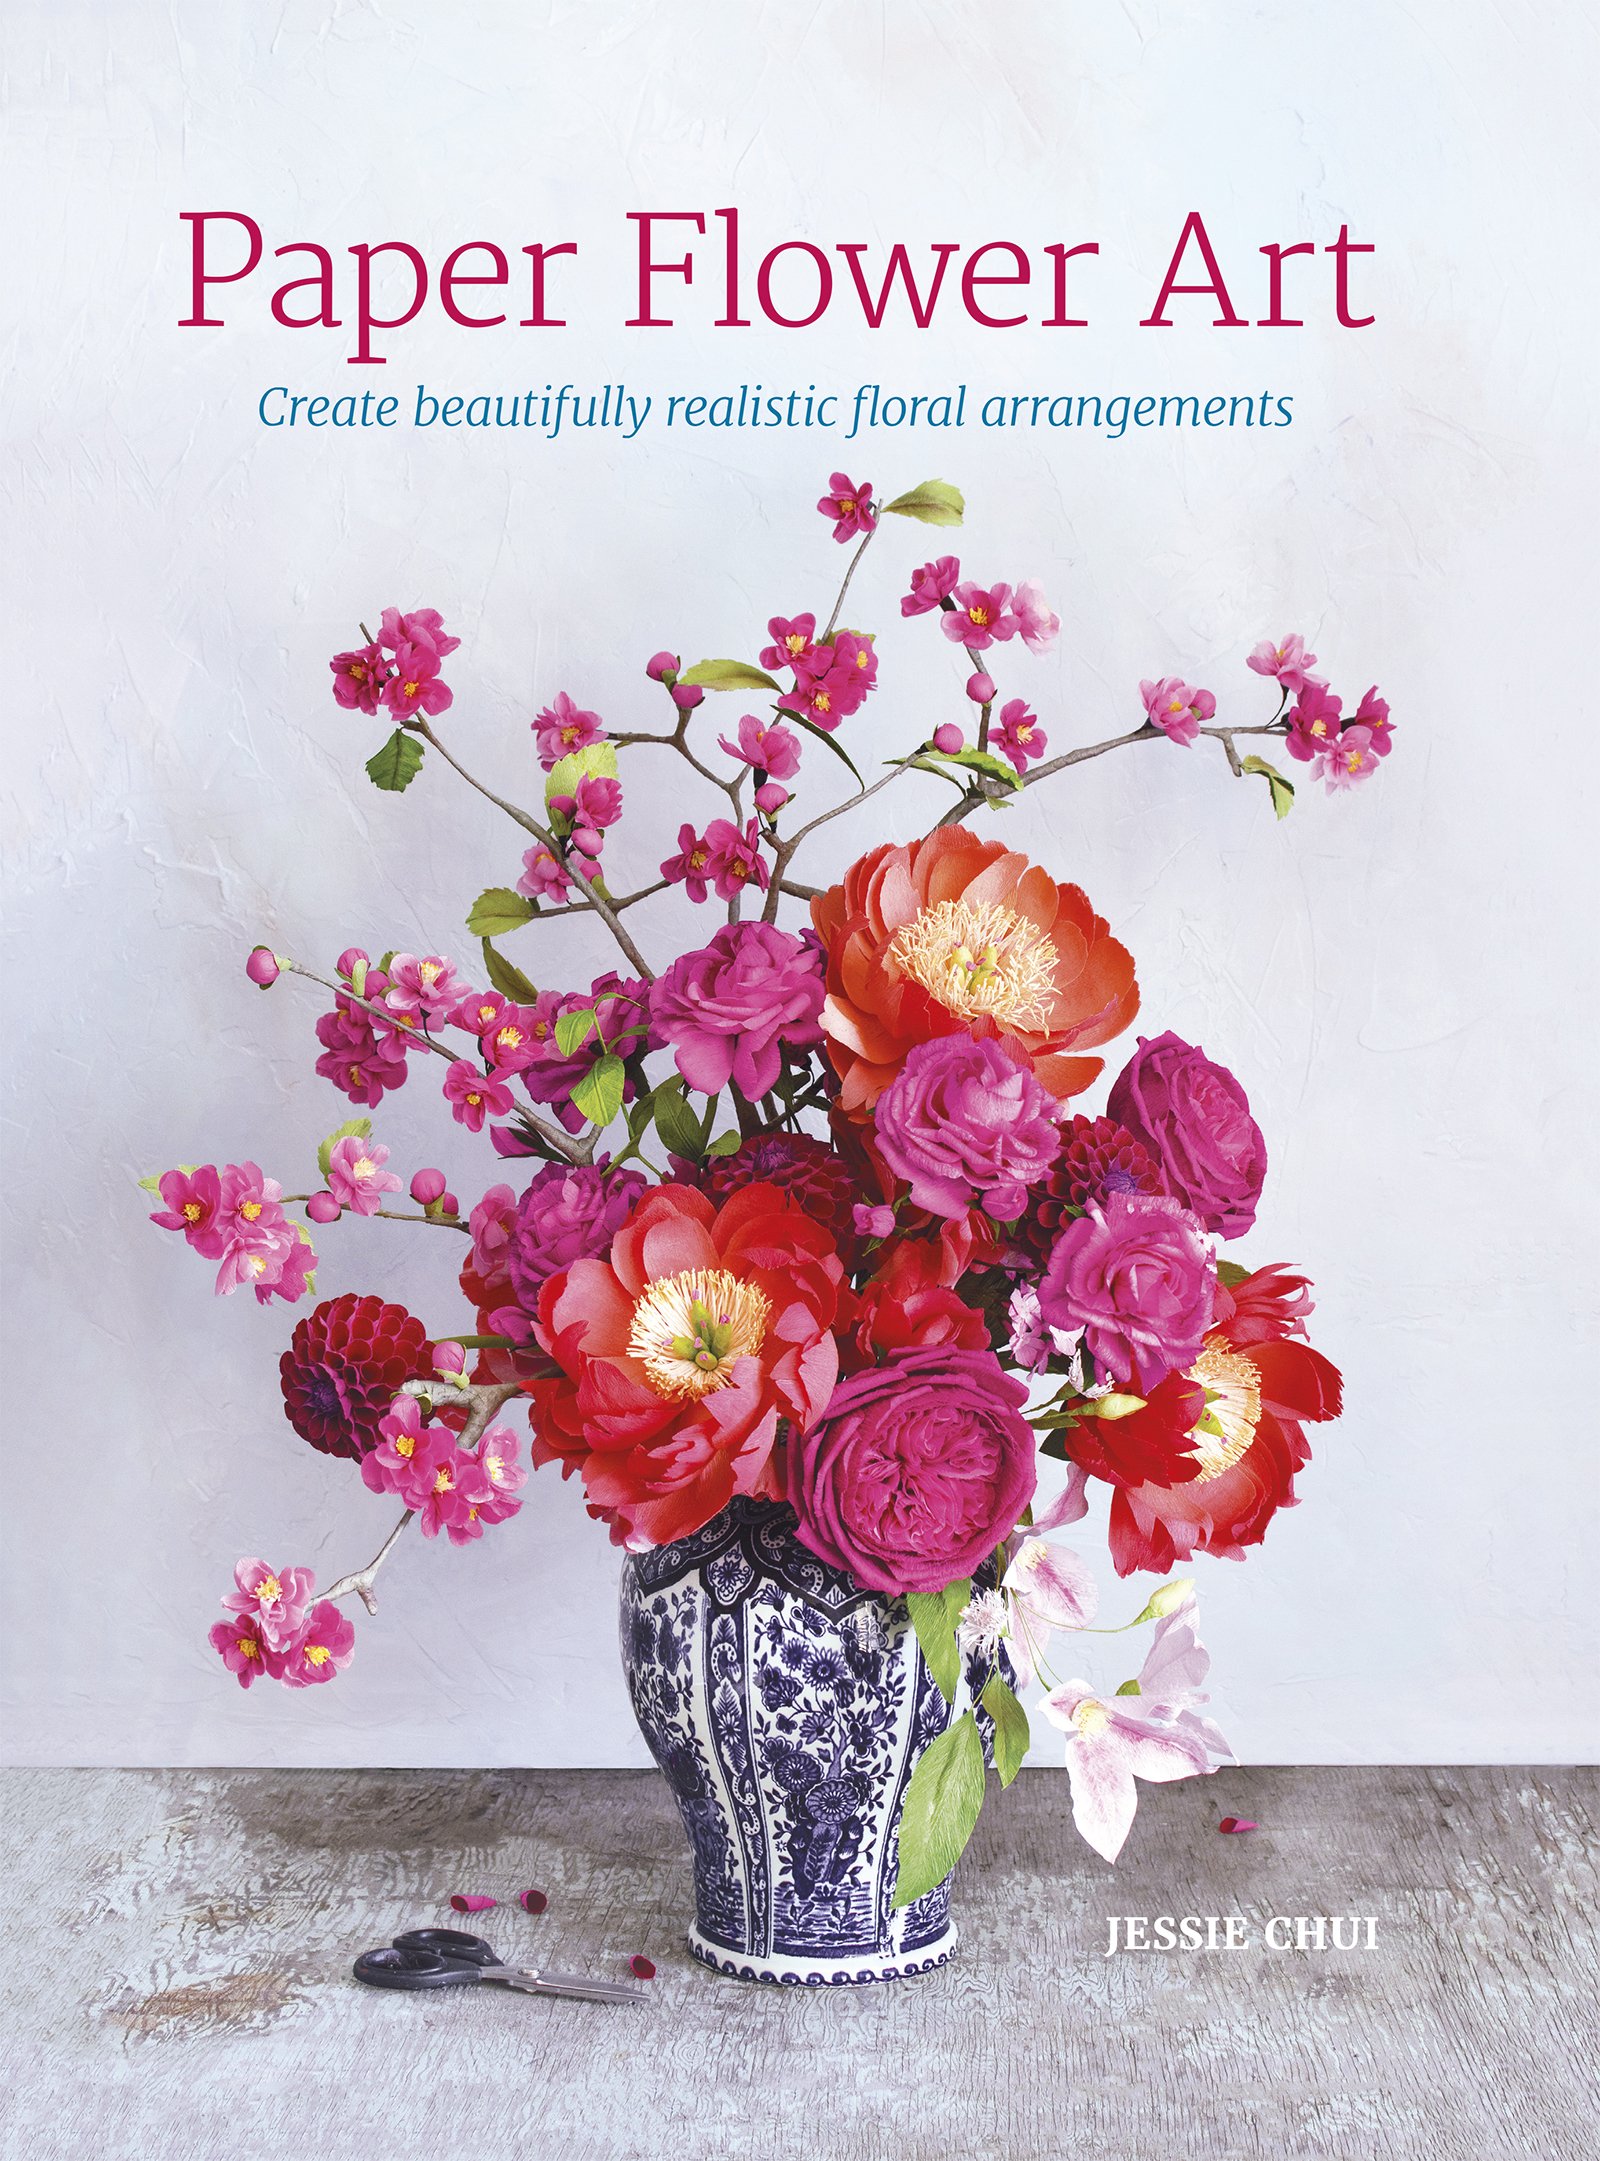
This blog post was written in 2017 and since then, I’ve made various arrangements and bouquets for clients. I’ve spilled the beans on how I create organic and natural looking paper flower arrangements in my book, Paper Flower Art (GMC, 2019) (BUY IN HARDCOVER or IN PAPERBACK) or following along by signing up to my newsletter (SIGN UP HERE).