Making and Using a Grid in a Mason Jar Vase
DISCLOSURE — When you click on my affiliate links, I may earn a commission for qualifying purchases made through Amazon.com links in this post. This commission goes directly into the maintenance of my website, the technology that goes into my courses, and my art. Want to know more? Read my AMAZON AFFILIATE DISCLAIMER.
Good afternoon my friends!
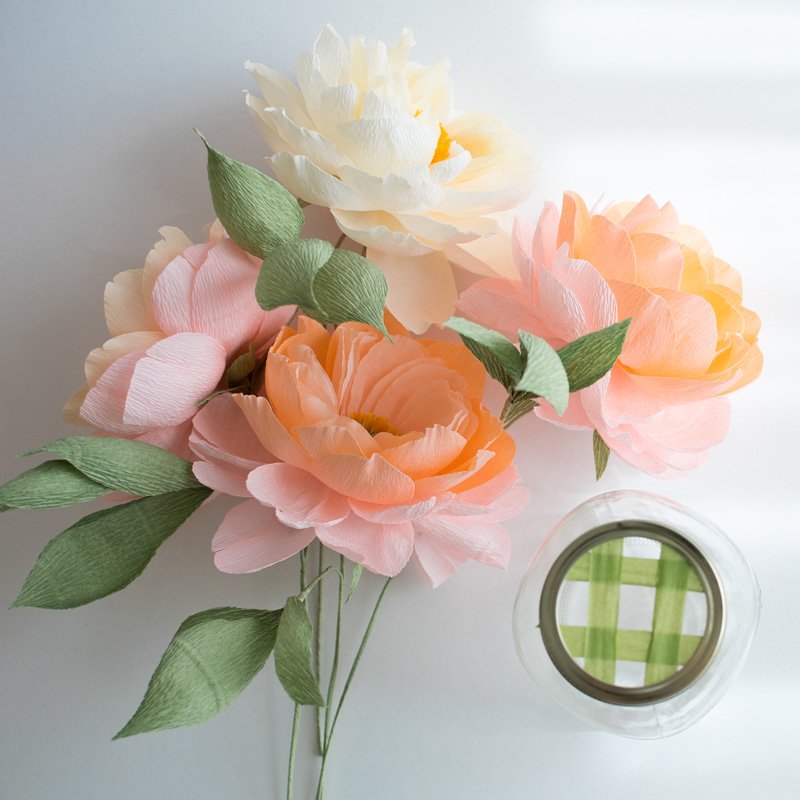
After a windy Saturday instructing a workshop at the Aurora Cultural Centre, I'm back with more peony-talk. If you made it to the workshop - a big THANK YOU for attending! I'm so sorry that the workshop ran over time (I think I heard some growling stomachs), but I hope you went home happy with your beautiful peony and were able to make many more flowers with your extra materials and instructional handout. If you did not make it to the workshop - don't worry - there will be another workshop in the near future!I went through this demonstration so quickly at the end of the workshop that I decided I needed to post these instructions up on my blog too.
One of the many useful tips I picked up going through my floral arrangement books is using a basic grid to support flower stems. Since then, I've been using it for my paper flowers and my go-to clear vase, the mason jar.I find that using the grid is very helpful in the context of arranging paper flower in clear containers when you would not be able to use floral foam. A simple grid can aid in positioning the stems and restrict the movement of the stems within the arrangement, or can be used to tighten up an arrangement if the container's mouth is too wide for the number of stems you have. It is a very effective way of preventing the blooms from squishing each other, and particularly effective for spacing out delicate paper blooms.
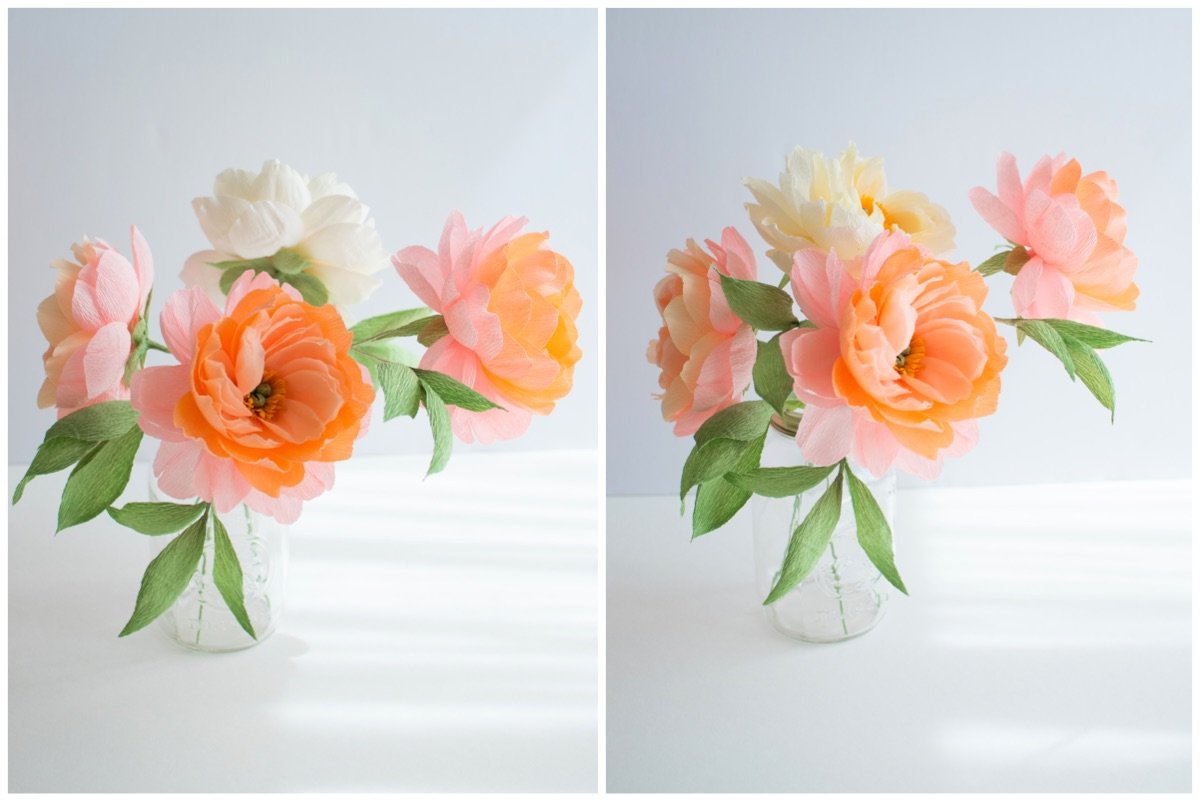
Here are 2 photos demonstrating how effective the grid can be for an arrangement: On the left is an arrangement of 4 peony blooms in a mason jar without a grid, and on the right is one with a grid. You can see that the blooms on the arrangement on the left looks a bit droopy and sad while the blooms on the right has flowers that appear perkier as they are placed together in the centre square of the grid to tighten the arrangement.
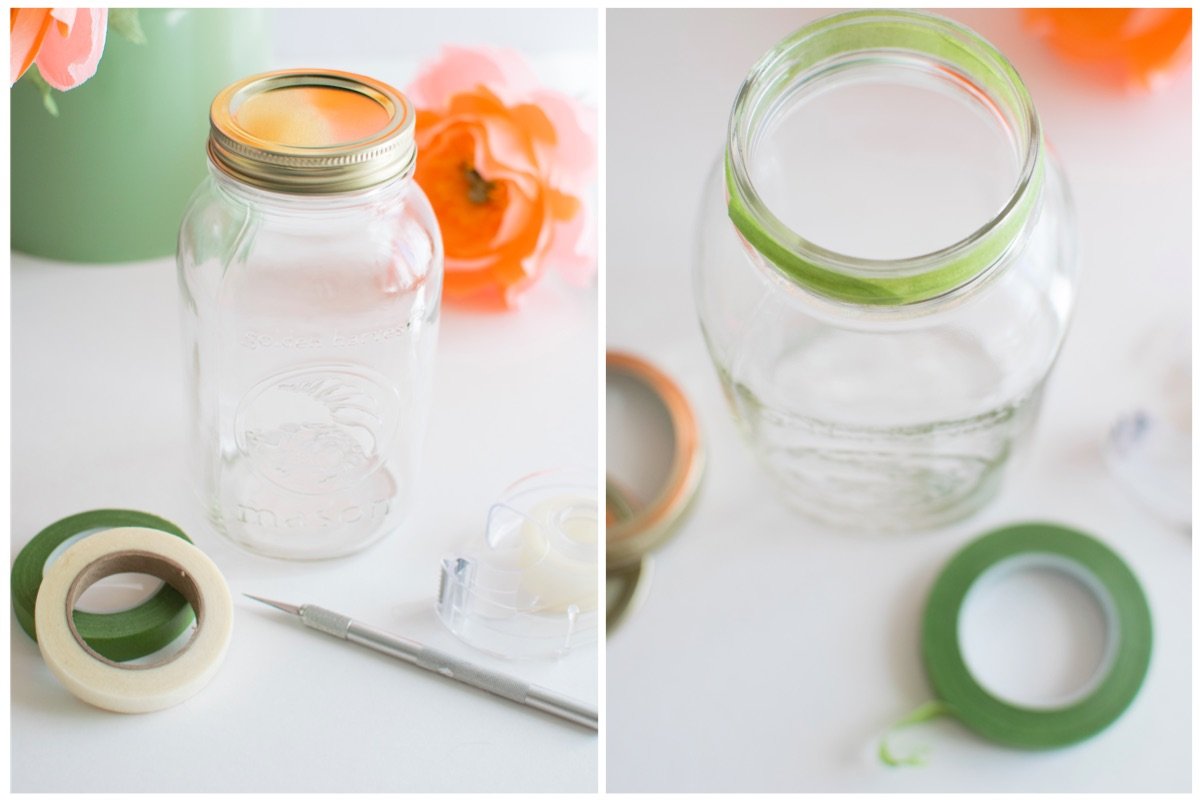
How to create a grid for your vase
I use a white floral tape from Lia Griffith (also can be purchased here) as it's super sticky and almost translucent when stretched, and I always have it on hand to use for making paper flowers. That said, I would recommend you use clear floral tape if you can find it - it's made of a tougher material (plastic) so it supports heavy stems better than the floral tape. Try to use tape with a width of about 1/4".For the purposes of this demonstration, I'm using green floral tape to make it easier to see in these photographs.All I do is this:I take a long strip of tape and wrap it around the rim of the mason jar once, overlapping the ends. I stretch the tape to activate the glue in the tape and make it sticky.
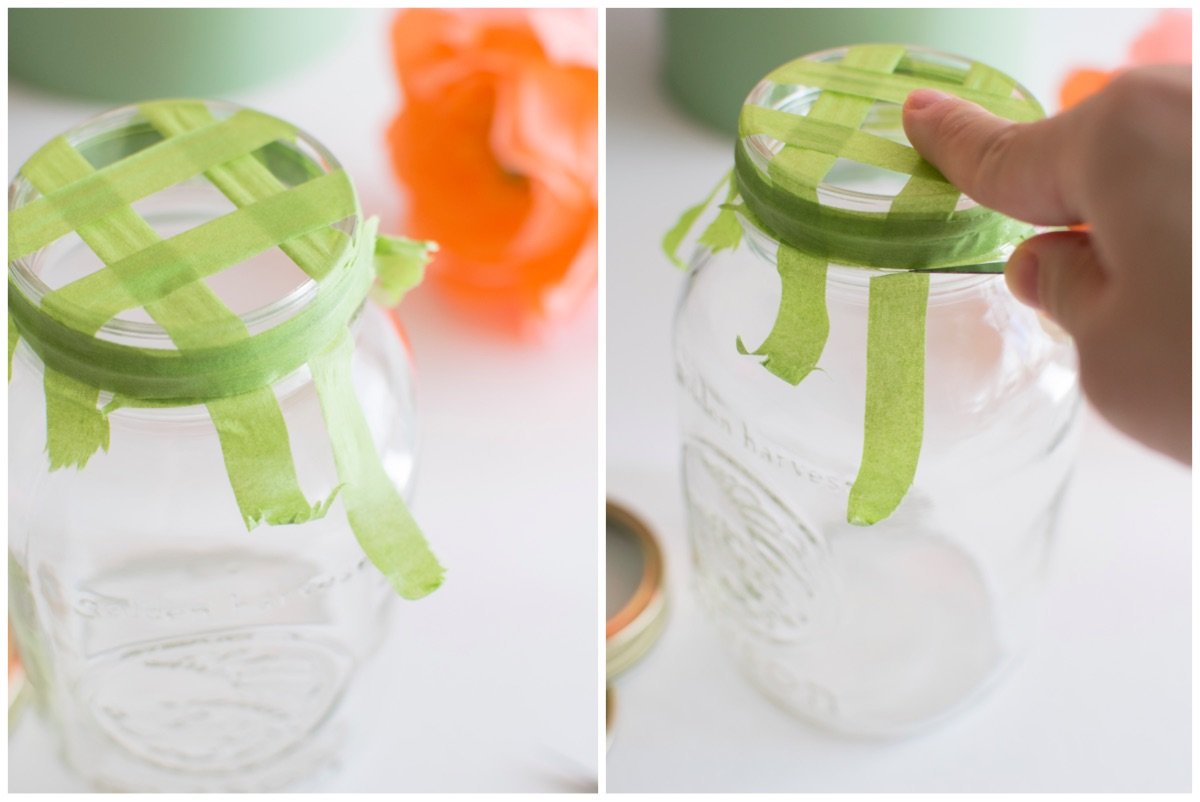
Using shorter strips of tape, I stick them parallel to each other from front to back, and then parallel to each other from left to right, creating cross-sections. I make sure to press strips of tape onto the rim of the mason jar and onto the strip of floral tape around the jar mouth so that the strips stick to each other.
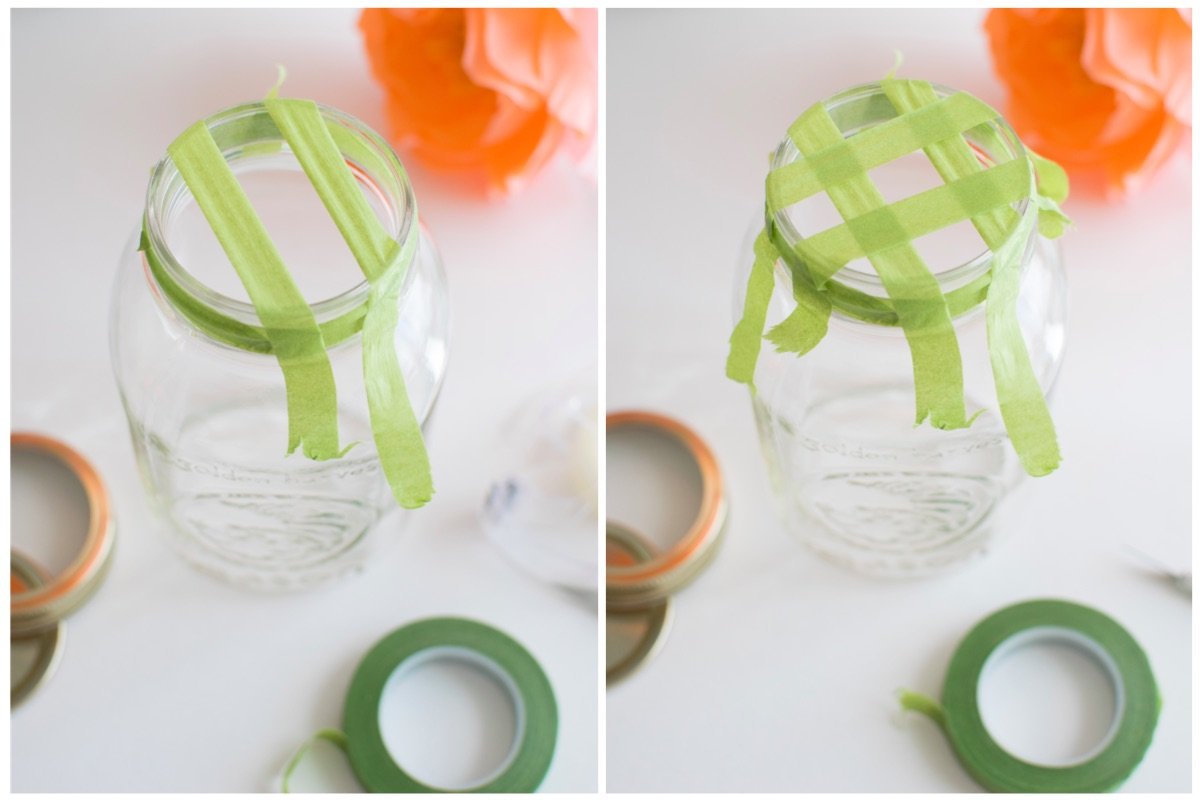
I vary the spacing between the strips of tape depending on the size of the container. For a mason jar, I've found that a simple grid with 2 parallel lines going front-back, and 2 parallel lines going left-right, is sufficient for most arrangements. For arrangements where I am more particular of where the stems go or if there are a large number of blooms, I make a grid with more squares in the grid. To achieve this, I normally use chicken wire as it’s a stiffer material.I secure the grid by wrapping with a second strip of tape around the mason jar again. Then, I take a utility knife and cut off the pieces of floral tape that are visible and hanging down the side of the mason jar.
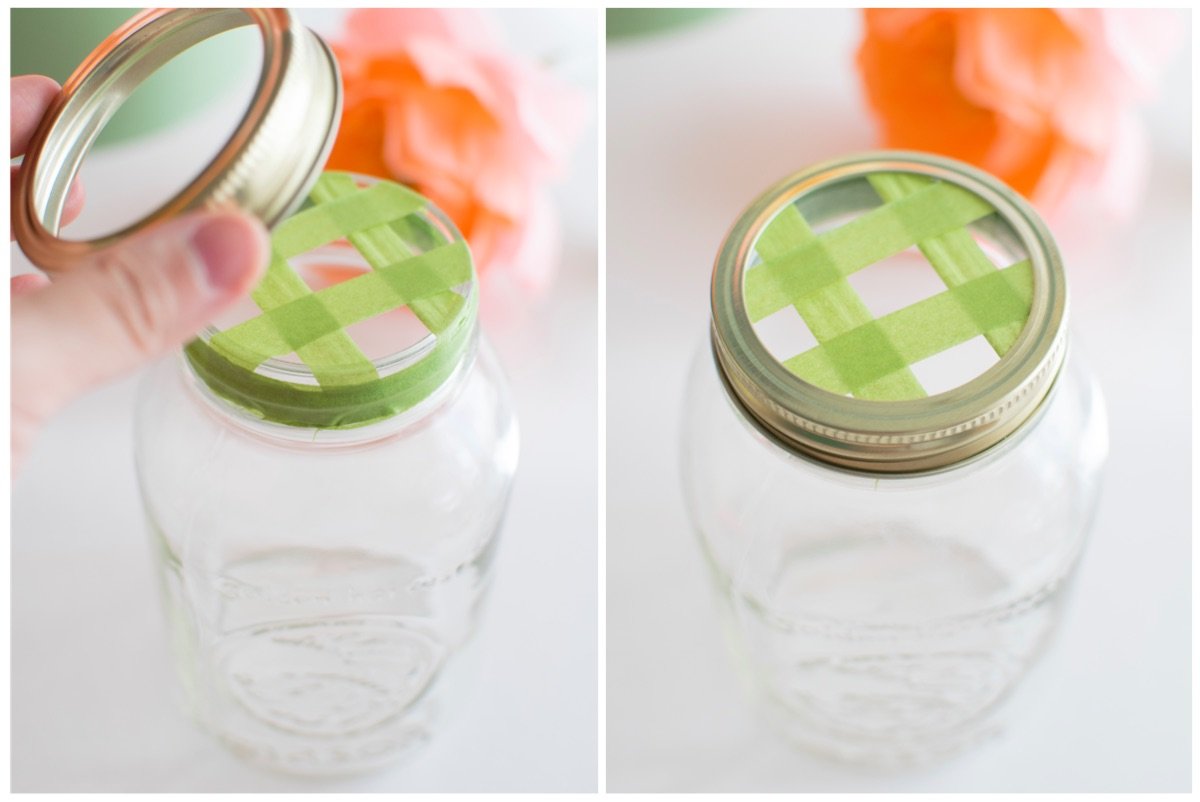
To finish, I screw the mason jar lid (without the middle round) around the top to further secure the floral grid. I also like showing the bit of metal on the container.I hope this short demonstration is helpful and improves your paper floral arranging!
Happy Thursday my friends :)
UPDATE AS OF JUNE 3/22 -
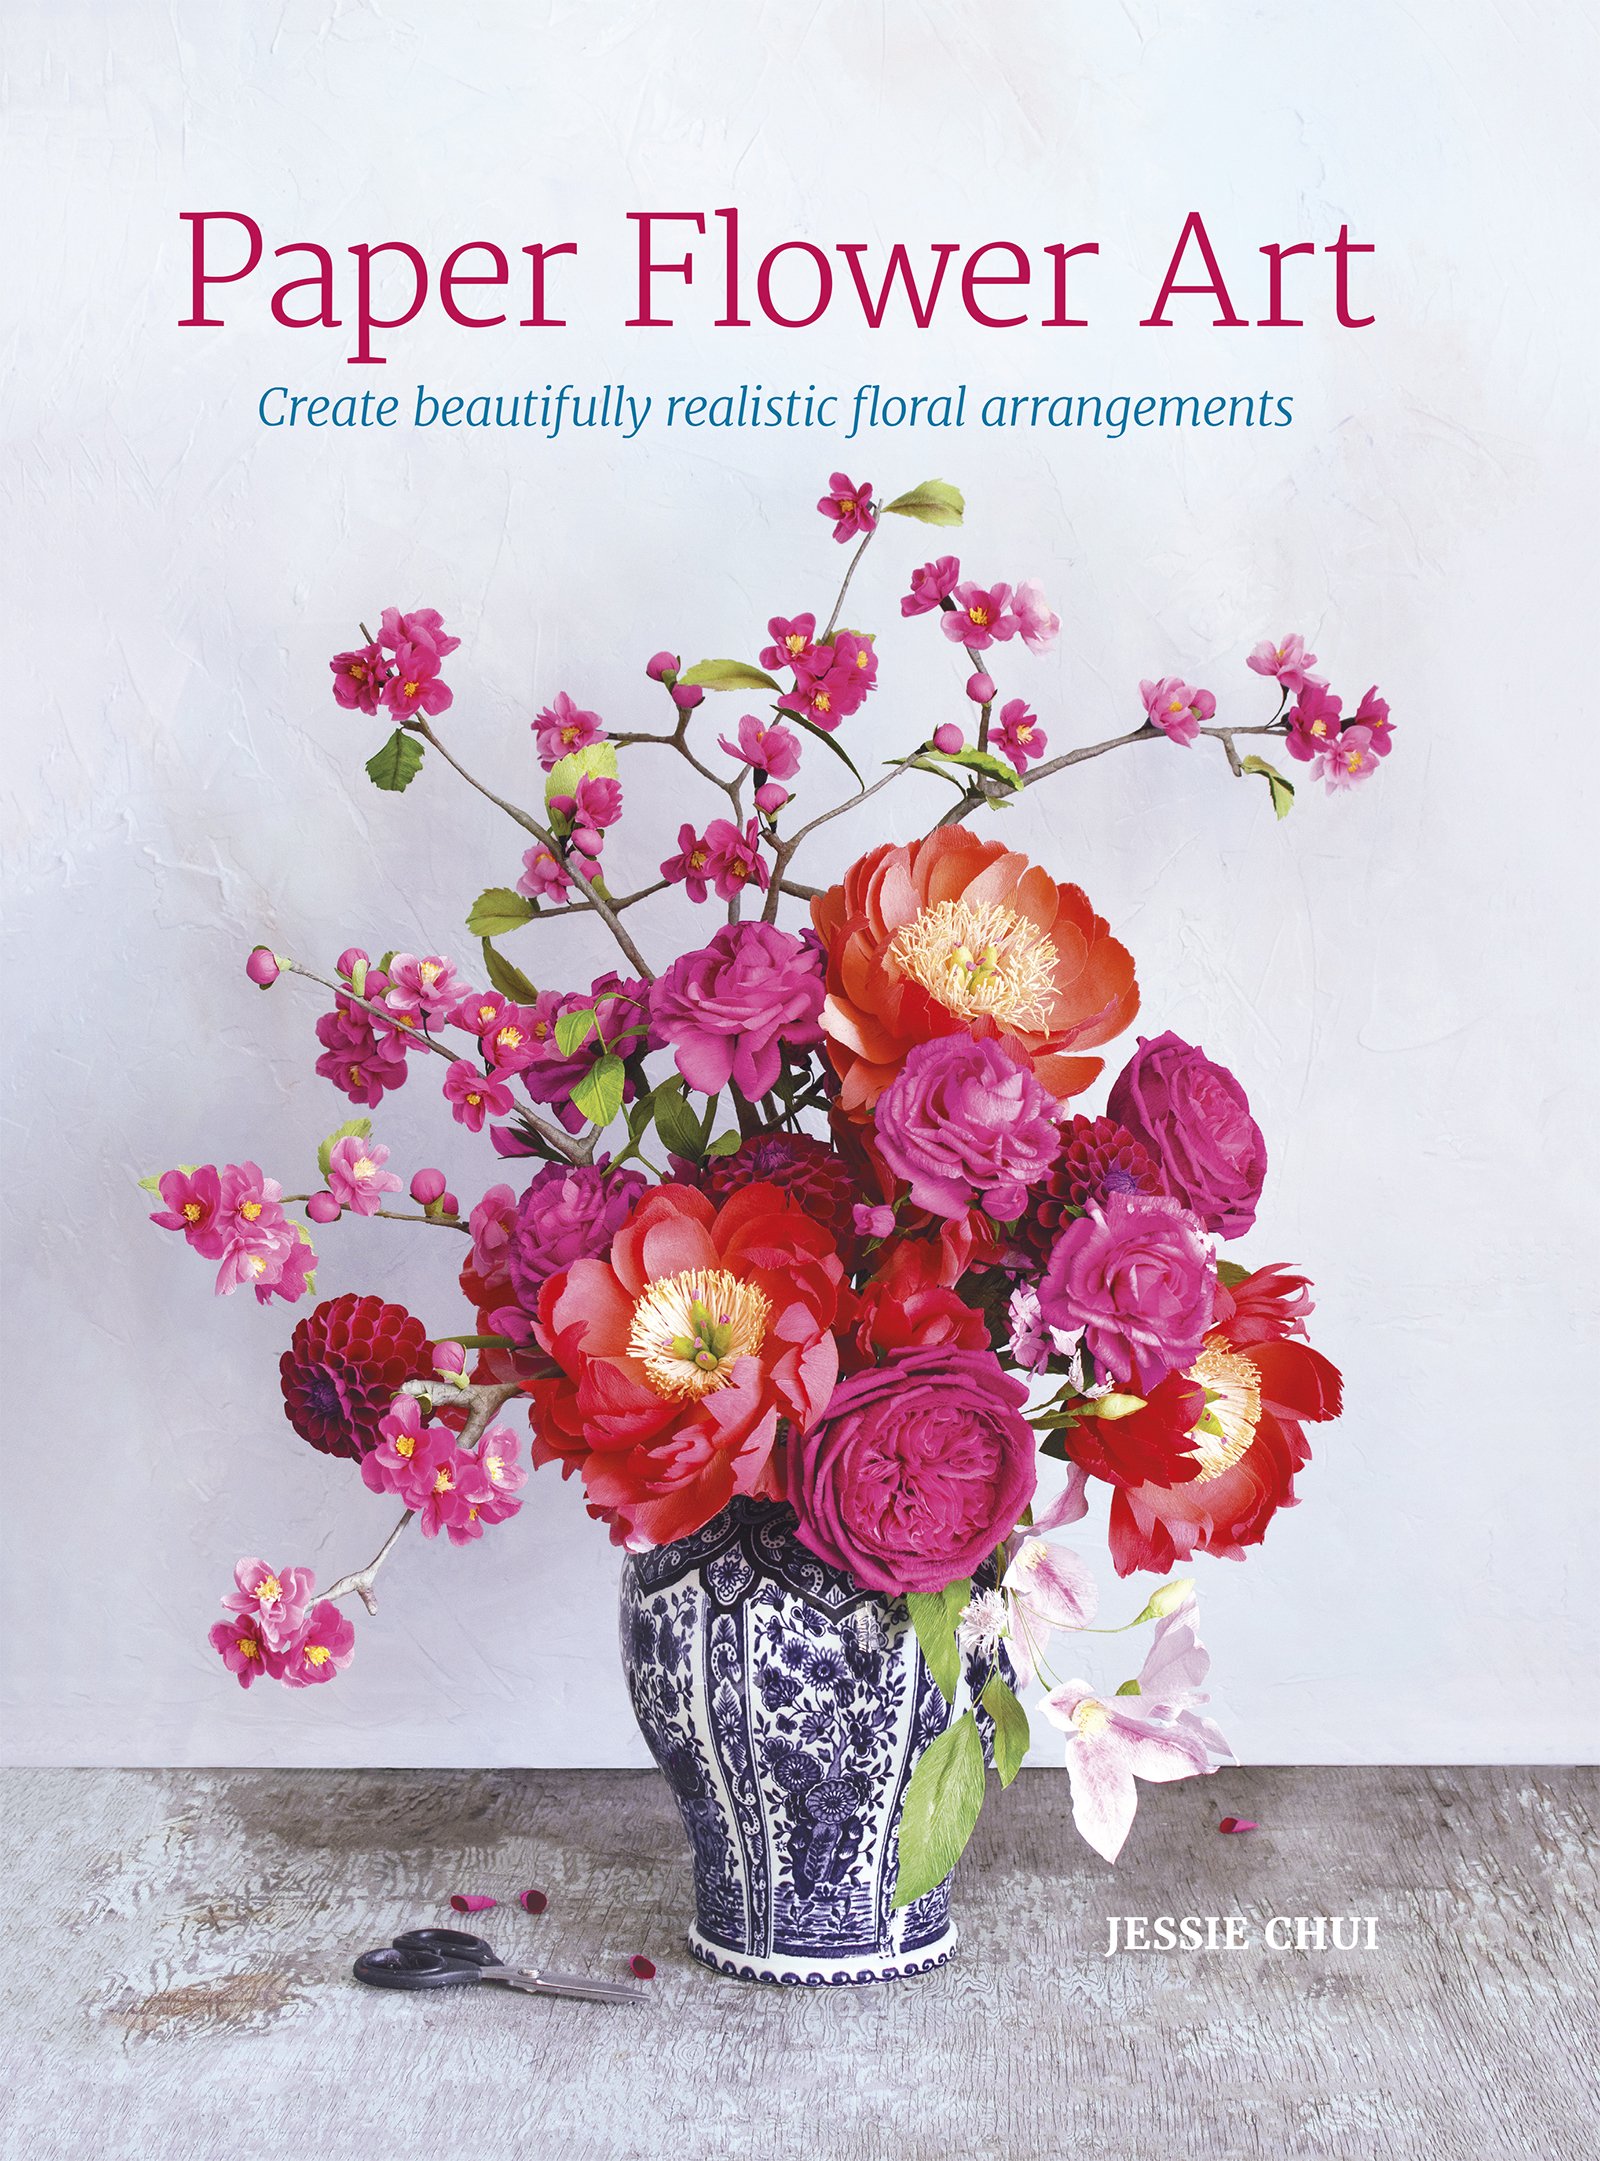
This blog post was written in 2016 and since then, I’ve developed various techniques for my paper flower arranging. You can learn more about how to make paper flower arrangements and bouquets in-depth in my book, Paper Flower Art (GMC, 2019) (BUY IN HARDCOVER or IN PAPERBACK) or following along by signing up to my newsletter (SIGN UP HERE).