Using Paper Flowers in a Fresh Floral Arrangement
I’ve always wanted to mix my paper flowers with fresh flowers in an arrangement, however before I moved into a home with a backyard and garden, I didn’t really have access to fresh florals. Sure, I could buy flowers from the grocery store (more on that later). But my condo was a plant killer. So it wasn’t until I was able to grow my own flowers and store them in my ice-box studio that I was confident I could keep them long enough to arrange.
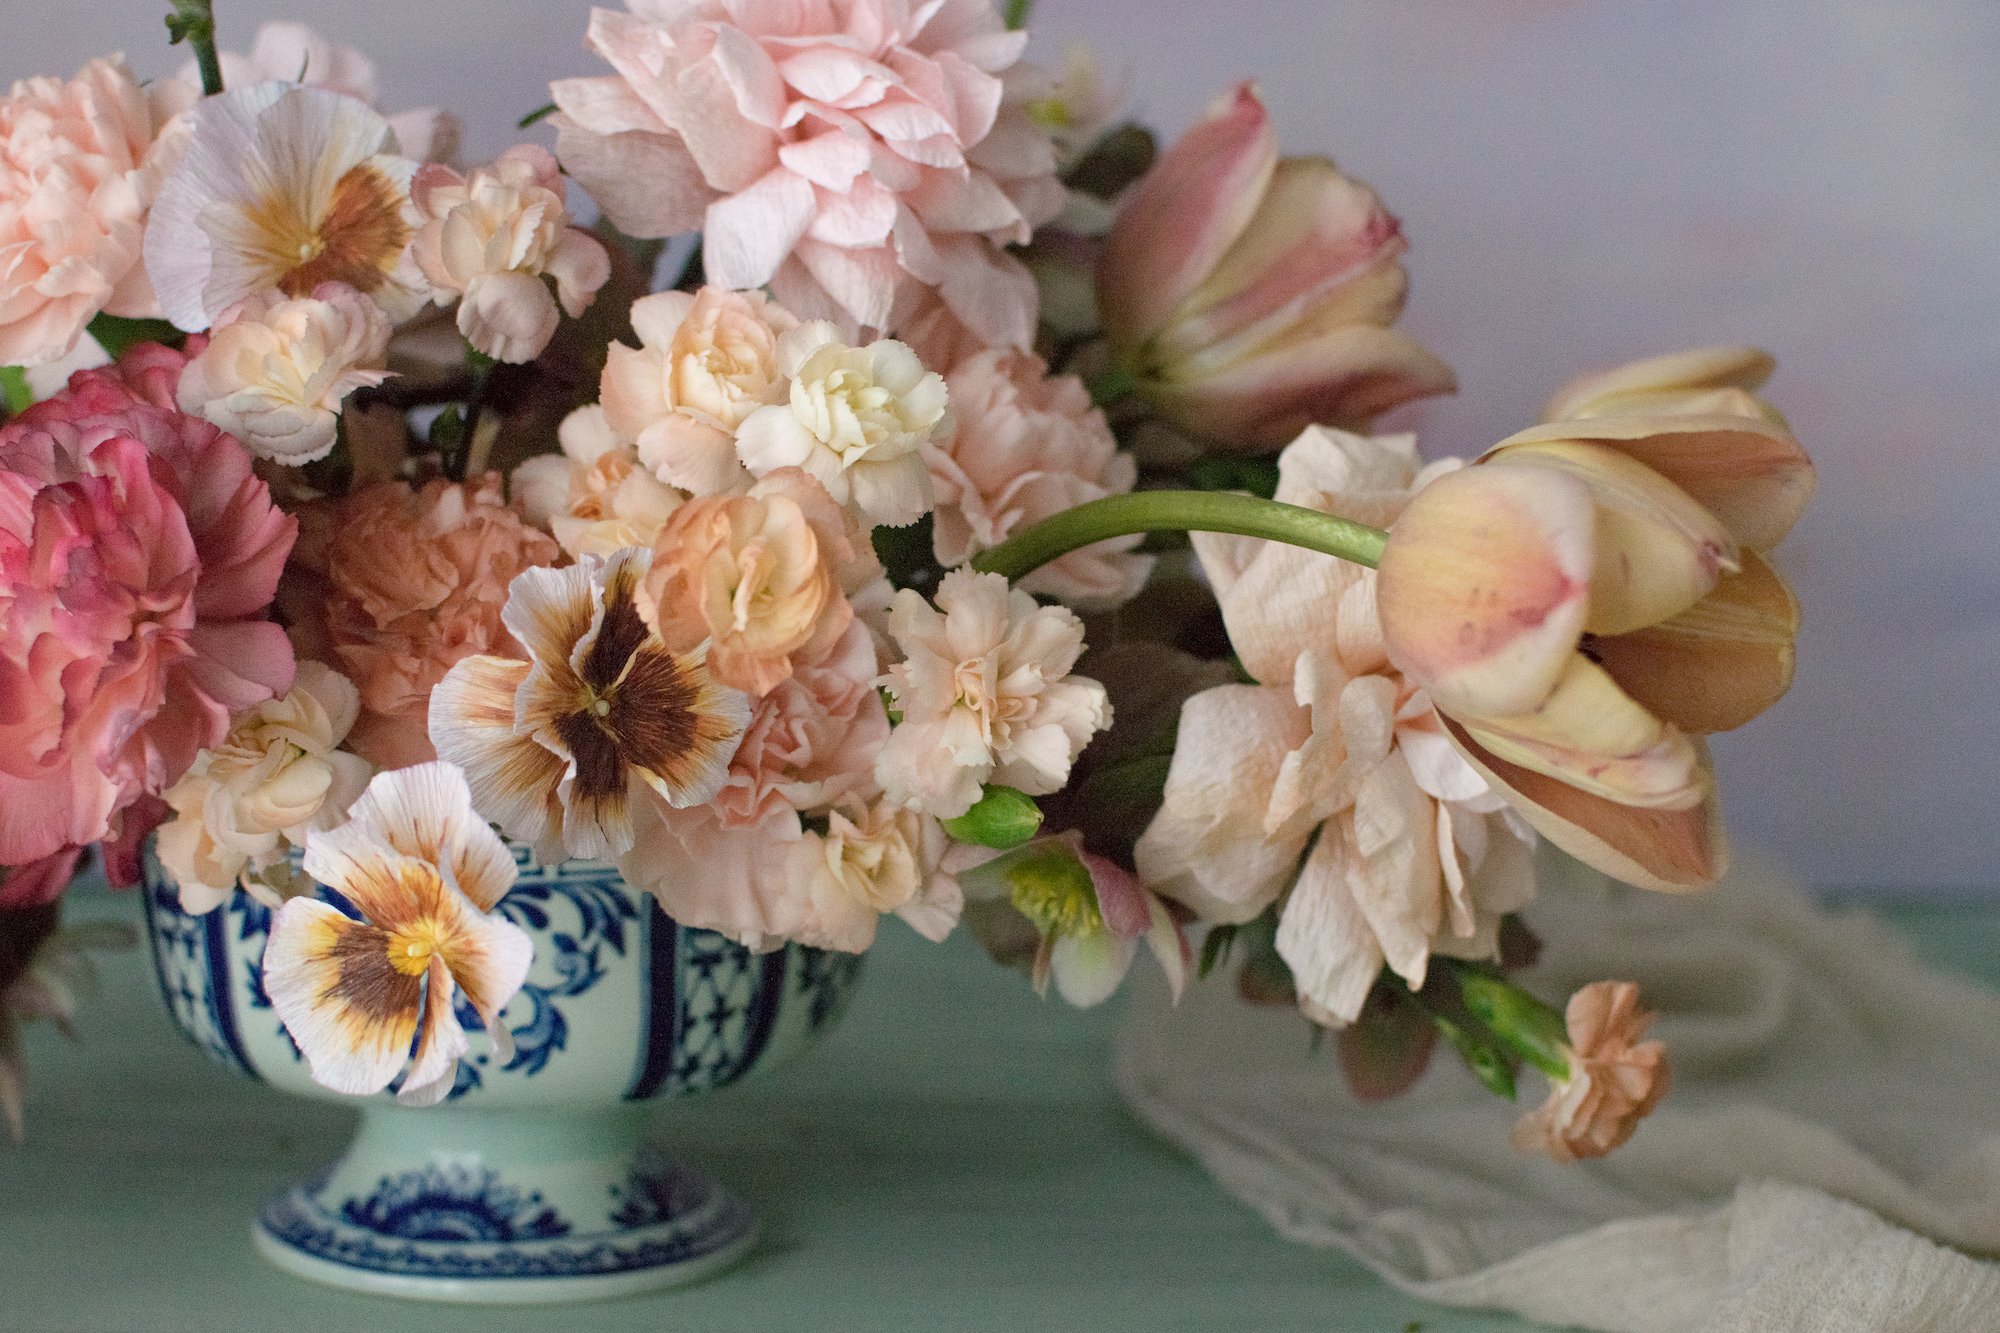
When we moved here two and a half years ago, I immediately planted peonies, roses and hellebores. This year, I also planted tulips and daffodils. The two tulips that I played with here is the pink double tulip called Aveyron and the muted copper tulip called La Belle Epoque. Both are from Antonio Valente’s farm. The Aveyron hadn’t yet opened up yet (I made this arrangement back in May), and the La Belle Epoque had just started to bloom. They looked even more beautiful (and smelled wonderful) a few days later when both tulips were completely open. Both tulips lasted about 10 days in the vase, which is fantastic! (The carnations are still going strong which is even more amazing!)I actually arranged them the day prior and during my arranging session, the tulips started pointing upwards and slowly descended as the hour went by. It was so cool! I kept that in mind when I arranged them a day later into this:

The tulips and the hellebores are from my garden, while the carnations I grabbed at my local Longos. They didn’t have those antique carnations that I was hoping for, so I bought light pink ones knowing that they would pull out the pinks from the tulips. To blend the two pink tulips into the other flowers, I took a few of the large and mini carnations and sprayed them with Design Master. I layered a mixture of Pinkolicious (TintIt), Raspberry (ColorTool), Cranberry (ColorTool), Red Clay (ColorTool), and Thicket (Just For Flowers). Paper pansies were sprayed lightly with Hyacinth (ColorTool). Initially the colours on the flowers were super bright, but as the paint dried, they settled into a nice even colour. The Red Clay and Thicket muted the colours more and picked up some of the muted copper/cream tones of the La Belle Epoque.
I first set up my compote by attaching a pin frog at the base with floral putty. I placed a ball of plastic covered chicken wire into the vessel and taped it down with waterproof tape. Then I poured fresh water in the compote. I started with the hellebores first, placing them so they created a general form for my arrangement. Then I arranged the carnations to create texture and to blend the colours. As I placed the flowers, I visualized where I would place my 3 paper roses. I made sure to wrap the stems of my paper flowers with floral tape to prevent rust. I placed my 3 pansies at the front so they would be front and centre. The sepia colour on them drew out the muddiness of the carnations sprayed with Red Clay and the La Belle tulips. Finally, I placed the tulips so they looked like they sprayed out from the centre. The pink on on the left back is my favourite - the stem naturally curved like a snake so I took full advantage of it.
I was able to take a video of the arrangement as I was working on it:
I don’t have much experience with arranging fresh flowers so I was really happy that it turned out so well. I was able to arrange the flowers in a way that reflects my style. I still have to work on form and shape though because I actually found it quite difficult to arrange the flowers to create height. Another thing I learned was that when I arrange I’m looking down at a different angle than the ideal photograph angle. I will have to try arranging with the compote higher up so I’m looking at it at a similar angle as my camera.
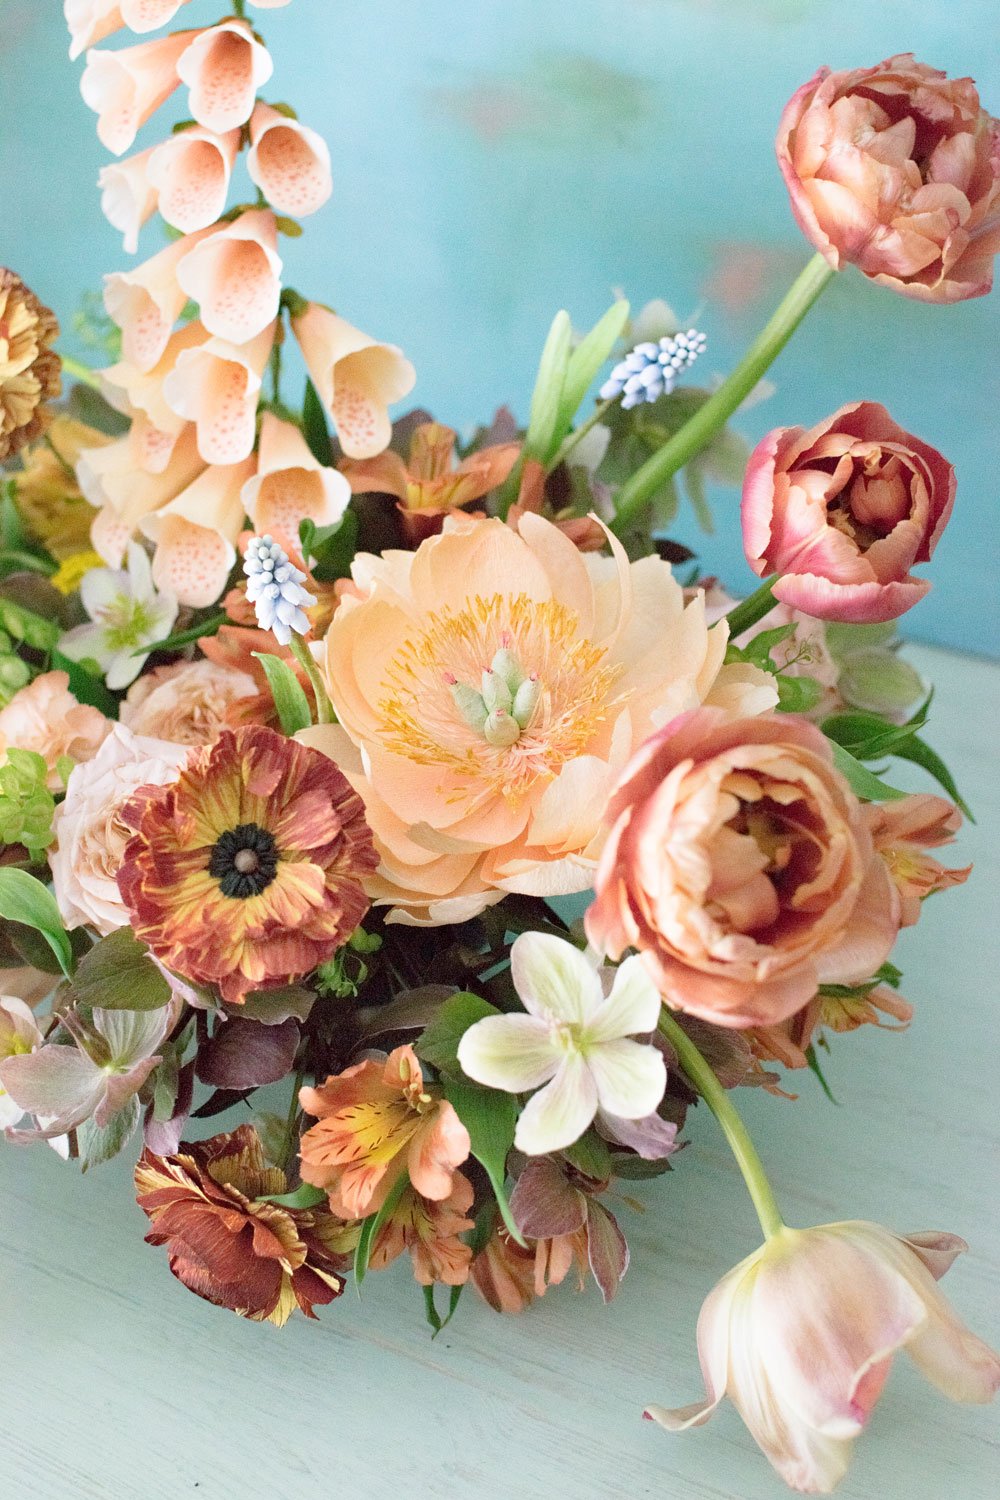
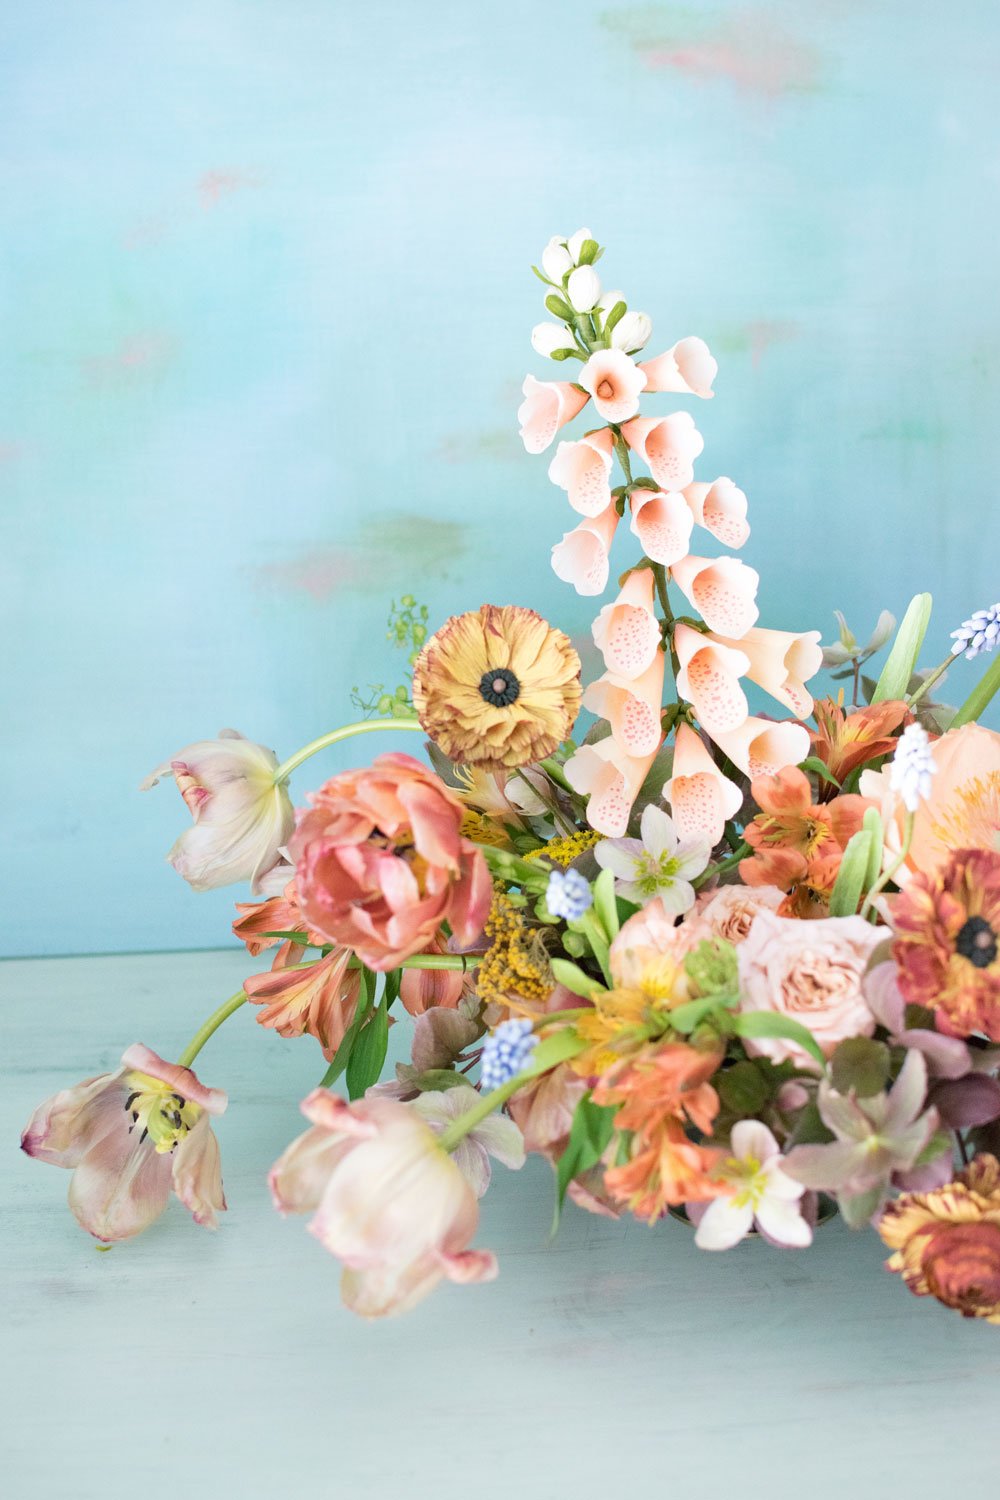
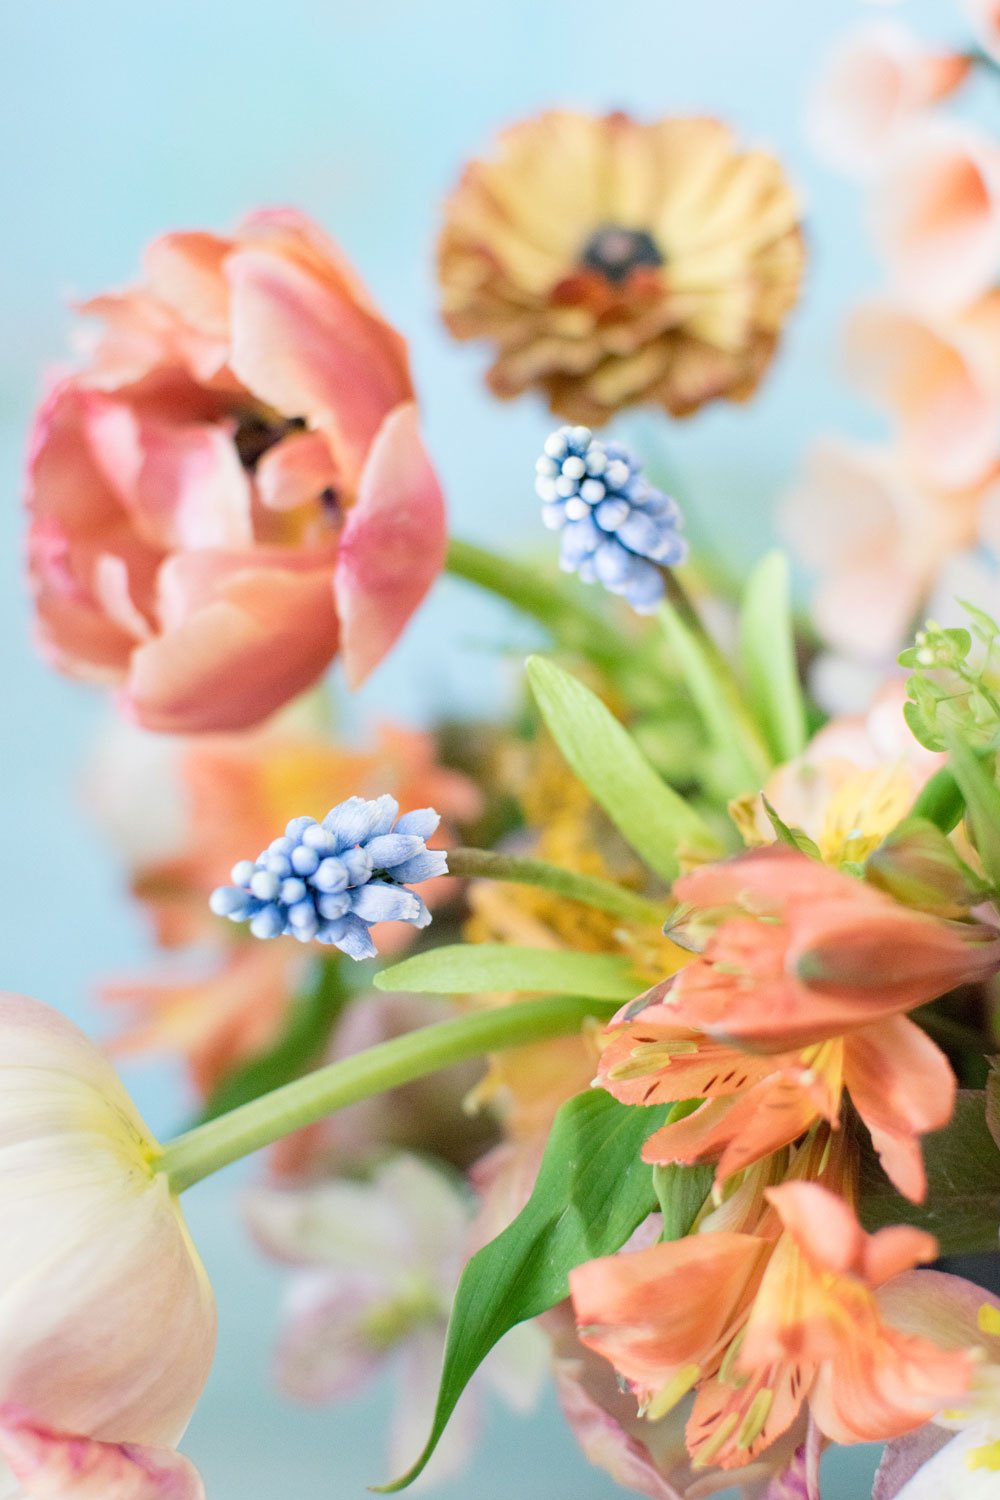
A week later, this is what I made using my Copper Image tulips (which finally opened up) and grocery store alstroemeria and roses and mixing it with a paper foxglove, paper ranunculi, and muscari:
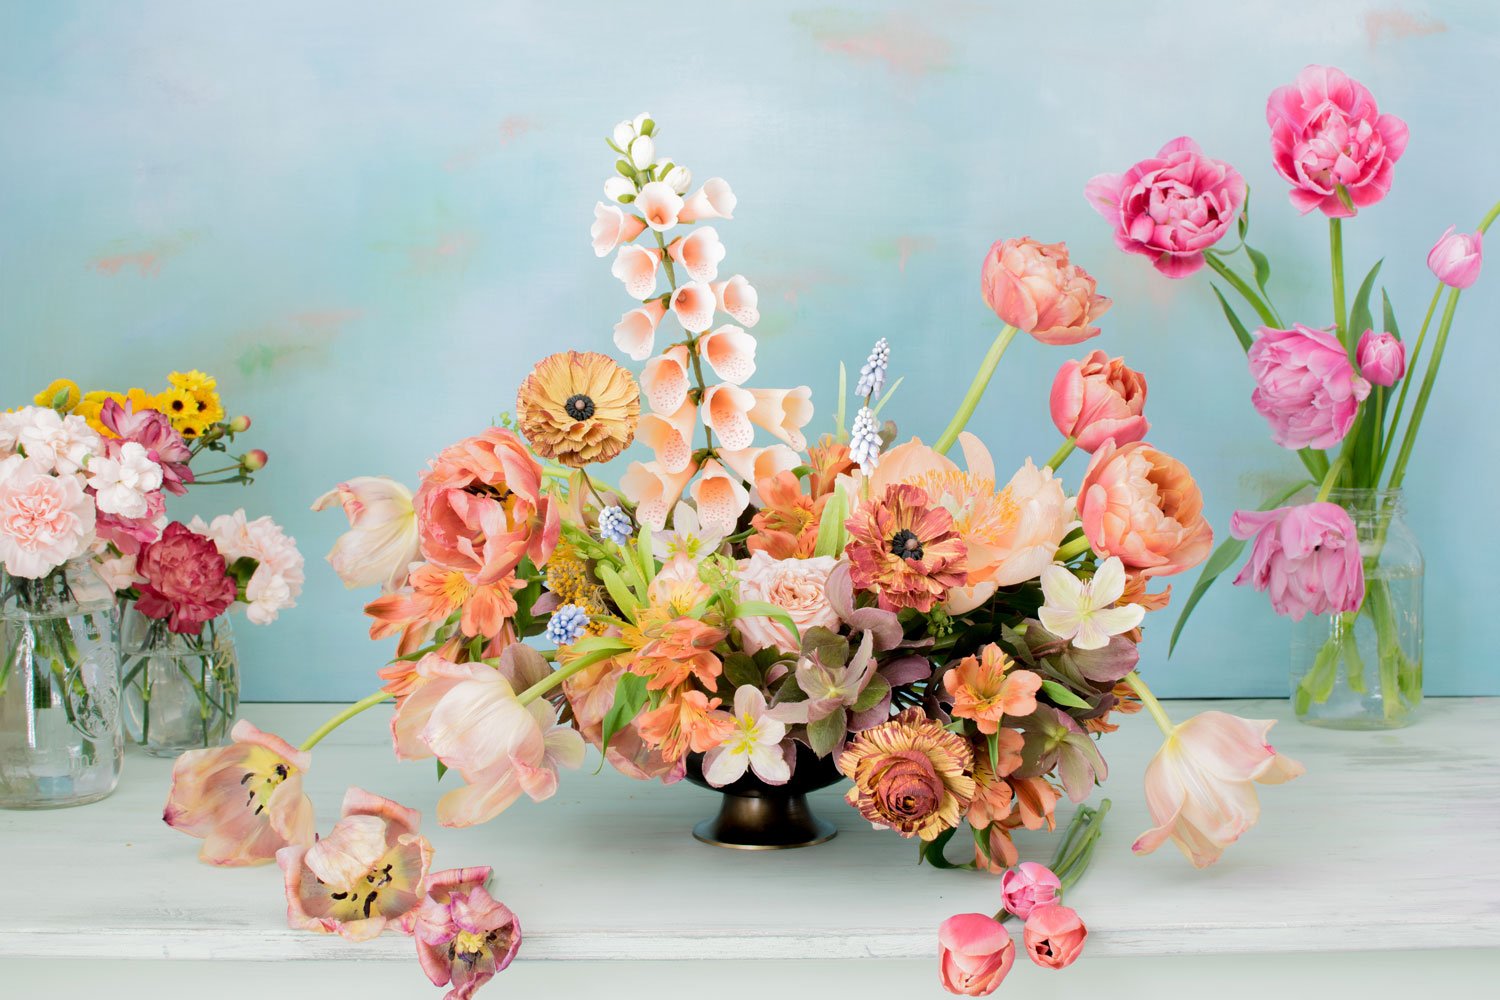
I was pleasantly surprised that I really didn’t need that much foliage to fill up both arrangements, unlike when arranging with paper flowers. Granted, I used a fair bit of flowers, but there are literally no stand-alone foliage in these. The hellebores (which last forever btw!) did an amazing job of creating depth and dimension and covering some of the mechanics. I tried to be lazy and simply insert the paper muscari between flowers (after wrapping the base with plastic wrap), hoping that the other flowers would support the short stems, but that didn’t work as they kept flopping over. So I ended up extending their stems by attaching short stem wires with floral tape before placing them into the arrangement. The paper Cafe Caramel ranunculi were the perfect muted yellows for the fading tulips and roses and burnt orange alstroemeria, but I found my paper faded coral charm peony too bright for the palette (brightness is relative when we are talking about colour; I certainly wouldn’t normally describe the light peach/cream as bright when compared to other paper flowers I have). Again, my solution was to apply a bit of sepia to it using Design Master, my saving grace.
For this second arrangement, I used a metal compote I got at a workshop with Christin Geall and Kristin Skjaar last year. It was rusting quite a lot and I feared it would affect the fresh flowers. Although I do love the earthiness of the vessel - there’s something about brass (or what looks like brass) that grounds the image of this arrangement - I think I’ll stick to the blue and white.
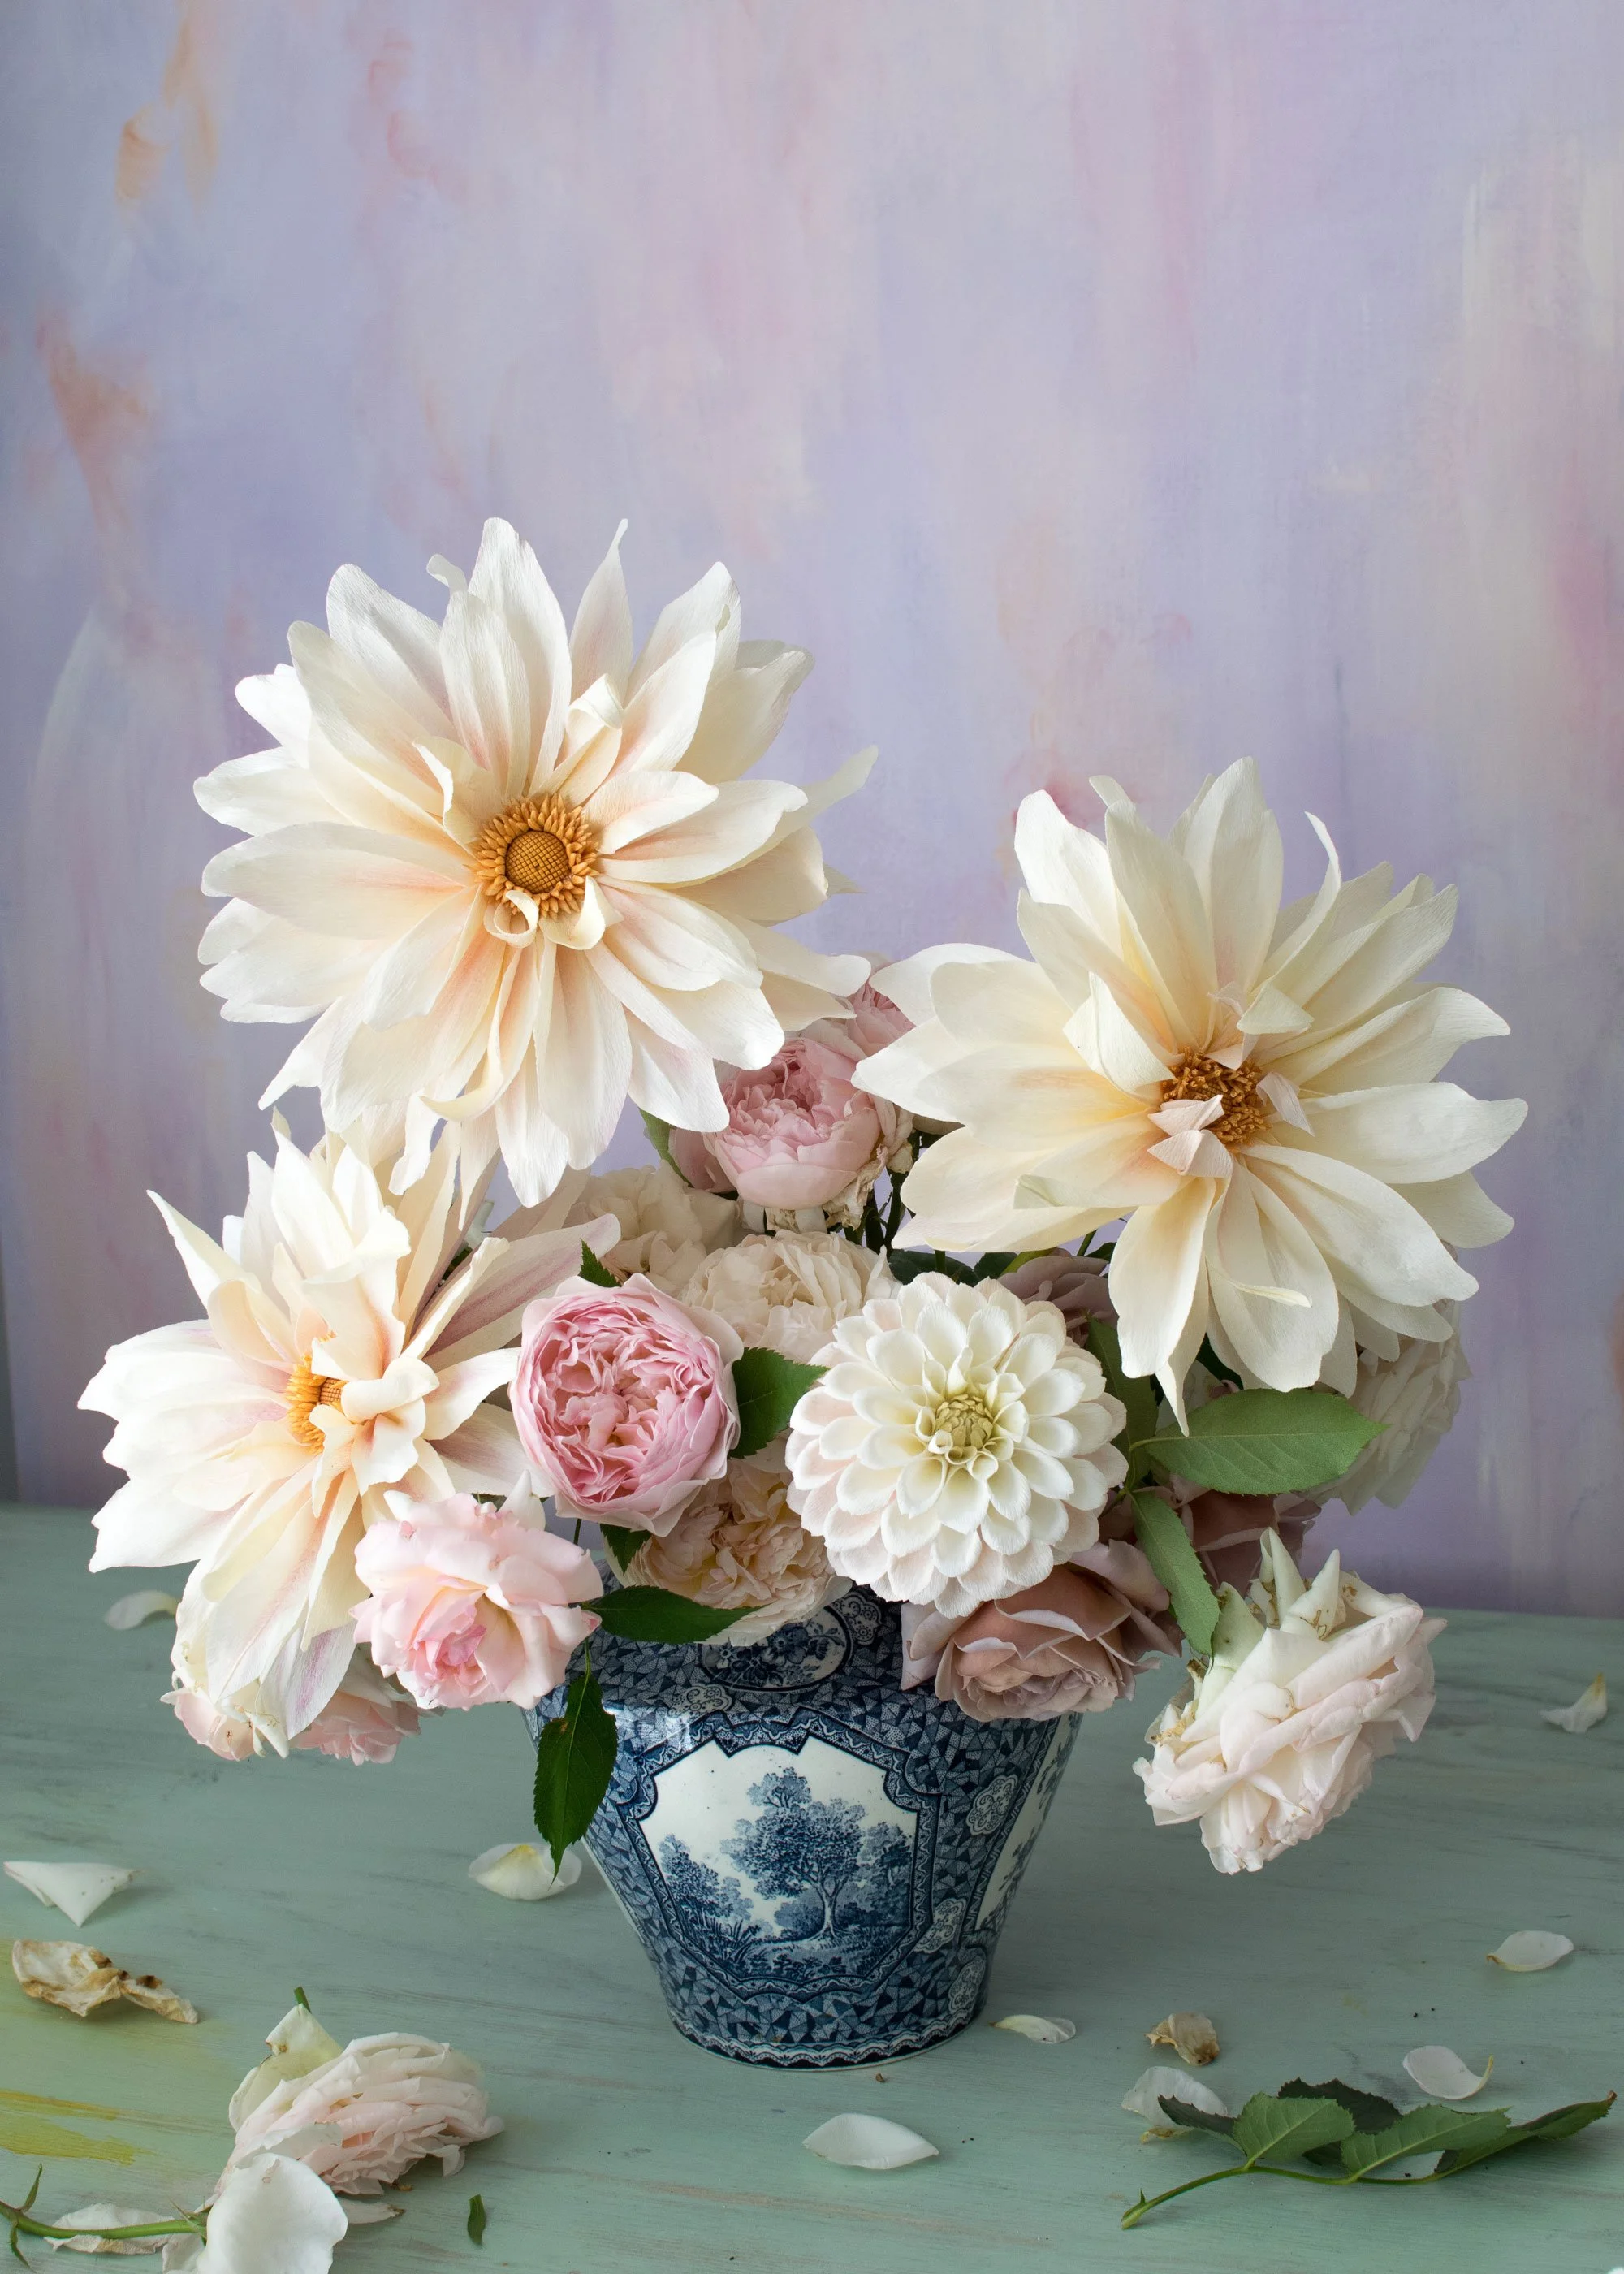
Fast forward two weeks, and I completely missed peony season as I finished up a bridal commission. So no arrangements with peonies this year. My roses bloomed shortly afterwards, so I got to play a bit with them. I have these really full and lush climbing roses which I’ve always fantasized about arranging, and I finally did. With paper Cafe au Lait Dahlias.
I’ve always been intimidated with these dahlias - truly lovely but they’re so much larger than other flowers that they’re quite a challenge to arrange with. I’ll talk a little bit about this in another post when I (finally) release my online course for these Cafe au Lait Dahlias in the coming weeks!
Thanks for reading along.