Art studio transformation + makeover
DISCLOSURE - When you click on my affiliate links, I may earn a commission for qualifying purchases made through Amazon.com links in this post. This commission goes directly into the maintenance of my website, the technology that goes into my courses, and my art. Want to know more? Read my AMAZON AFFILIATE DISCLAIMER.
An art studio can be transformed into your dream sanctuary with a lick of paint and some imagination! Read how my friend, Raymond Wong, and I managed a quick and inexpensive makeover.
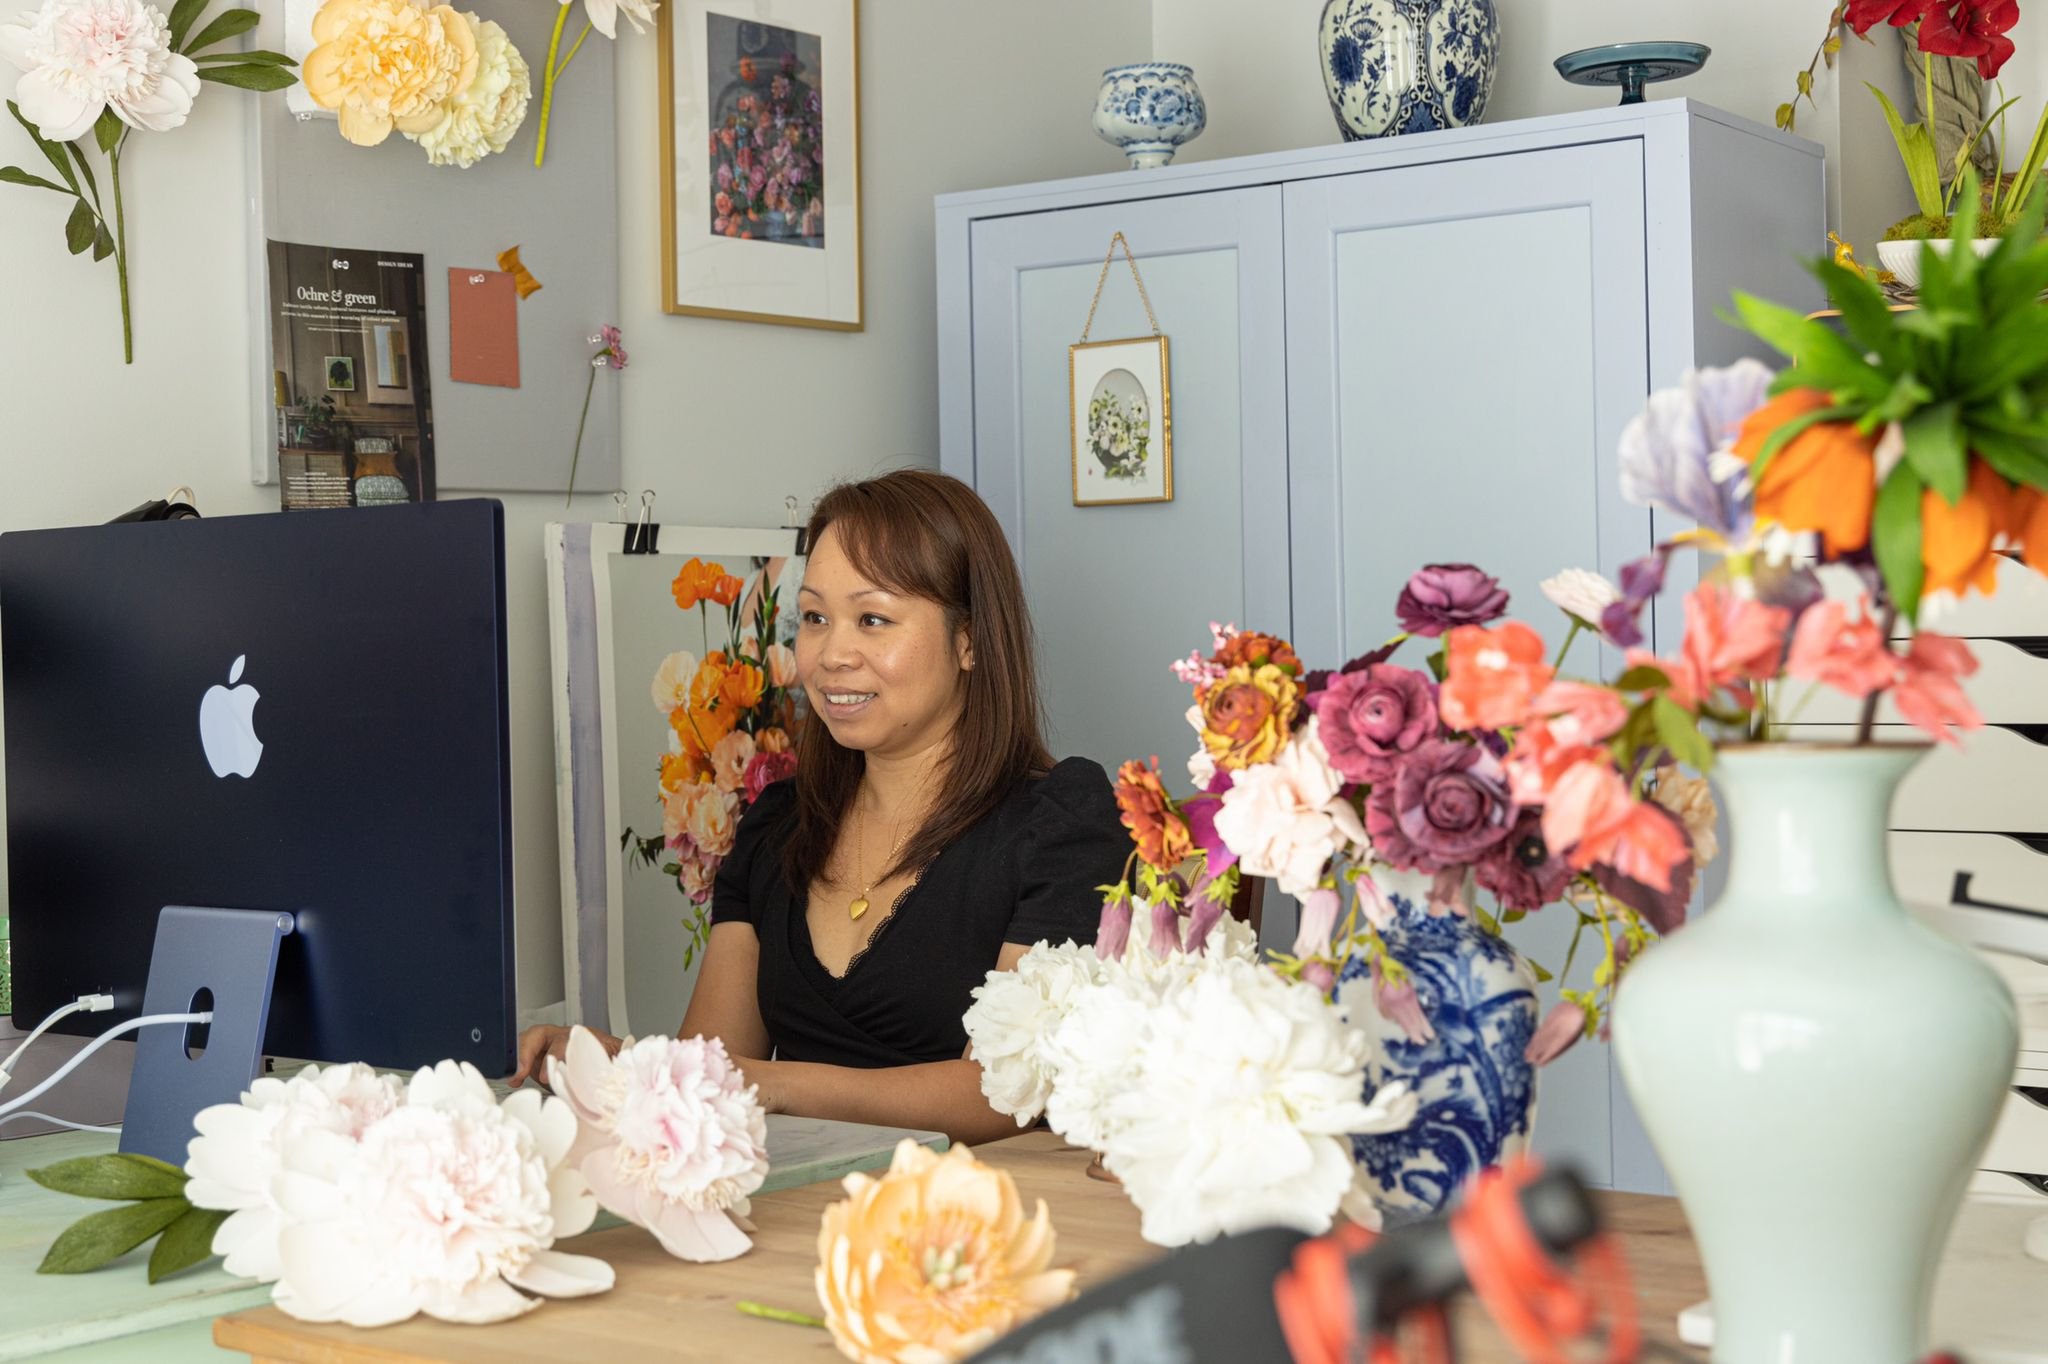
Like many artists, my studio space is a sanctuary. It’s a place where I can focus and be away from all of the noise. With all of the colourful kids toys littered around the house, it’s also really hard to be inspired. A sanctuary of calmness and beauty. That’s what I crave. That’s what I need.
Enter my friend Raymond Wong. Real estate agent, budding videographer/YouTuber. Recently he had been on an HGTV reno show and had taken notes on how their team shot and directed their participants. Now he was going to work the magic on me and my studio. He called ask if I needed a re-organization and I jumped at the chance to get my butt into gear.
THE MAKEOVER
You see, for a while now, I had fantasized about painting the sliding doors of the Ikea Pax wardrobe (a fantastic piece of furniture that has managed to survive through 3 moves: two homes and one condo, and now, in this townhome where it stores a lot of my art supplies) an off-white colour to reflect more light into my studio and align closer to my aesthetic.
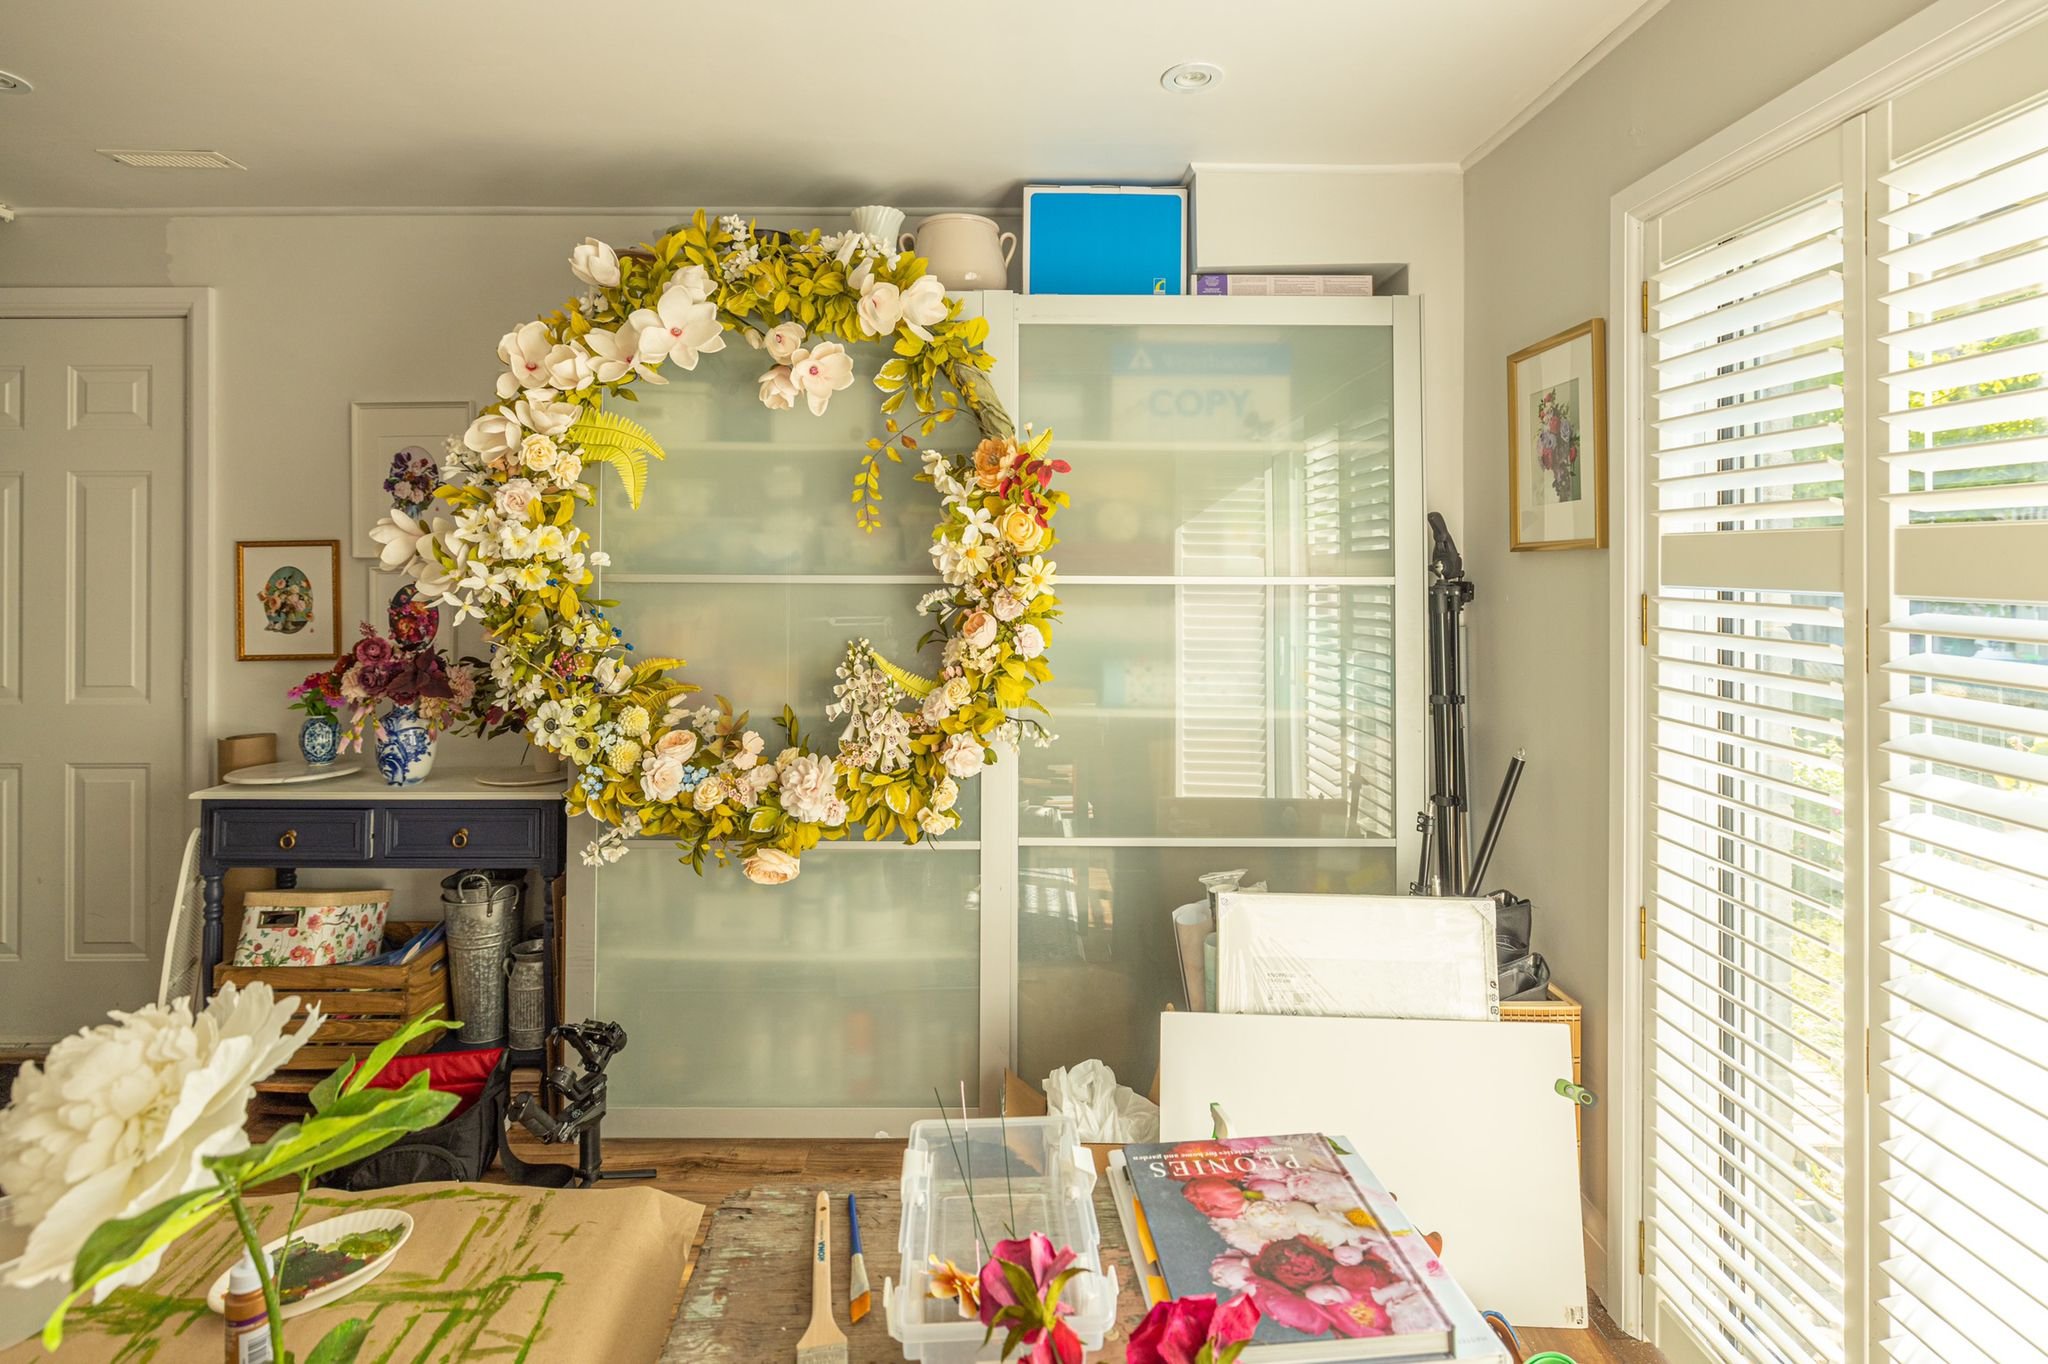
My large paper floral ring hanging from my Ikea Pax wardrobe which holds my art supplies amongst other things. Over the years, it has served to hold a lot of my Paper Flower Art flower stems and it is a beautiful reminder of where I started.
The other thing that I had wanted to do for some time now was to replace the white Ikea Kallax that sat behind me during my Zoom calls. It didn’t have a door so whoever I was talking to on Zoom could see my art supplies and colourfully arranged Italian crepe paper. It just looked messy. Functional, but messy. (Side note: I originally had 2 Kallaxes and they were placed sideways so that the long side served as a table). My idea was to swap it out with a brown cabinet with doors from my dining room. Ray suggested I paint it a lighter colour because it sucked the light out of the room.

The Ikea Kallax with its amazingly functional dividers. I love being able to just slide my trays of work and supplies into it.
Before I could paint anything, I had to do two things: (1) Remove the large floral ring that hung from the Pax sliding doors, and (2) Prep the furniture for painting.
1. Dismantling the Large Paper Floral Ring
We quickly took down the floral ring and dismantled it by pulling the sockets apart. When I designed the structure back in 2018 for a window display, I constructed it from 2 pieces of flexible PVC pipes attached together using sockets so it could be taken apart and fit it into my car for transportation. Chicken wire was wrapped around the pipes and attached using zip-ties. To preserve precious square footage, we decided to install the floral garland on the ceiling bulkhead. Using a stud finder, we screwed 3 inch screws into the studs on the side of the bulkhead, leaving 2 inches sticking out. Then we hung the back of the garland onto the screws. We designed it so that the majority of the magnolias draped down one side of the wall. I love this garland because it reminds me of where I was when I started my paper flower journey.

The paper floral garland is up and away from precious floor space.
My brown cabinet is now a lovely light gray purple. Similar to the colour of my Mac!
2. Prepping the Furniture
I first wiped down the outside of the Pax wardrobe and the brown cabinet to remove any dust and grime. I unscrewed all of the hardware on the cabinet like the knobs, and removed the doors, the shelves, and the bottom pull-out cabinet. The sliding doors of the Pax wardrobe are made of glass and steel while the brown cabinet had a laminate finish so both had to be prepped with something that would allow the paint stick to it. I painted both with Fusion Mineral Paint Ultra Grip and let it dry overnight. If I had to do it again, I would have also lightly sanded the finish on the cabinet before applying Ultra Grip.
3. Painting the Furniture
I painted the outside of the Pax with Fusion Mineral Paint in Raw Silk using a roller for the larger areas and a paint brush for the seams and narrow areas. I lined a small paint tray with foil before pouring in the paint so that clean up would be a cinch. I had to paint one door at a time because there was a slight overlap. I applied 3 layers of paint in total allowing each layer to dry before applying the next. Pretty straightforward and took a total of 2 days to complete.

The finished sliding doors of the Pax wardrobe. I would have loved to attach gold handles to it.
In between each layer, I worked on the brown cabinet. I made a custom gray-purple colour (Fusion Mineral Paint has paint chips with suggested custom colours) by mixing a jar of Peony with a sample size of Liberty Blue. I had to paint 2 layers. There was so many parts to paint that it took longer than I thought it would. I also had to use painters tape to tape off the glass. To remove the painters tape after the glass dried, I used a small blade to cut the tape so the paint wouldn’t tear off as the tape was pulled off. Alas, I had to fix some of the edges anyways, so on went Ultra Grip and then colour the next day. When the cabinet was finally in position, I noticed that there was a lot of glare coming off of the glass doors, so I actually ended up painting the glass too (Ultra Grip first, then colour the next day). While the paint was drying, I coloured the black knobs with a Rub n’ Buff in European Gold. So there was a lot of steps and waiting. It took a total of 4 days to finish.
THE RESULT
And here’s the finished video!
THE OVERALL EXPERIENCE
I had high hopes for this collaboration and I wasn’t disappointed! Ray was very professional and every time he was at the studio, he had a game plan of the narrative, what shots needed to be taken, what B-rolls to grab, and the questions he wanted me to answer.
The first day he came, he spent about 2 hours scooping out the studio space. We discussed what angle the narrative should be, and then we shot the parts of me introducing myself and talking about what I hoped for this makeover. He set up 2 cameras so he could get different angles of our interaction. We had mics pinned to us to ensure our voices were clear. I loved how I didn’t speak directly into the camera but off to the side. He would throw questions at me and I would answer them. Everything we did was recorded. I talked about the same thing several times so he could pick and choose the best delivery. Ray cut and pasted all the video footage together so that none of his questions and our chats were included; only the conversations that fit the narrative. Before he left, he helped me put up the floral garland.
A week later, Ray returned so we could shoot him entering the studio and talking to me about what I wanted to change. We the mess of my Kallax cabinet, move it up and move the brown cabinet down. We shot some video of us removing the supplies from the Kallax and then chatting about painting the cabinet. This was the longest day because we actually did work! We moved the Kallax upstairs and swapped it for the brown cabinet from upstairs. My husband got involved. My son made a cameo. Lots happening. This was the longest day for us.
After he left, that’s when I prepped and painted everything. I took time lapses of the painting, but I forgot to do it on landscape (because I was so busy just getting it done), so Ray had to work around that in the video by putting the portrait time lapses side by side.

I reused my containers for the paper rolls. The containers are cardboard file holders. The crepe paper are Italian 180g rolls, cut in half.
Ray returned two weeks later, after I had finished painting everything and even moved the cabinet down to the studio (I had to use it!). During his absence, I had already put everything into the cabinet and organized that to make sure what I wanted to fit actually fit in it. I reused the Kallax dividers (awesome!) and brought down a tray divider for my loose papers. When Ray arrived, he actually told me to remove some things so it didn’t look as packed because it didn’t look great on camera. On this last day, we did a lot of B-rolls and shot some still images for the video thumbnail.
Overall, it was a lot of work but also a lot of fun! So worth it. I can feel a sense of calmness descend upon me every time I walk into my studio. It stirs my soul and my creativity. Thanks Ray!