Playing with Spring Bulbs for Paper Flower Fritillaria Meleagris and Muscari

DISCLOSURE — When you click on my affiliate links, I may earn a commission for qualifying purchases made through Amazon.com links in this post. This commission goes directly into the maintenance of my website, the technology that goes into my courses, and my art. Want to know more? Read my AMAZON AFFILIATE DISCLAIMER.
For the March #paperflowerchallenge in our Paper Talk Podcast Community Facebook Group, I was tasked with the responsibility of demonstrating some ways to make a bulb for spring paper flowers.
I decided to tackle bulbs for the muscari and fritillaria meleagris - the first because I already have paper muscaris lying around and the second because I was making them. Both flowers have relatively small bulbs as well. So keep this in mind when you’re trying the techniques below.
These were my objectives when designing these:
To permit the stems of my paper flowers to be inserted into the bulb and easily removed
To ensure the bulb could also function to hold the paper flower upright
To make the bulb look as realistic as possible
Fritillaria meleagris bulb
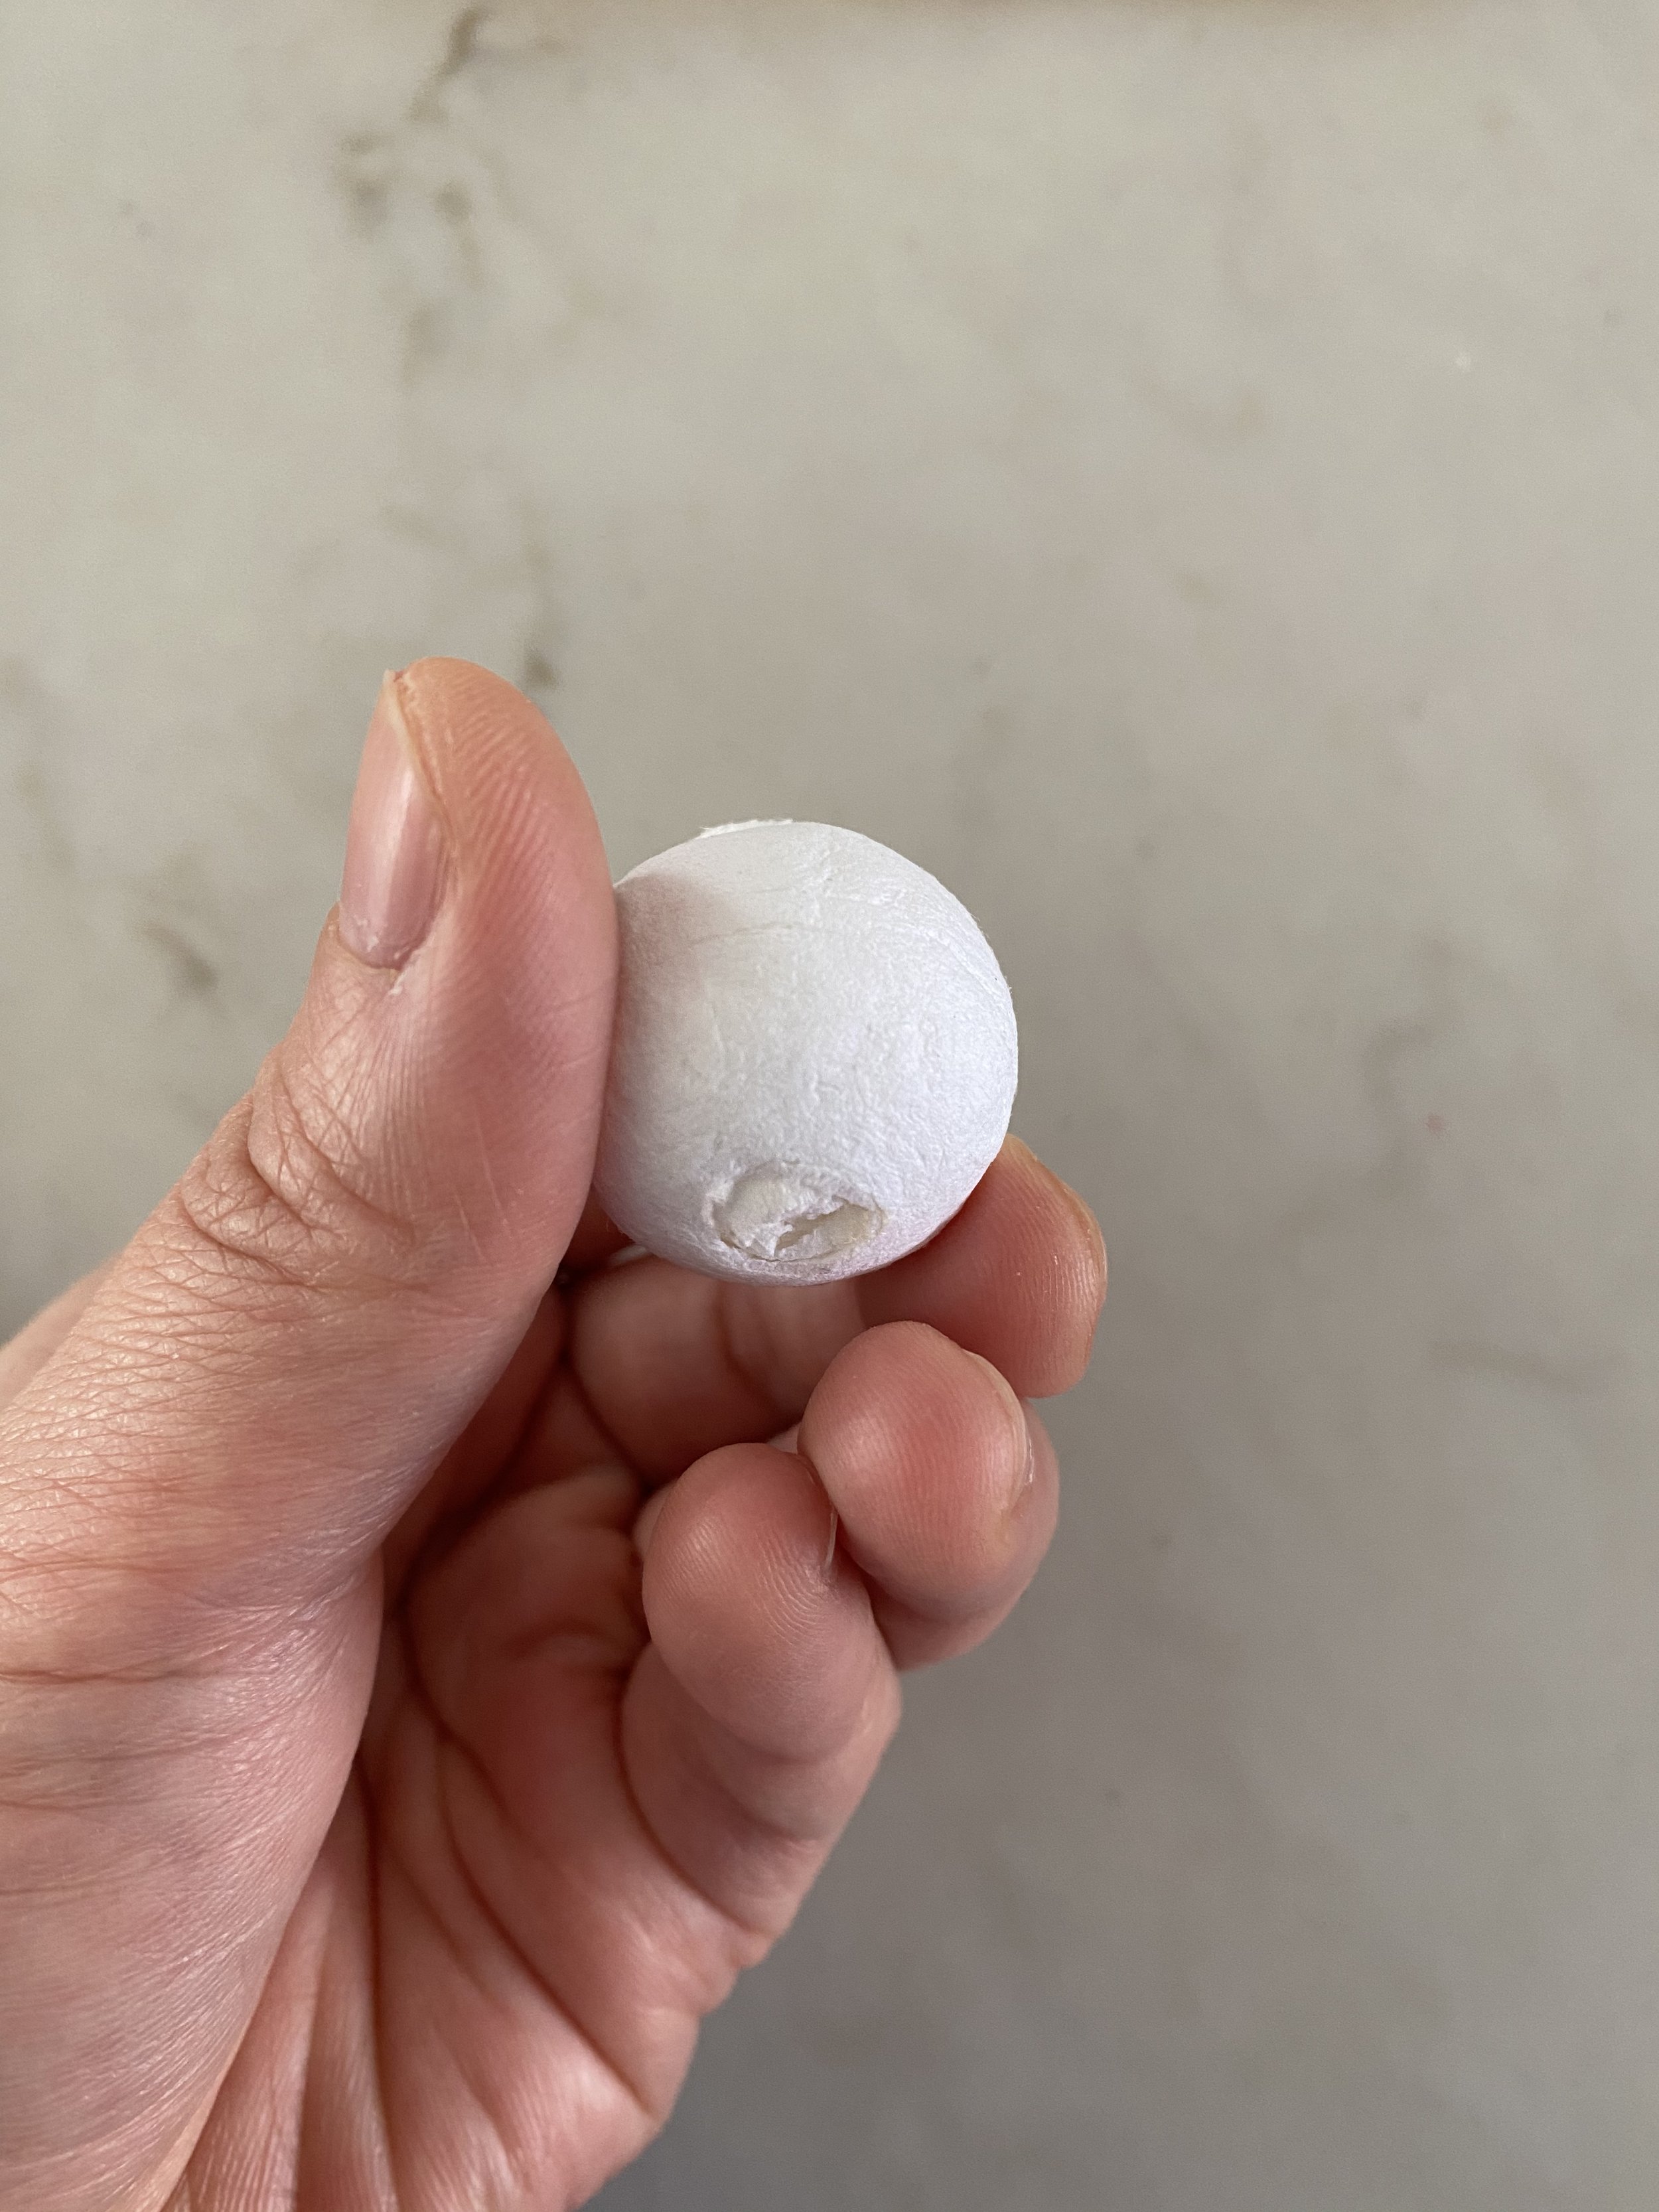
For this unique looking thing, I used DAS paper air-dry clay. I pulled out a bit from the pack and rolled it in my hands until it formed a small ball. You might need to experiment on the size of the balls/bulb to see if it’s heavy/large enough to hold up a stem. Mine was about 1.75” in diameter.
I made sure to smooth out the outside by wetting my fingers and spreading out any cracks. Then I made a second one the exact same way. Next, I applied a bit of water on one side of one of the balls and pushed the two balls together so they sort of stuck together. The water acts as glue, but be sure not to add too much as the pieces may slide off each other. At this point, it looks sort of like someone’s bottom. You want to shape it so that it looks more like a pumpkin, with a flatter bottom (push the clay down to flatten the bottom). From the top, it should look more or less round all-around and not elongated. When in doubt, refer to images of real fritillaria meleagris bulbs!
To create the space for the flower stem, I pushed a skewer through the middle top of the bum. Try not to push it all the way through the bottom though; if the hole goes all the way through, it makes it difficult to move the bulb and flower together. I twisted it a bit to ensure it made a big enough hole for the stem (and leaves). You might have to use another tool depending on how thick your flower stem is. Be careful you don’t separate the bum into two! If you do, just apply a bit of water between the pieces and reassemble. To achieve the shallow indent, I pushed the back of a paint brush over the top. Then, let dry! I let mine dry for about 1 day.
Once dry, you can paint the paper clay with really any medium. Here I’ve used Daniel Smith watercolour in a bluff titanium to achieve the off-white colour, with touches of yellow ochre and sepia. I added a dull green to the top where the stem would be. You can add more details like soil to and roots. To create highlights, I lifted the colours using a small sheet of paper towel.
The last thing I did was to attach two small leaves (are they called leaves?? likely not…) near the stem. I simply laminated two pieces of 180 g Italian crepe paper together and painted them with watercolour to achieve the bright green. Then I cut two small leaves and then glued them together around a skewer so that they wrapped around it. I applied glue to the leaf base and slid them into the hole in the bulb. When it is dry, you should be able to insert your fritillaria meleagris paper flower stem into it seamlessly.
Muscari bulb
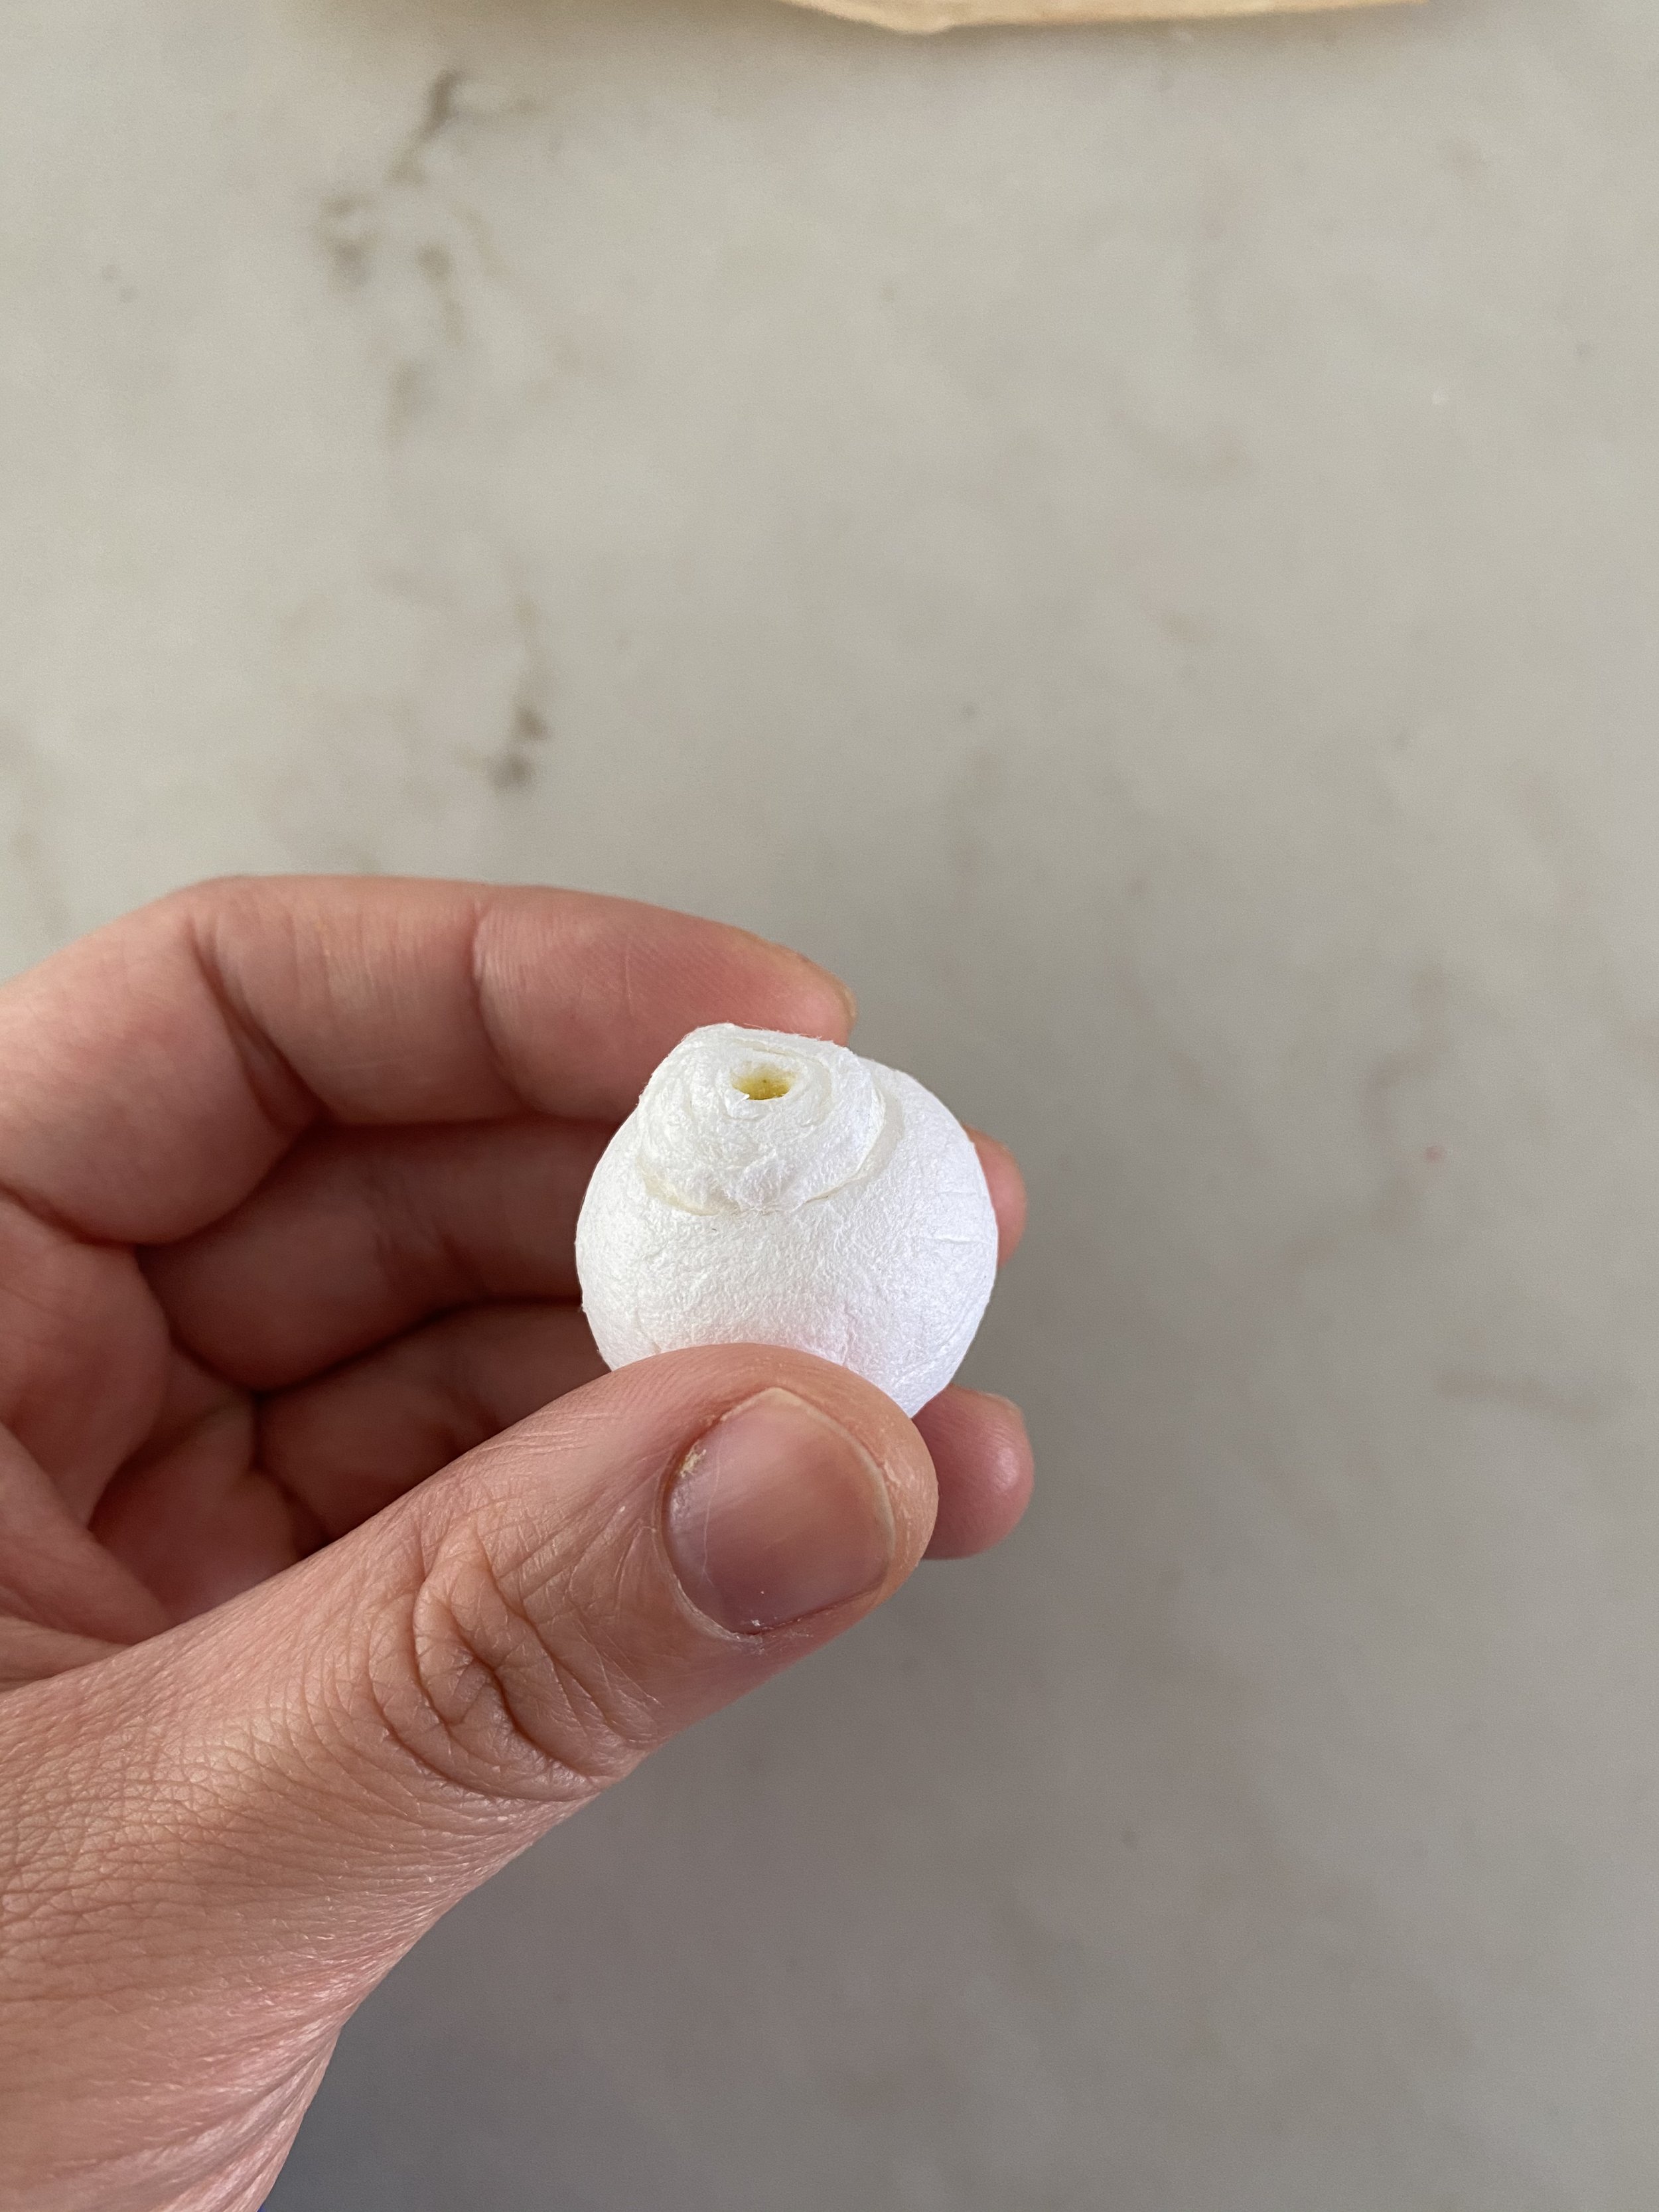
I used a spun cotton ball to create the underlying shape/structure of the bulb for a paper flower muscari. These bulbs look like mini onions and my first thought was how to create that soft tapered top where the bulb connects to the flower stem. Good thing I’ve used spun cotton balls before and I’m kind of familiar with what they can do! The only thing with spun cotton balls is that it really isn’t heavy enough to support a flower stem, so mine doesn’t stand like the fritillaria meleagris. One of our members suggested pouring something heavy into it to create that weight like BB pellets. What a great idea!
Here I’ve used a 25mm spun cotton ball. I bought mine eons ago at Rose Mille, but you can also buy it on Amazon. You can even purchase larger spun cotton balls to make larger bulbs. Our friend and member, Anne Mie Bang Christensen did just that!
Using a skewer (or pen), push the inside of the ball from the bottom so that it pops up on the top side. Be careful when you’re doing this so that the inside doesn’t pop out completely. At this point, if the bottom appears too hollow and the sides of the ball seem to be collapsing, squirt some glue into the inside, spread it around, and let it dry. This should support the walls of the ball.
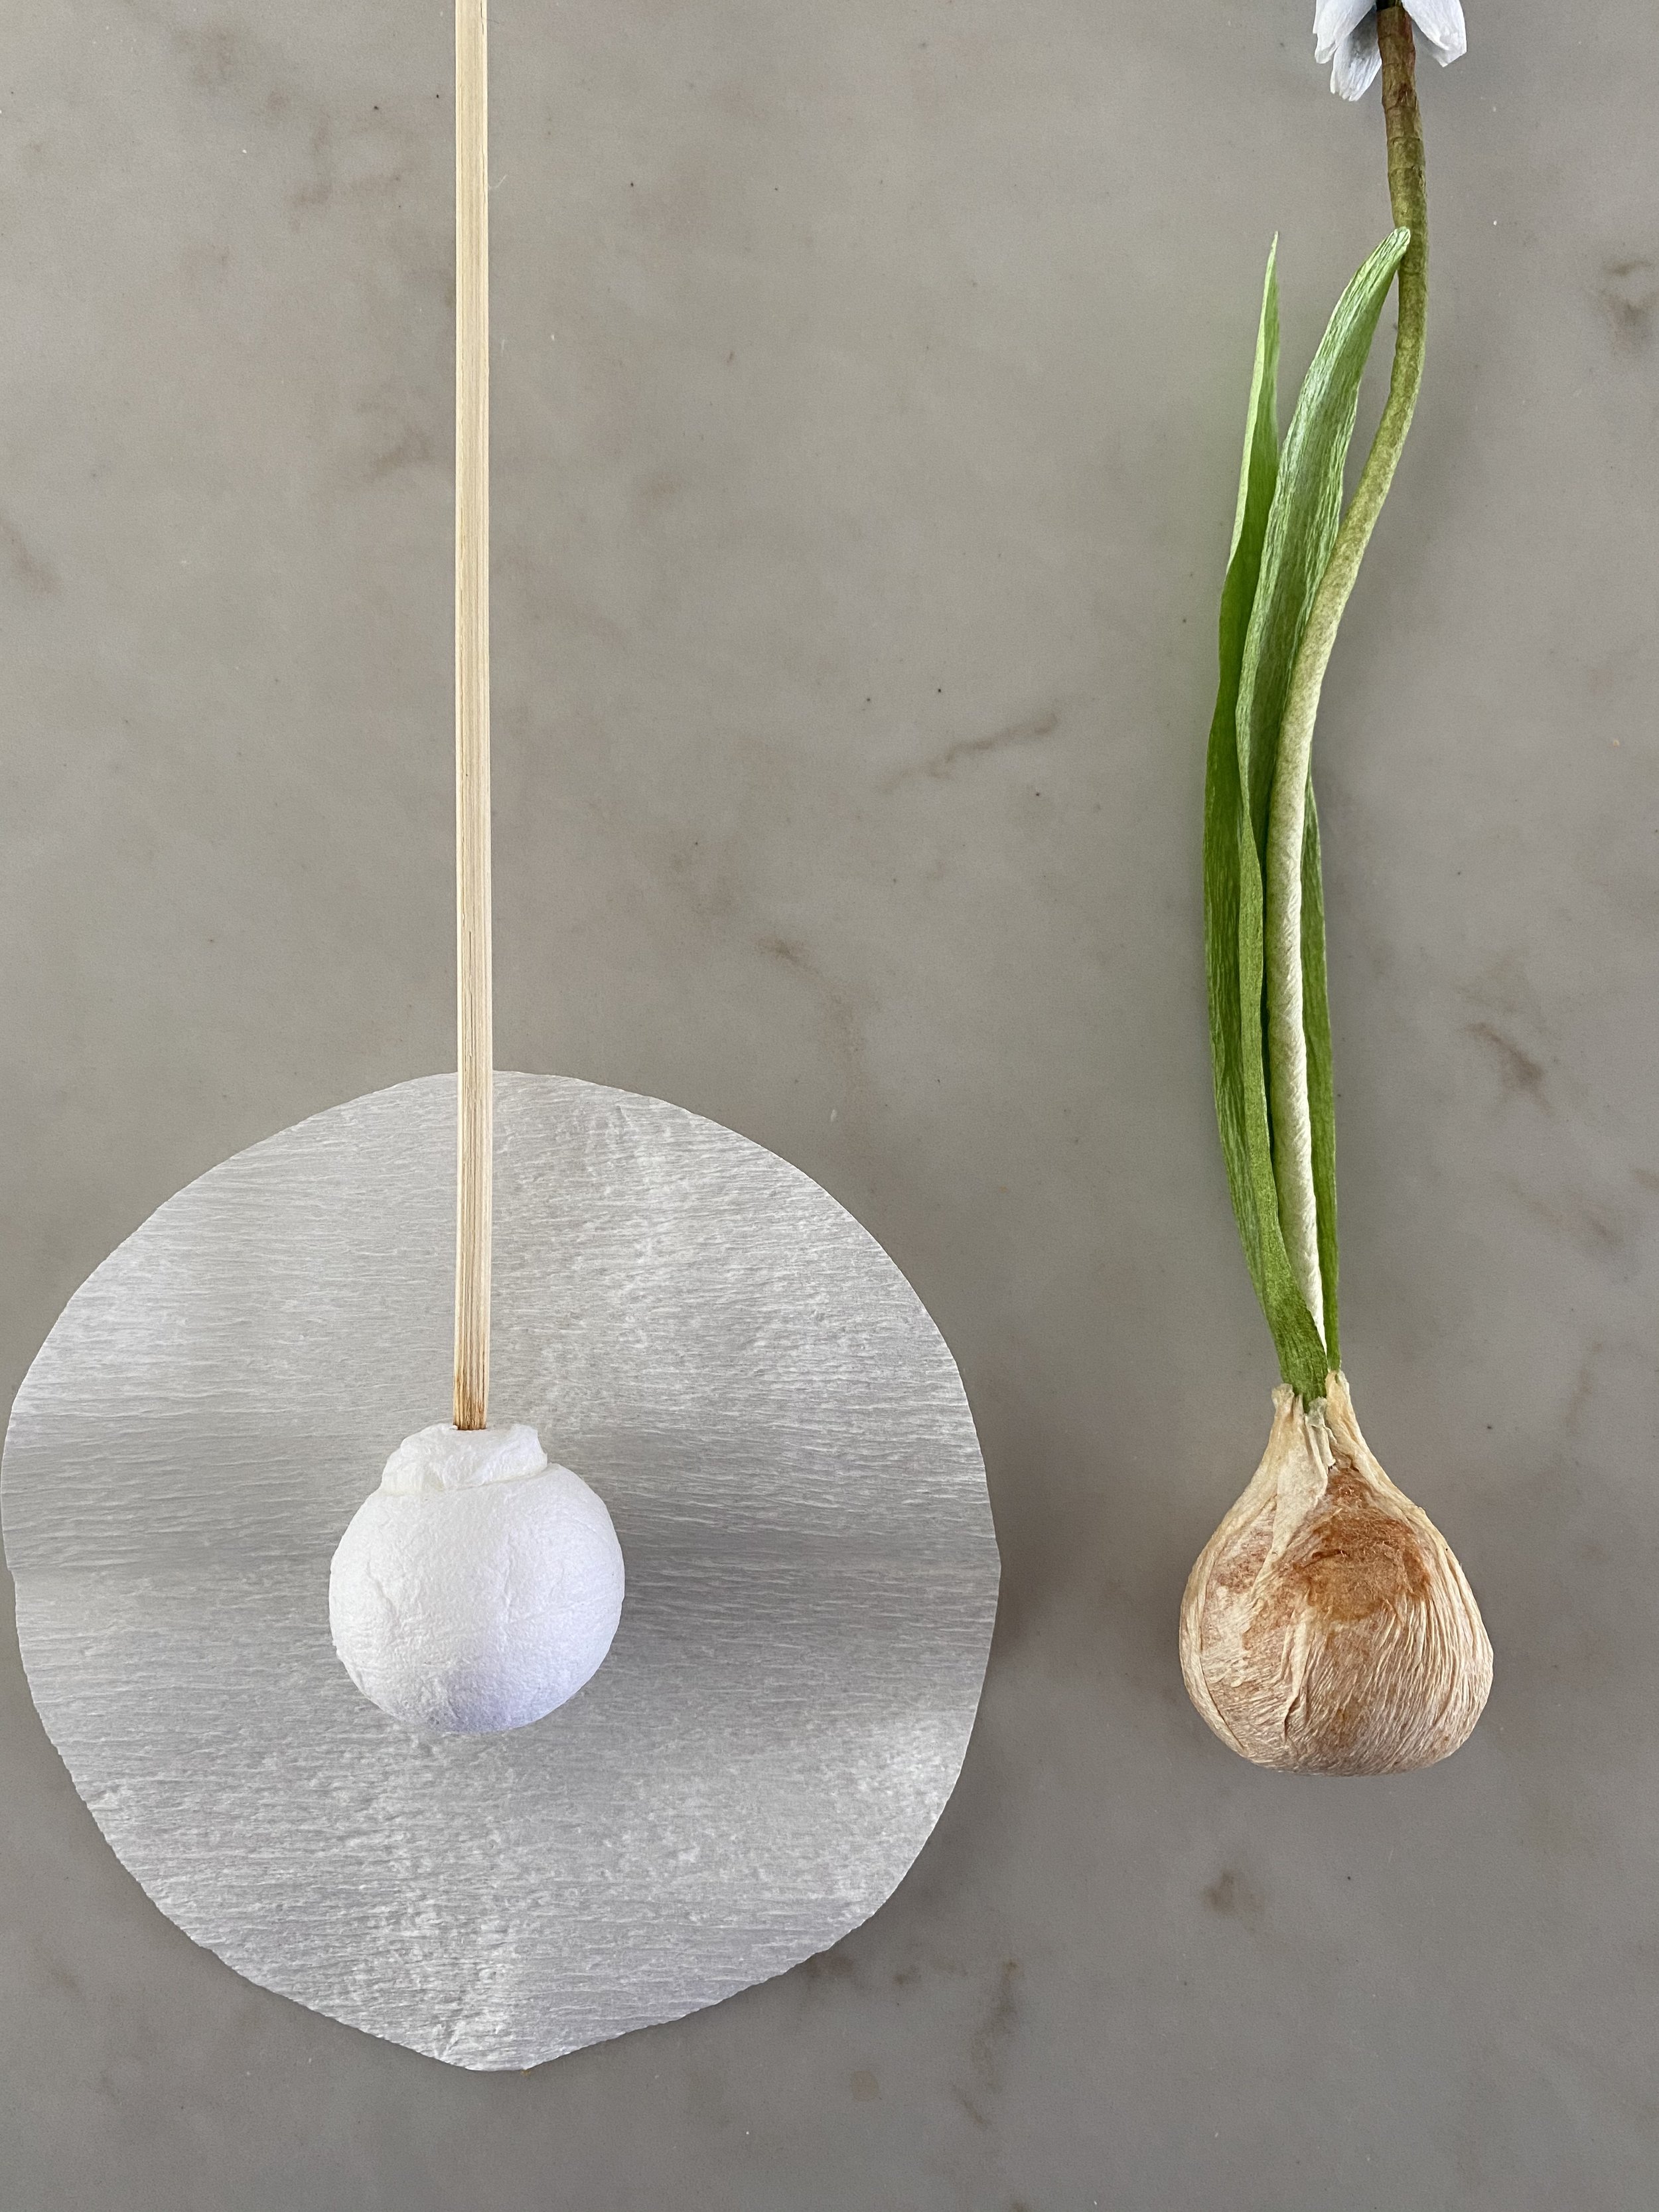
Left: Spun cotton ball bottom. Centre: Spun cotton ball with the top pushed out. Right: Stretched 90g cut to size before being glued onto spun cotton ball with skewer
To create the outside “skin” I used white 90g Italian crepe paper. I cut a section off and stretched it, then recut into a round piece. I created a tea bath by placing a black tea bag into hot water. I experimented with dipping the paper first and then gluing it onto the spun cotton ball. I also experimented with gluing the crepe paper on the ball first, then once dried, dipping the entire thing into the tea bath. I personally prefer the latter method as it lets the tea also soak into the cotton ball; as the cotton ball and crepe paper are made from different materials and have different qualities, they dye differently too. The spun cotton ball pulls in more colour. So the one that you see attached to the muscari was made in this way.
When gluing the crepe paper onto the spun cotton ball, I first inserted a skewer into the hole at the top. I applied glue on the crepe paper and then wrapped it around cotton ball with my hands pulling the edges together and up gathering around the skewer. The skewer will keep the crepe paper in place, but it also serves as a handle when I dip the spun cotton ball/crepe paper into the tea bath. I dipped it pretty quickly, leaving it in the bath for a few seconds. Take it and put it on parchment paper to let dry. While it’s drying, try to loosen the skewer so that the crepe paper doesn’t stick.
And that’s it! when it’s completely dry, remove the skewer and insert the muscari paper flower stem!
Want to learn more?
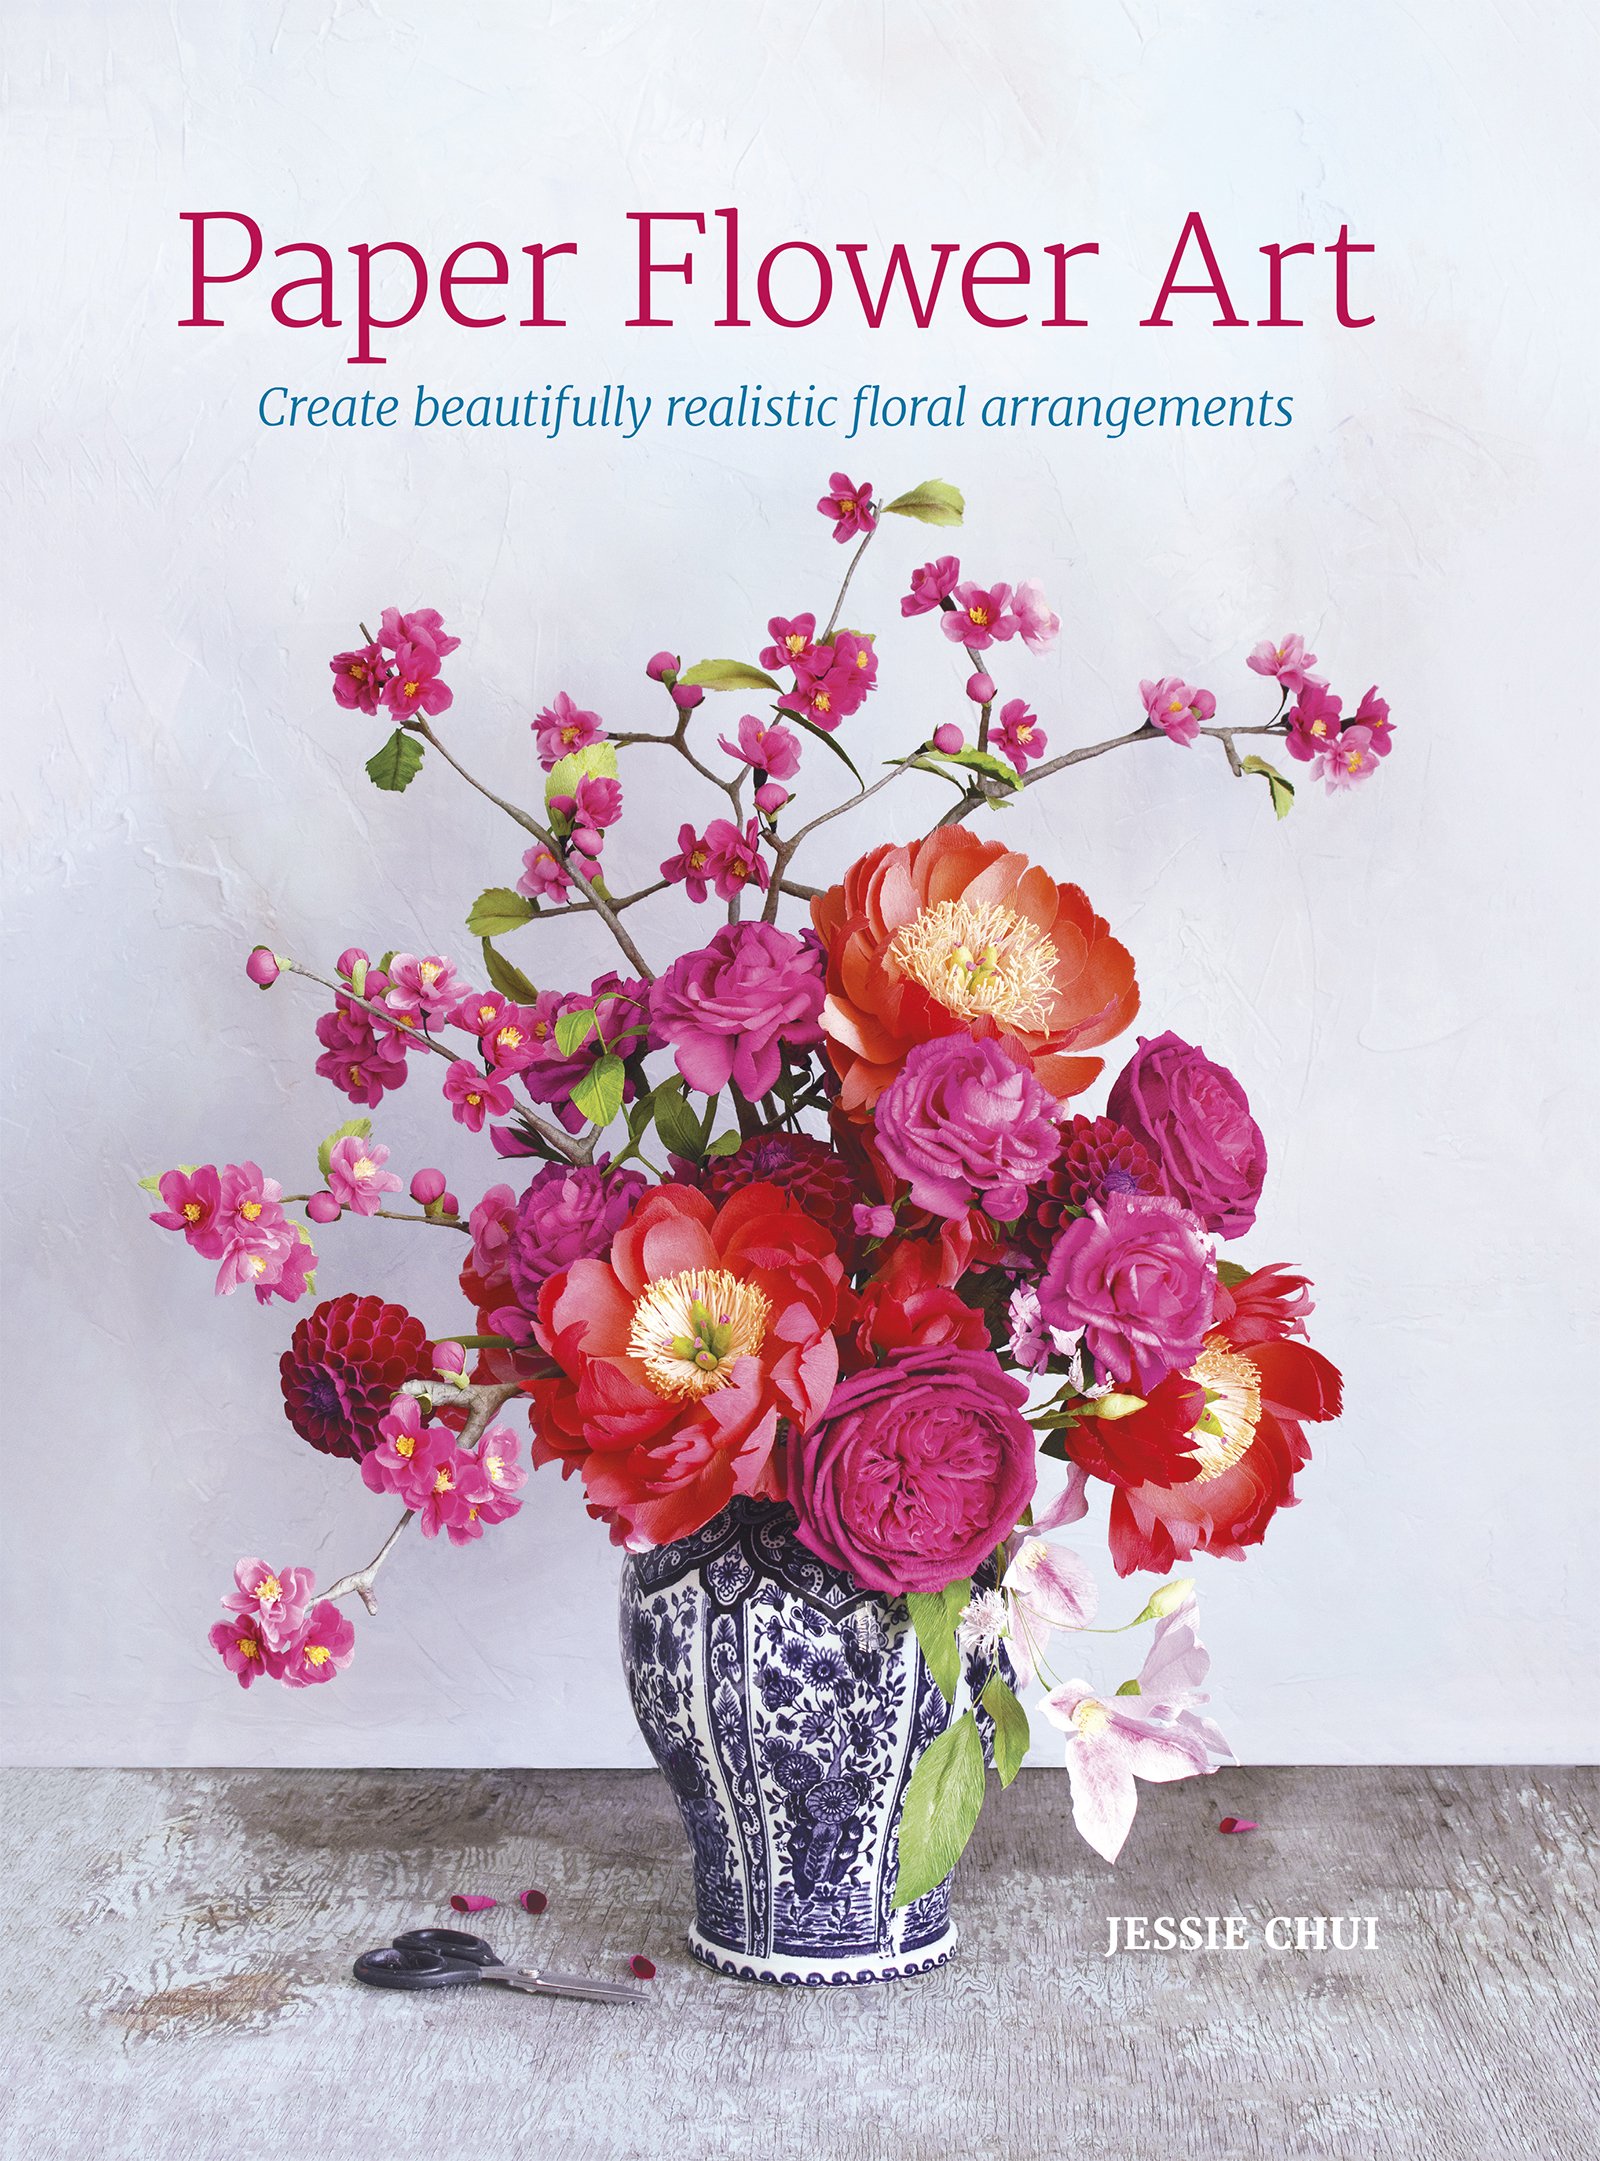
You can learn how to make the flowers for the bulbs - like the parrot tulip - other foliage and flowers in my book, Paper Flower Art (GMC, 2019) (BUY IN HARDCOVER or IN PAPERBACK) or head to my education website, CRAFTED TO BLOOM, to find more in-depth learning.