How to use Copic Markers with Crepe Paper
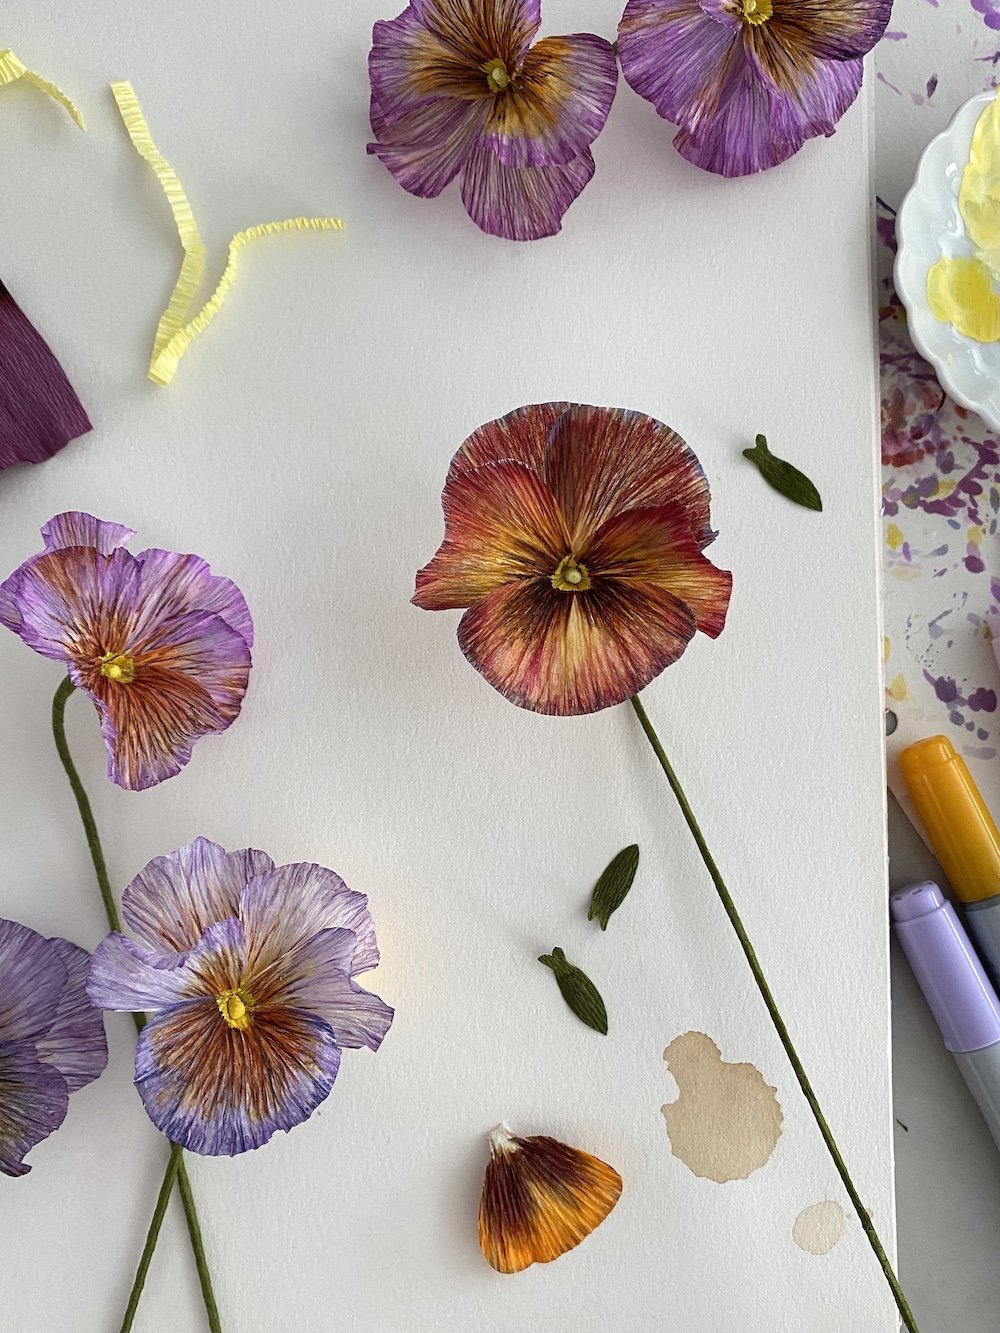
Crepe paper pansies in progress
Through my foray into paper pansies, I’ve rediscovered my interest in using alcohol-based Copic Markers with crepe paper to create expressive forms. In this first post of my “Colour My Florals” series, I’m going to share some tips that I learned as I was exploring this medium.
I first heard of Copic Markers when I tried out a tutorial eons ago. I can’t remember what tutorial it was and whose it was. For sure, it was from a paper florist before me. Anyhow, I ended up picking up a few of the markers to try out and slowly incorporated it into my work. I first started with a dark burgundy colour called Peony RV69. I used it to create shadows in my burgundy cosmos. Side note: A rich dark reddish brown is such a versatile colour and I make sure to have that colour for every colour medium that I own.
My collection has grown from one to more than 40. I collect them as projects come along and I buy the specific colours I need. It’s probably cheaper to buy an entire set, but there will be colours that you won’t use for a long time, or ever. If you check out my stash, you’ll notice that I favour the purples and yellows heavily and barely have any green or reds.
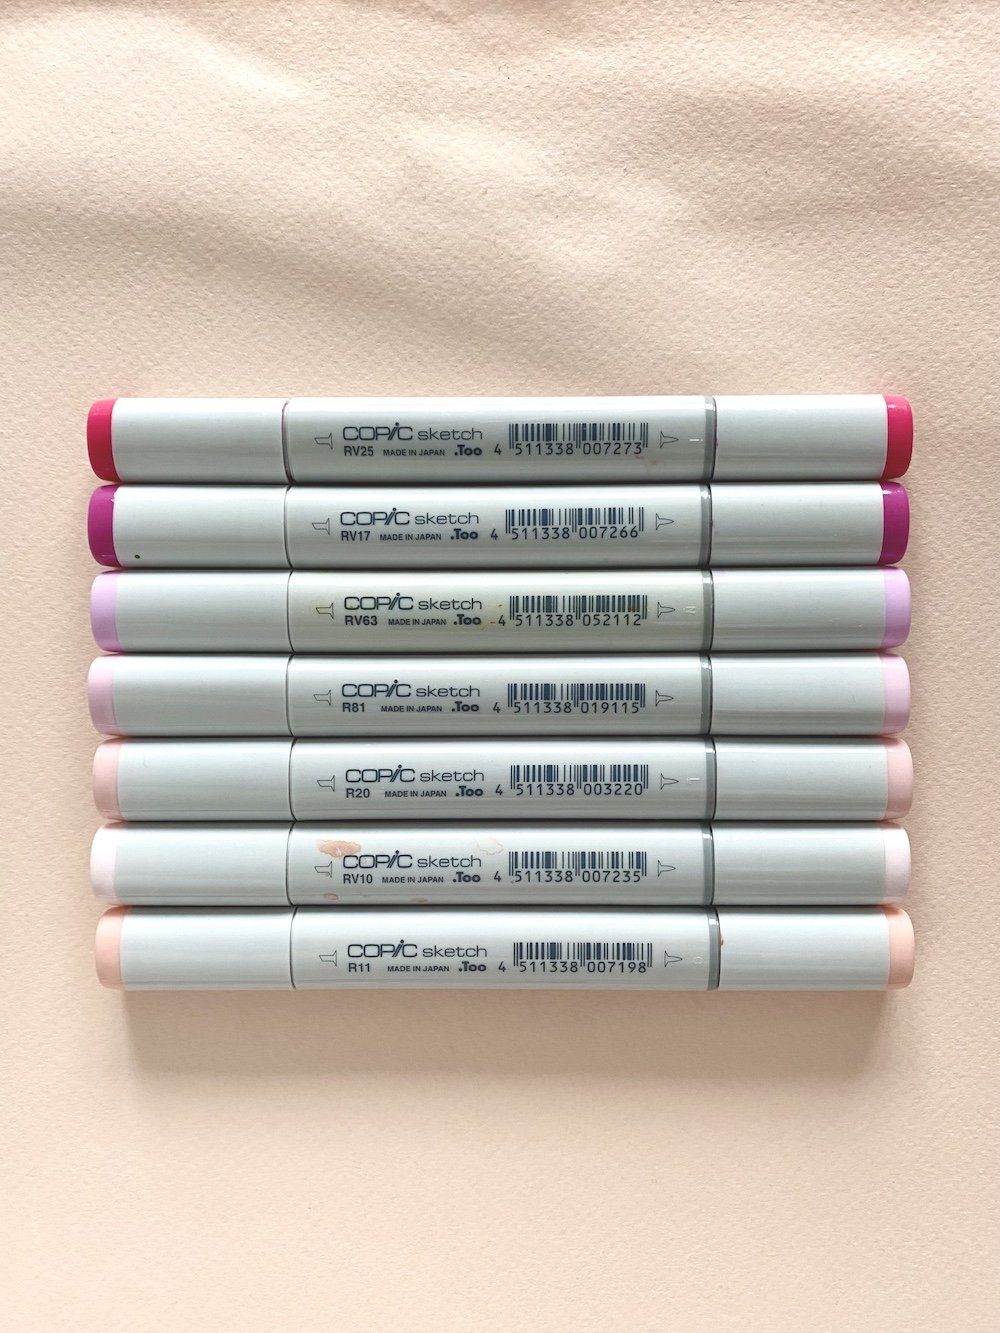
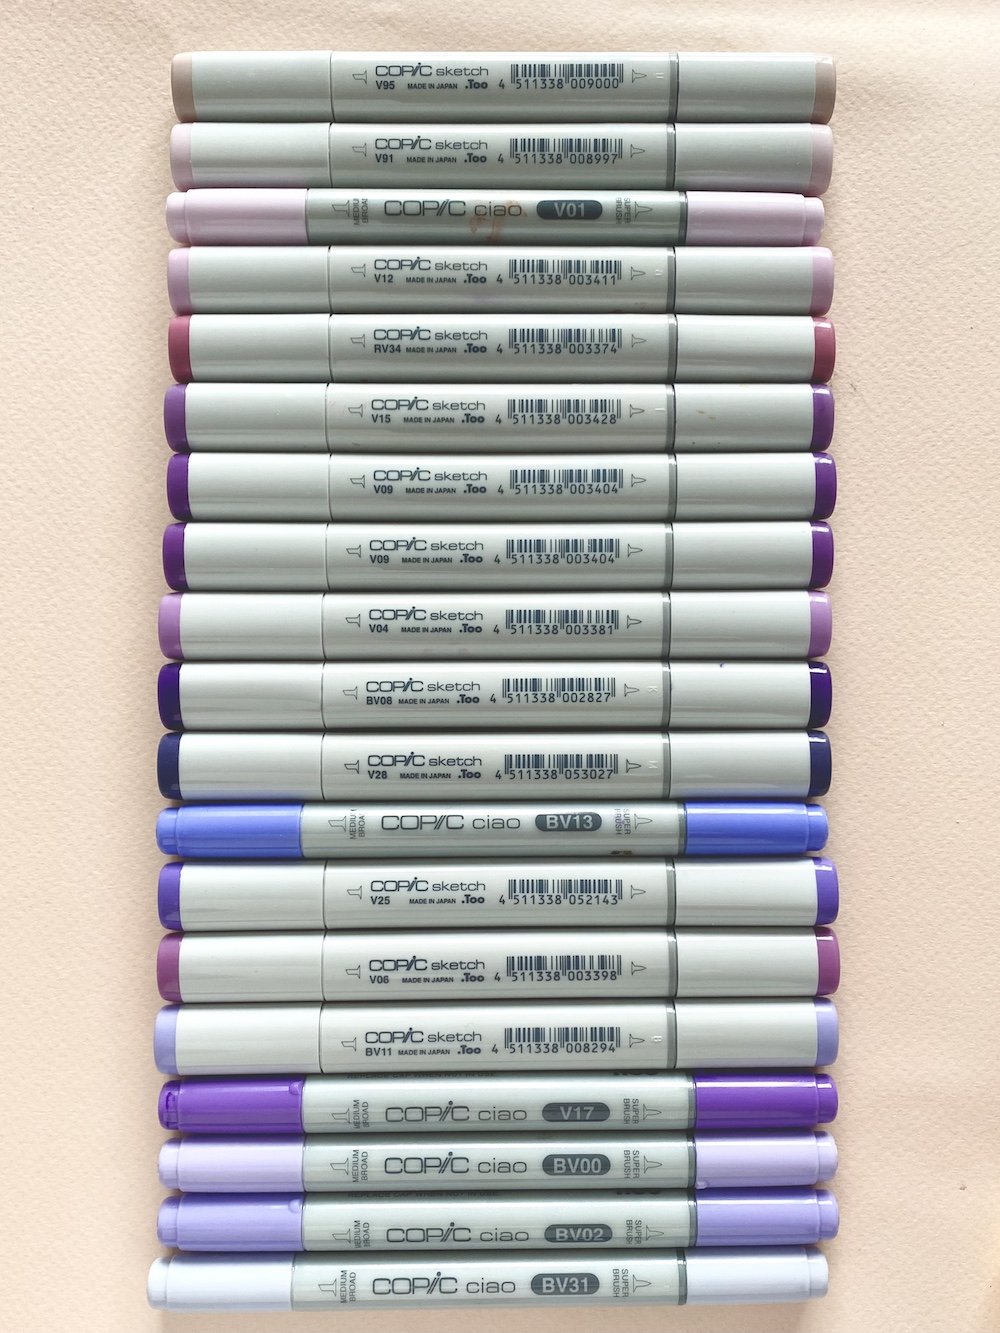
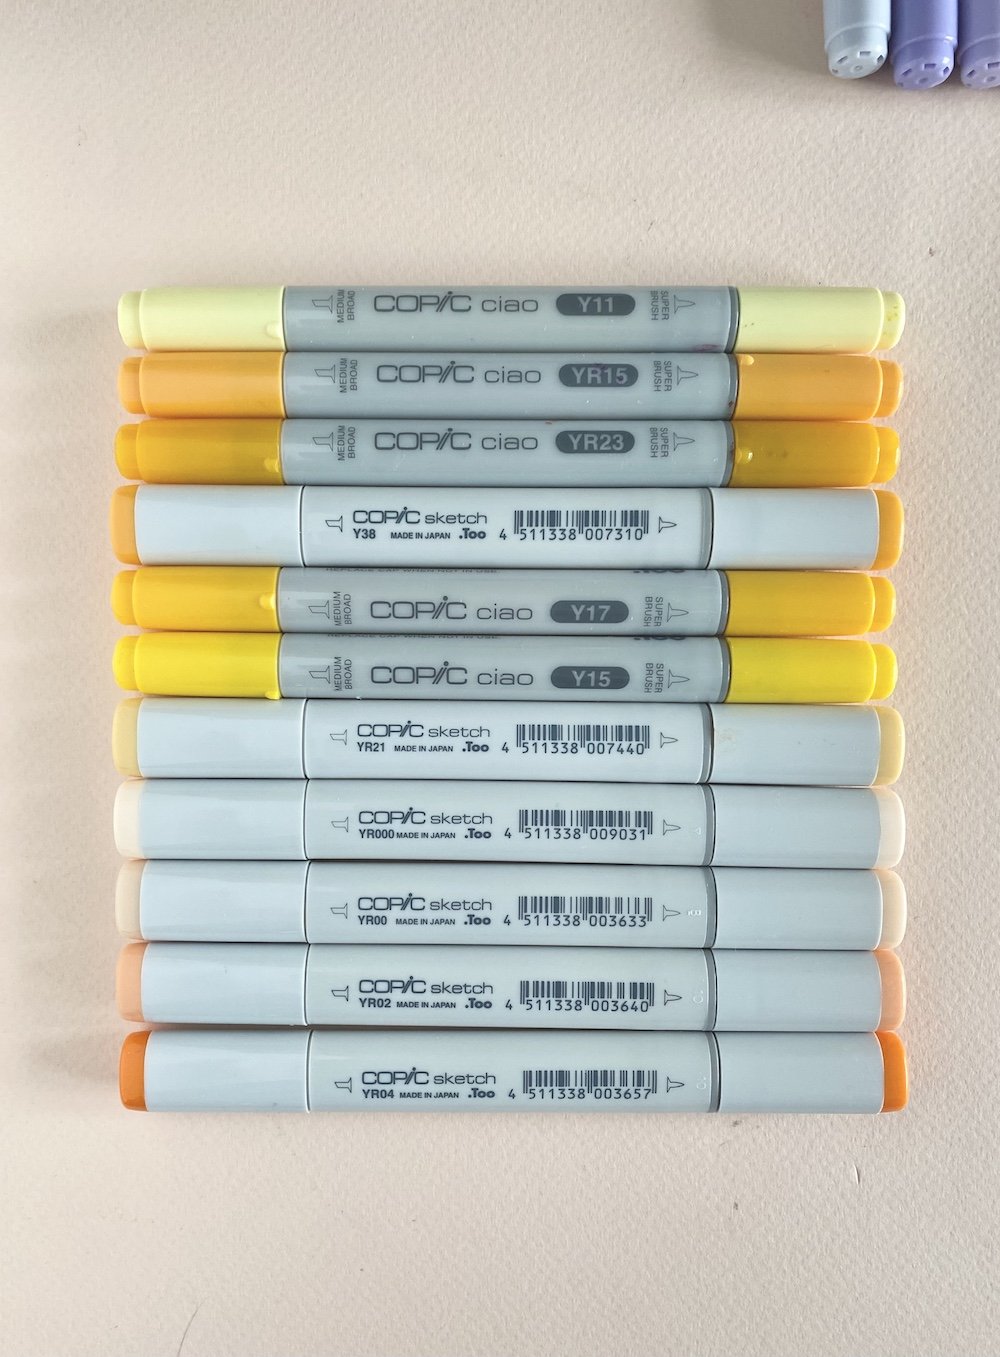
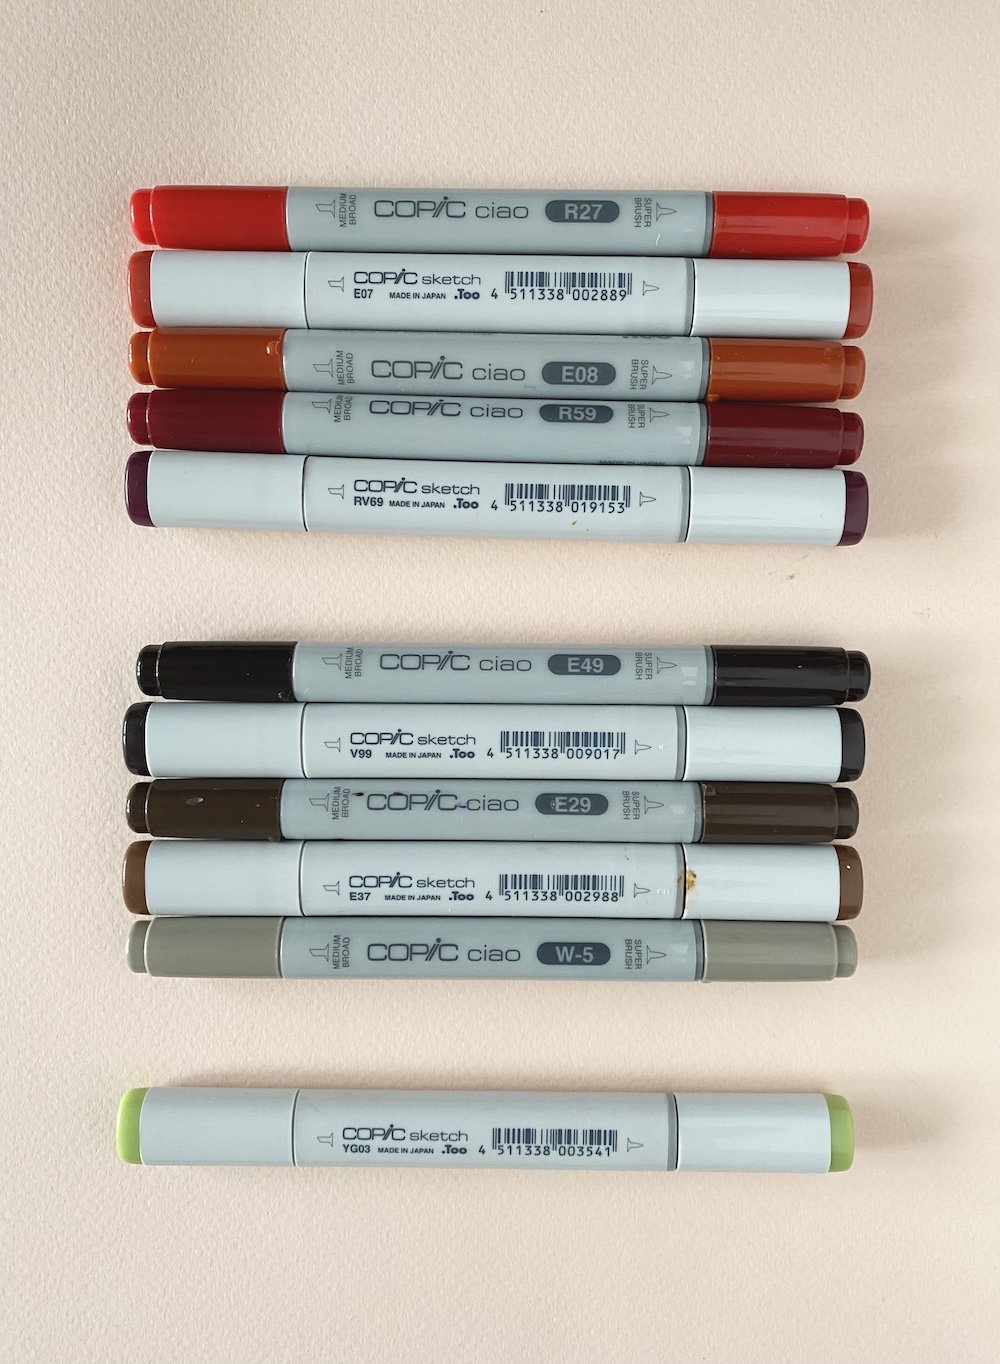
My collection of Copic markers
What are Copic Markers?
Copic is a brand of refillable alcohol-based markers made in Tokyo, Japan by Too Marker Products Inc. According to their website, they offer 358 colours, which is amazing! Imagine the possibilities! They have a few lines but the main one I use is the Copic Ciao and Copic Sketch pens. They’re similar products with a few exceptions: the Ciao has a round shaped pen and the Sketch has an oblong shaped pen, and the Ciao is marketed as having lesser quality ink and fewer colours and therefore is less expensive to buy. I own both because different stores offer the different lines and colours, and I honestly cannot tell the difference in quality. Both lines offer a double tip: one tip is a medium broad flat tip and the second tip is a sharp tip that they call a “super brush”. There is another line that offers a wider broad flat tip, hence the reference to “medium”.
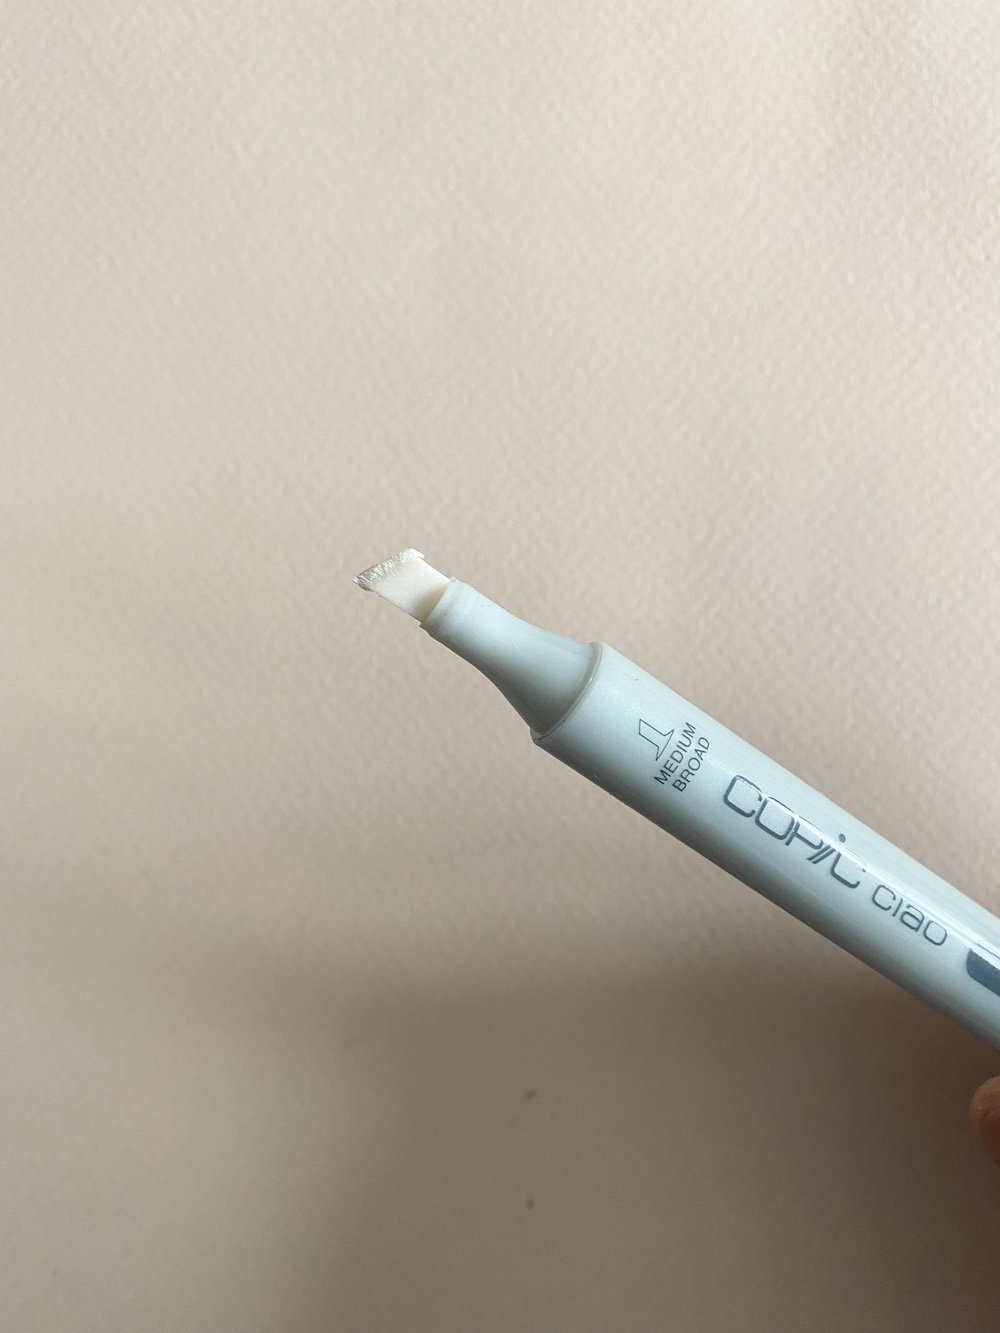
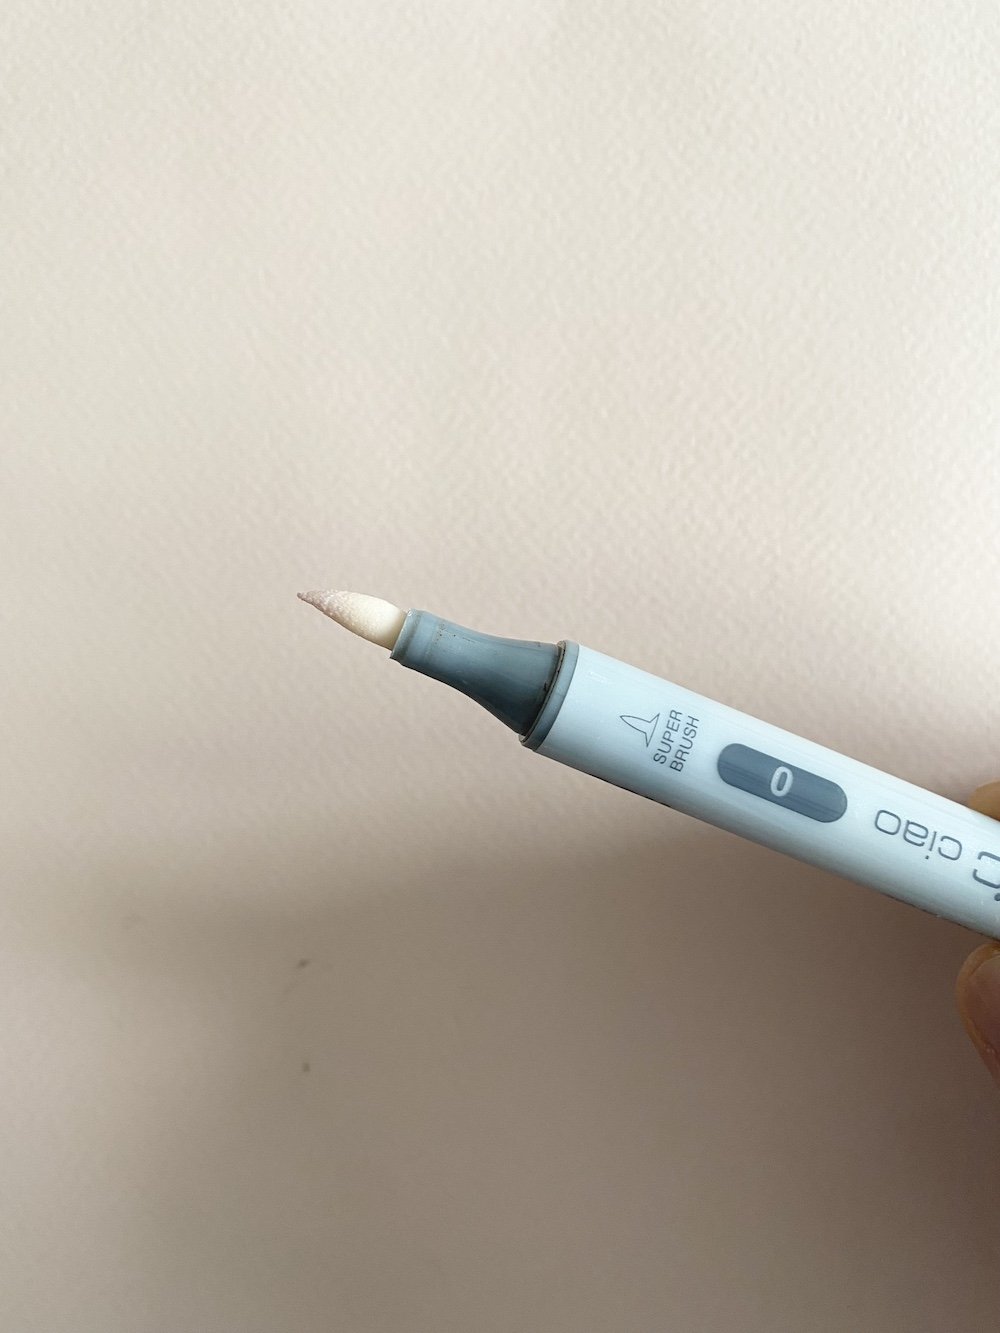
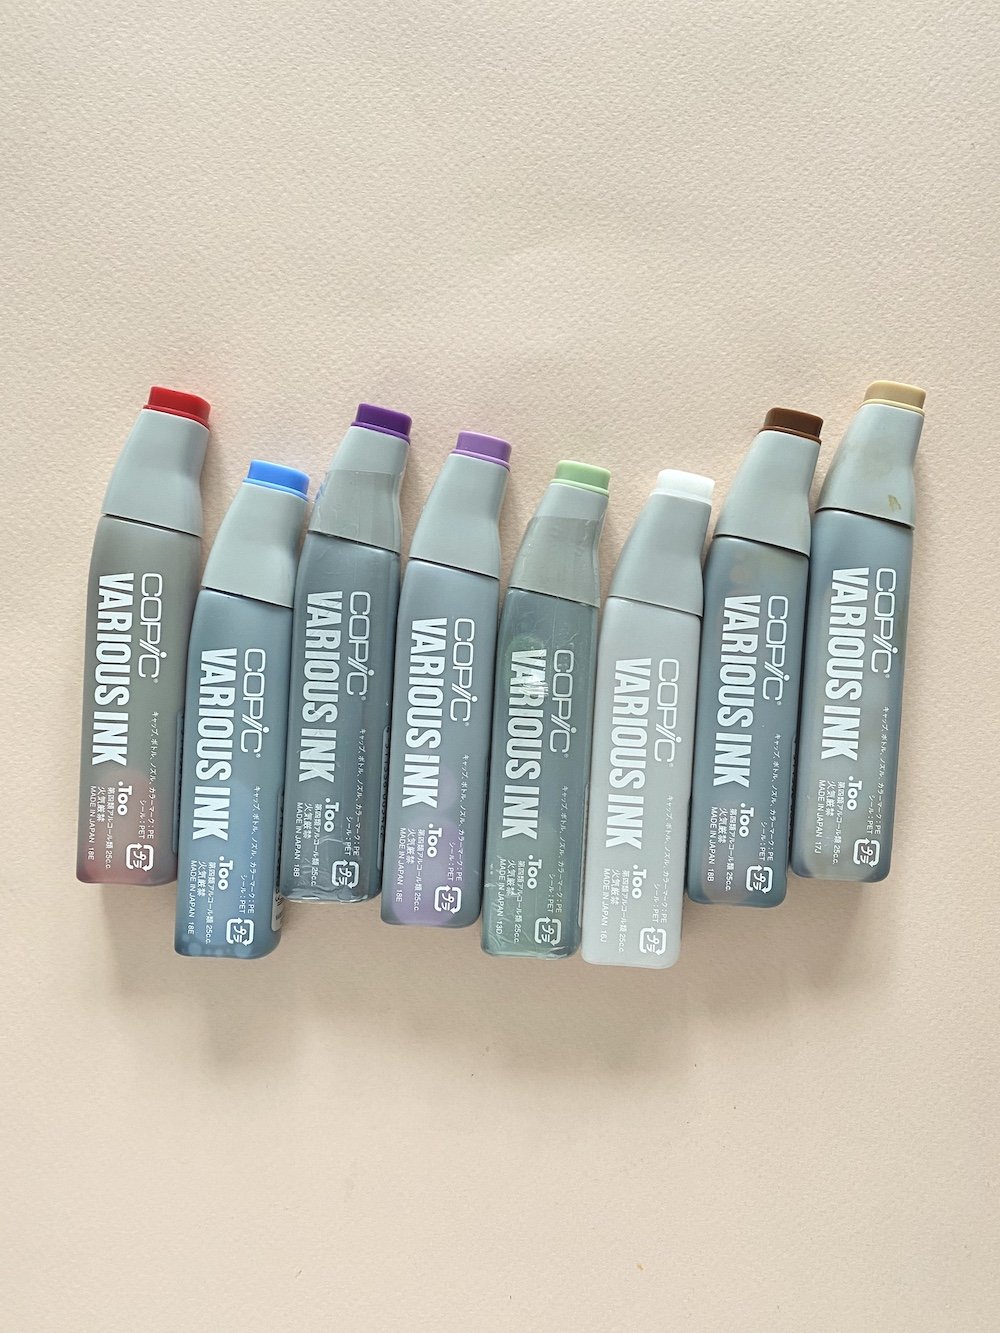
From left: Medium Broad flat tip, Super Brush tip, and Copic Various refillable inks
They’re not cheap - they’re $7.99 CAD a pop here - but they’re a really good investment considering that once you have the pen, you can refill the ink (hello No.0 Colorless Blender Ink) and replace the nibs as needed. You can also use your markers with an airbrush set to spray the ink onto your work. I’ve yet to try that but I’m excited about the prospect.
I won’t go into the colour codes. All I know is that Copic has a colour system to organize their colours. I’m better at remembering their names than their codes.
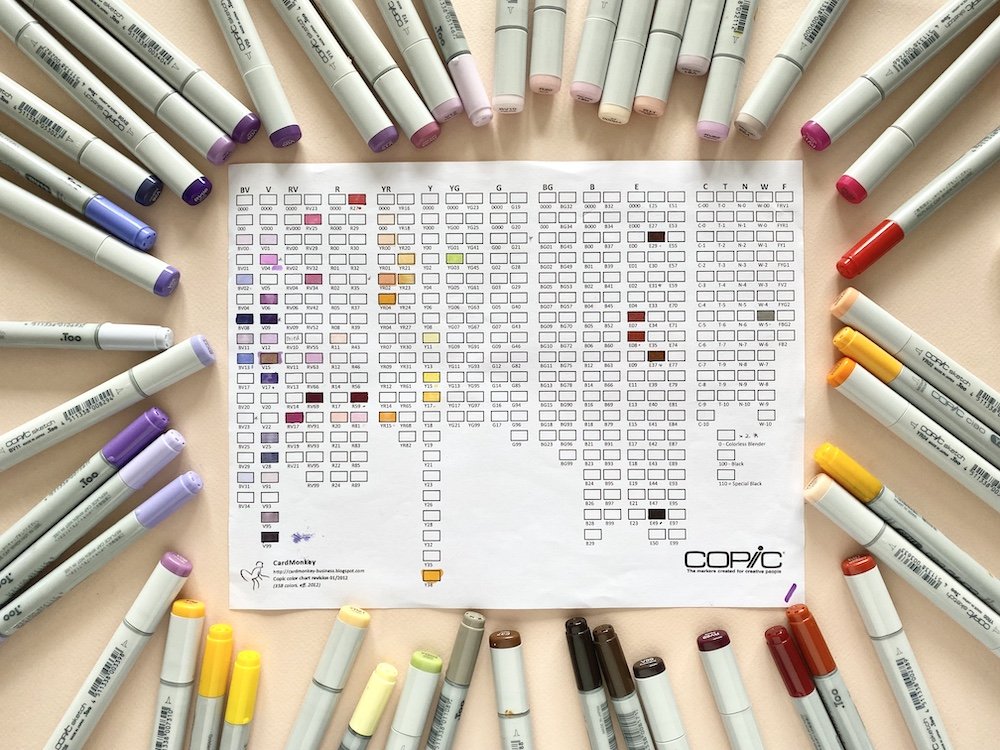
I use this Copic chart to keep track of the colours I have. Chart courtesy of CardMonkey.
Why use Copic Markers with crepe paper?
There are so many different types of colouring medium, why use Copic Markers? More specifically, why use alcohol-based markers?
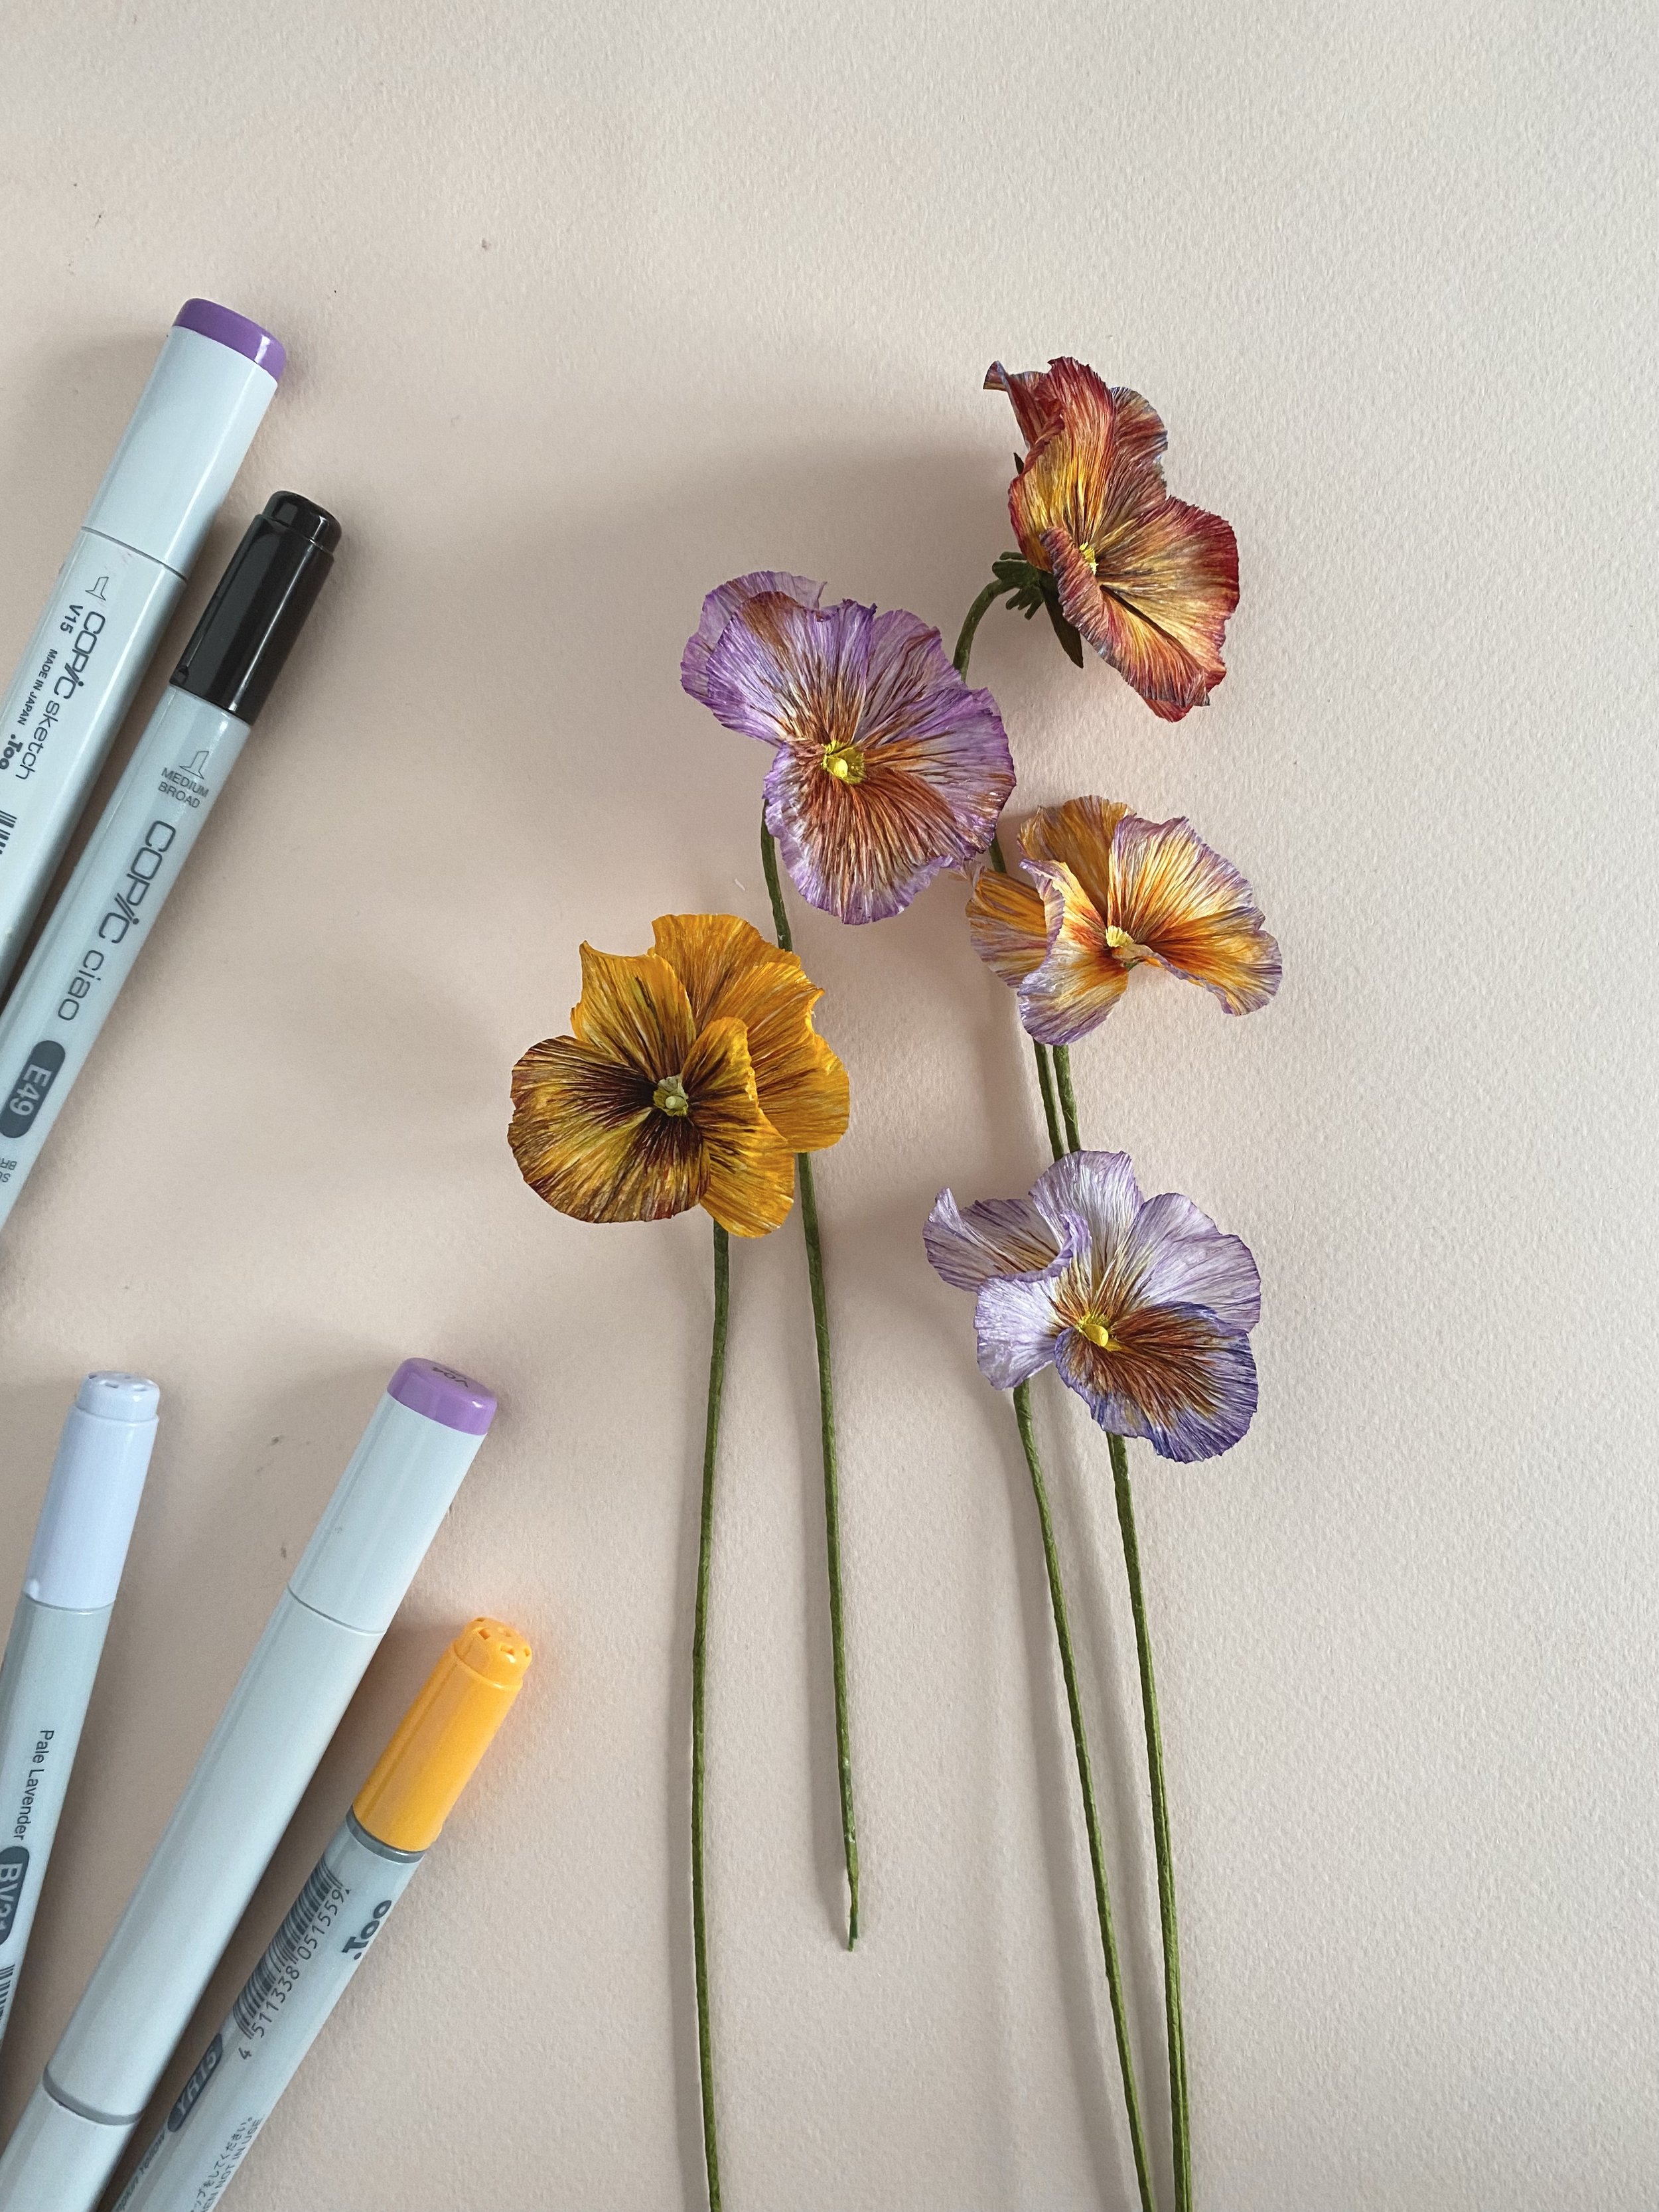
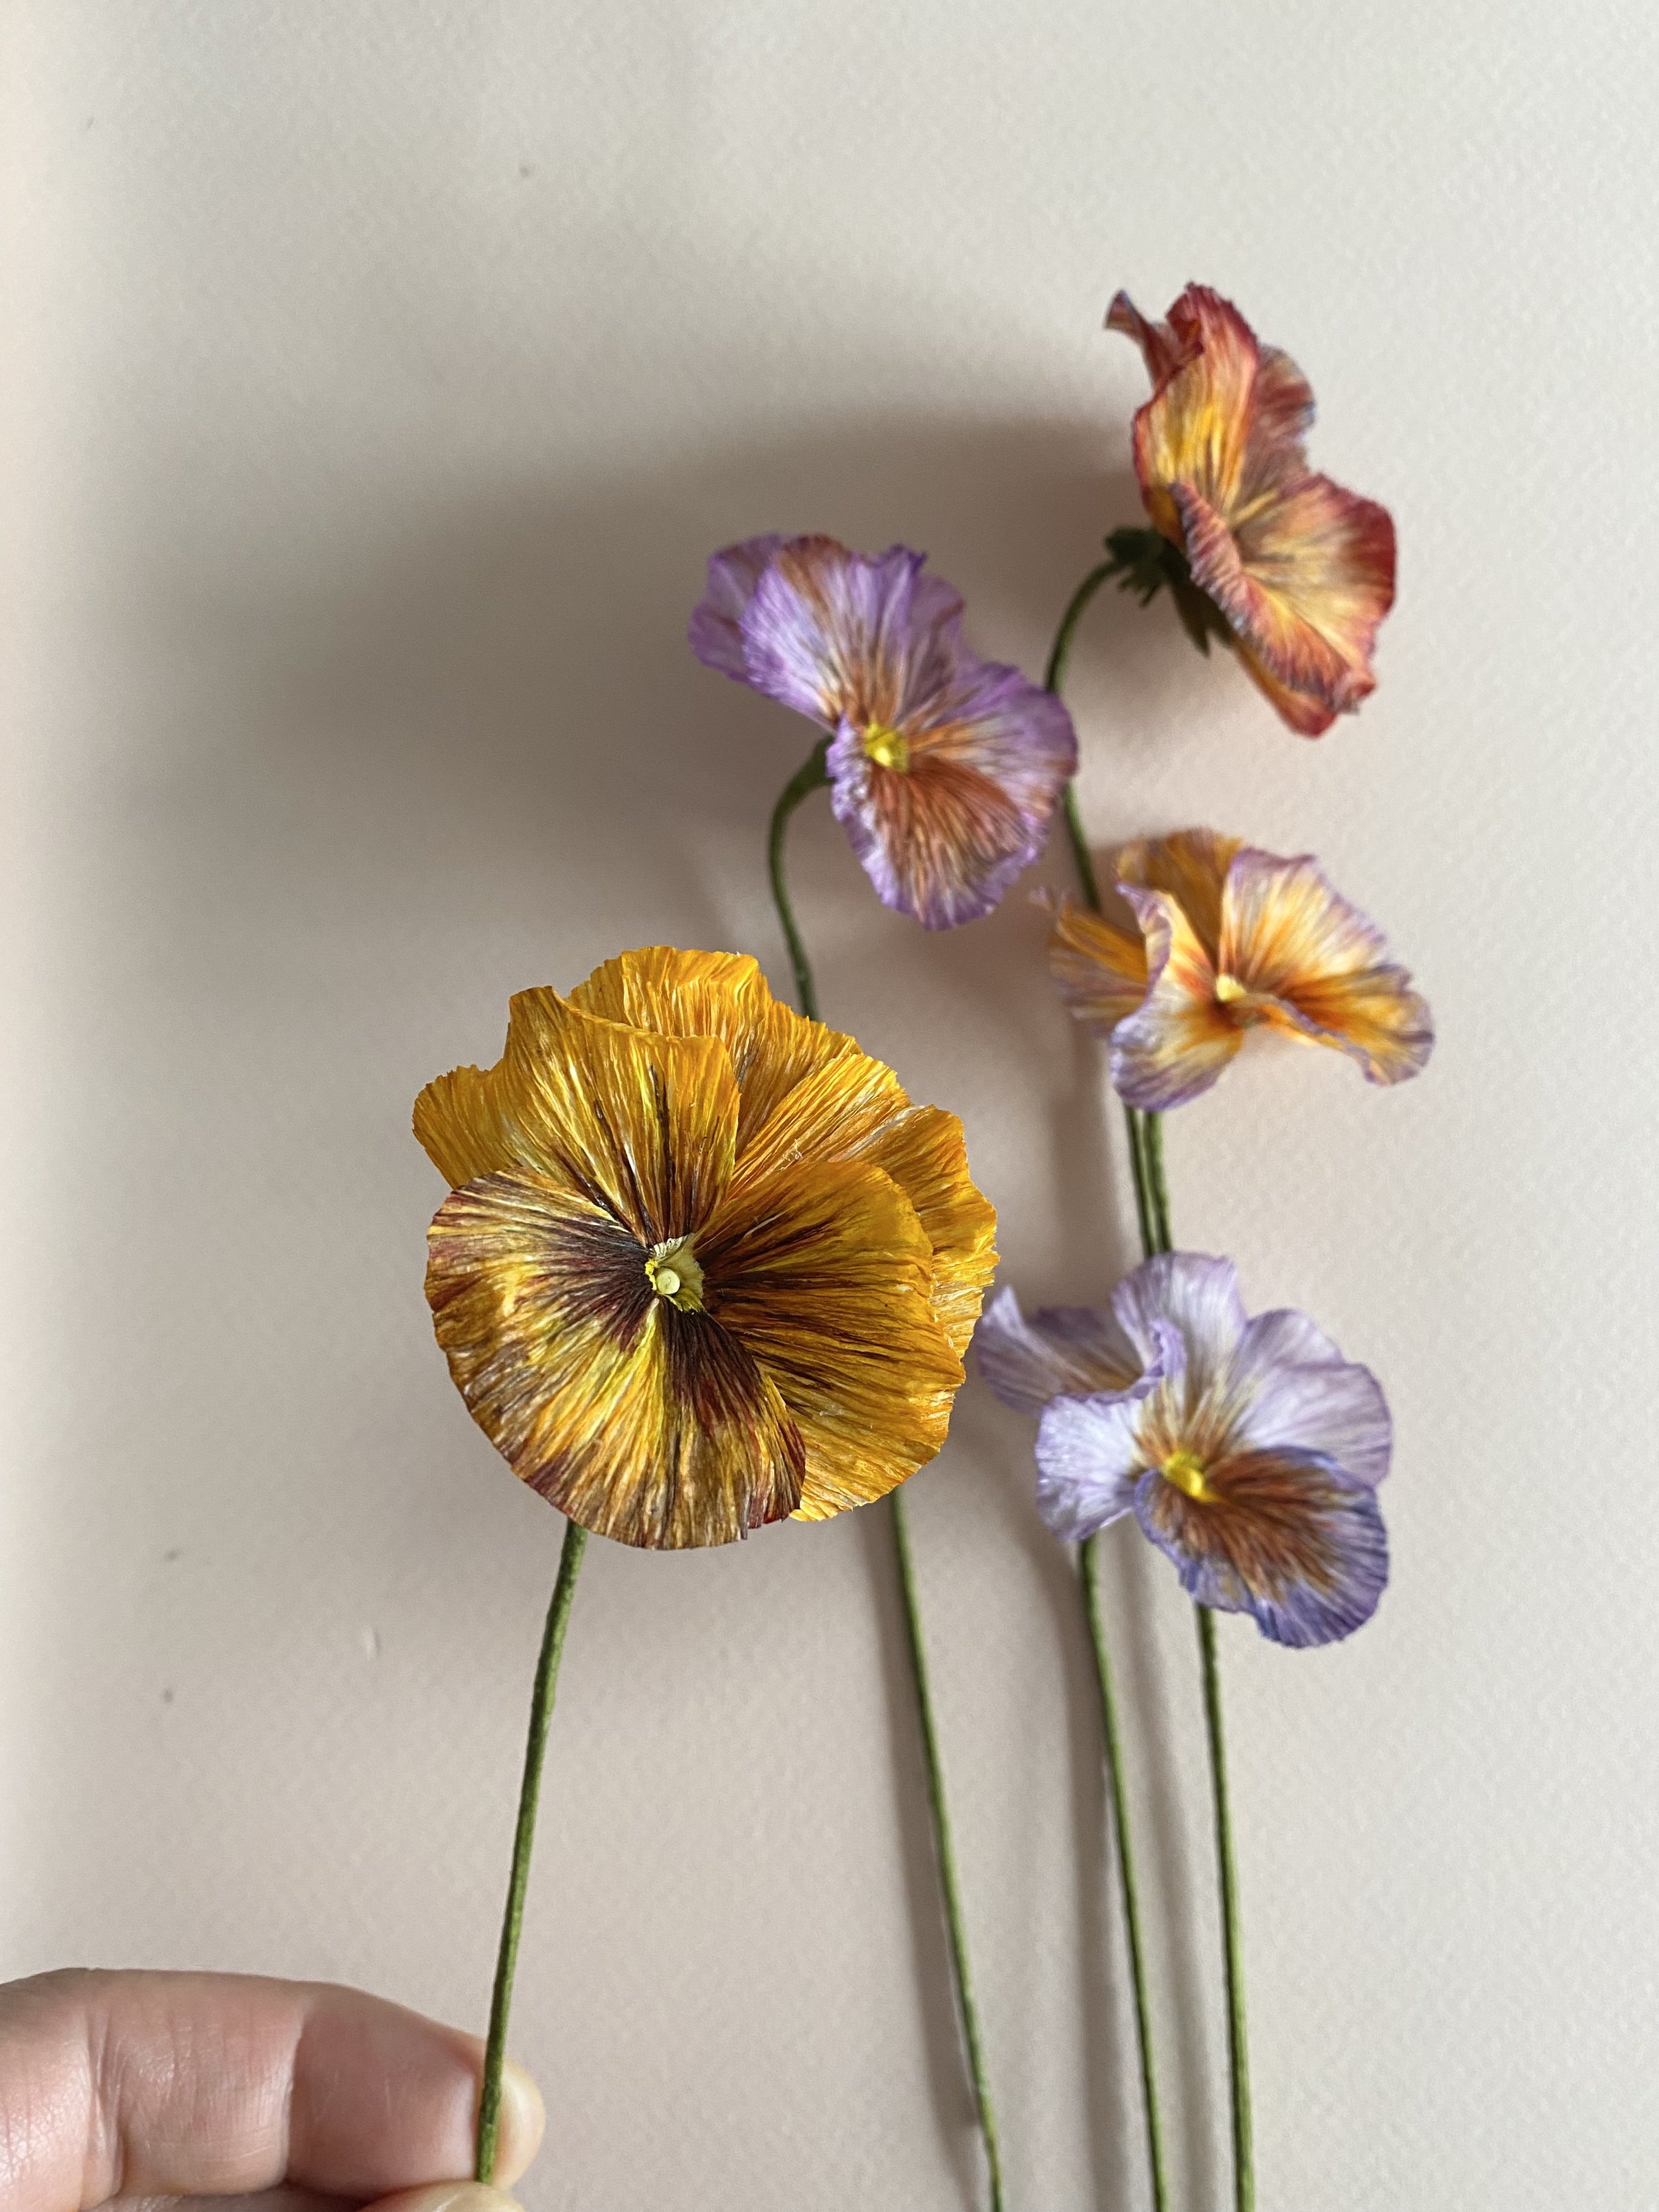
Paper pansies painted with Copic Markers.
For starters, they come in so many premixed colours that it’s easy to use the colours right out of the tube. It makes colouring easy with very little mess and clean up.
With Copic markers specifically, you also get the colour that you expect to get. Before the colour dries, the paper may appear translucent, but the end result is always what I expect. When you lighten the colour (and you can a bit with the Colorless Blender) the colour doesn’t change, it just lightens slightly; some alcohol-based inks (like Tim Holtz) actually change colours when you lighten it with an alcohol-based solution. You can also easily mix new colours by layering them together. As with many dye-based mediums, the Copic marker colours can be super vibrant, even on crepe paper (unlike watercolours and acrylic paints which tend to be very dull on crepe paper and are pigment-based). The downside of it being a dye-based medium is that it is not lightfast and can fade with time.
Since it’s mainly alcohol-based (its website also indicates its oil-based), it dries much quicker than water-based mediums. This is particularly important as it means that it won’t compromise the properties of our crepe paper that make it special - it’s integrity and stretch. Of course, it’s not important for our crepe paper to maintain its integrity and stretch in every case. But in those cases where building the flower requires maximum stretch in your cree paper, this is a real advantage.
Finally, I’ve had similar success using Copic markers on all weights of crepe paper. The ink seems to spread faster on doublette (which makes sense as it generally acts like a sponge for any liquid). It tends to emphasize the grain lines in the 90g and 180g (likely because the ink is more concentrated there).
Overall, I really think Copic Markers really shine when making smaller detailed flowers as opposed to larger flowers. I use Copic markers to colour my pansies, and in my book Paper Flower Art, I teach you how to use them to make phlox. Here are some other flowers that you can use Copic markers on:
Any small flowers with small petals that require small or subtle details
Geraniums flowers and leaves
Crocus
Bachelor’s Buttons
Black Eyed Susans
Sweet Peas
Nasturtium
How to use Copic Markers with crepe paper
The Copic website offers tips on how to use their markers, whether it’s layering, creating gradations, and using the No.0 Colorless Blender. There are also numerous video tutorials on YouTube.
Due to the grain line properties of crepe paper, there are some limitations and differences on what you can achieve when using these markers. I did a little experiment and compared how Copic markers react when used on copy paper, German doublette crepe paper (unstretched) and Italian 90g crepe paper (stretched). Here are the images:
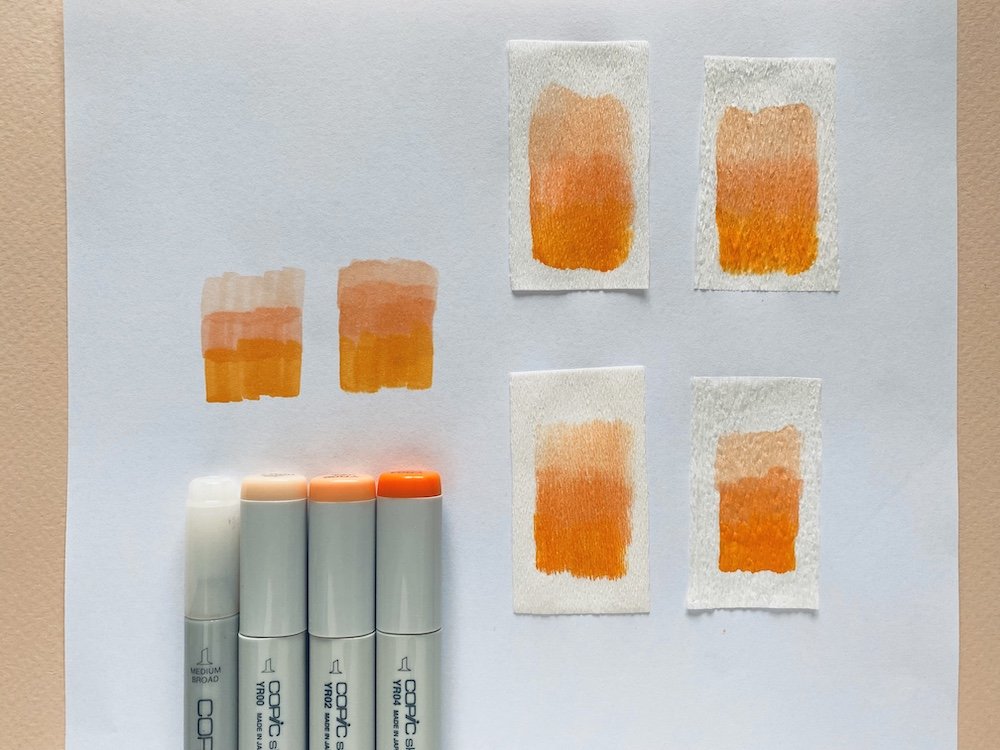
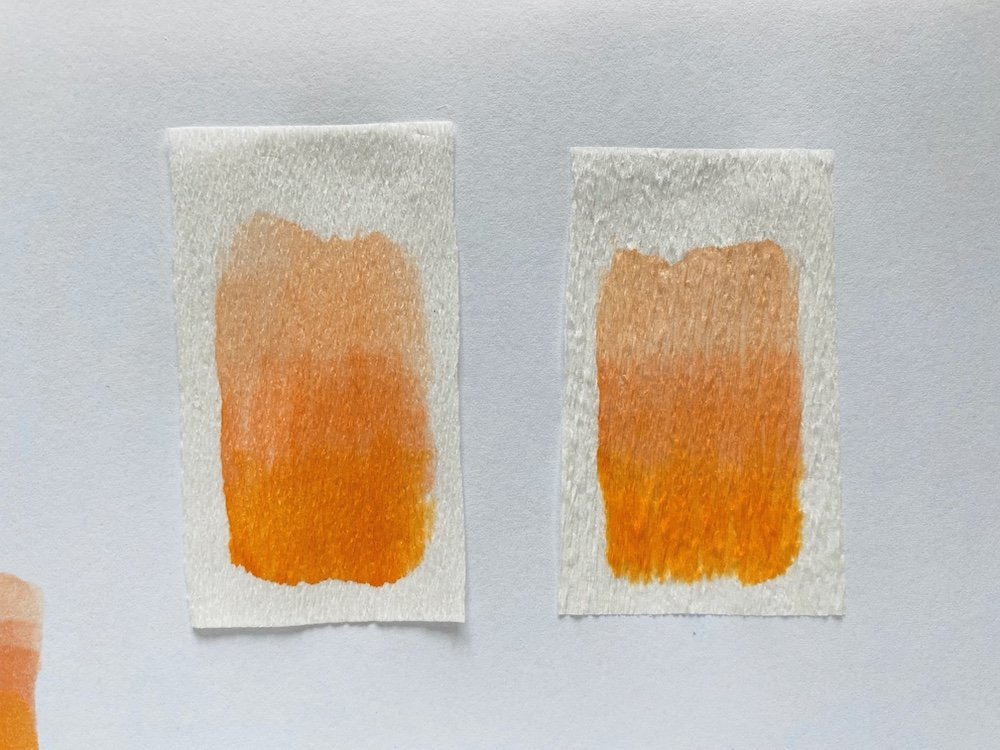
Clockwise from top left:
Comparisons of gradation using the No.0 Colorless Blender, YR00, YR02 and YR04;
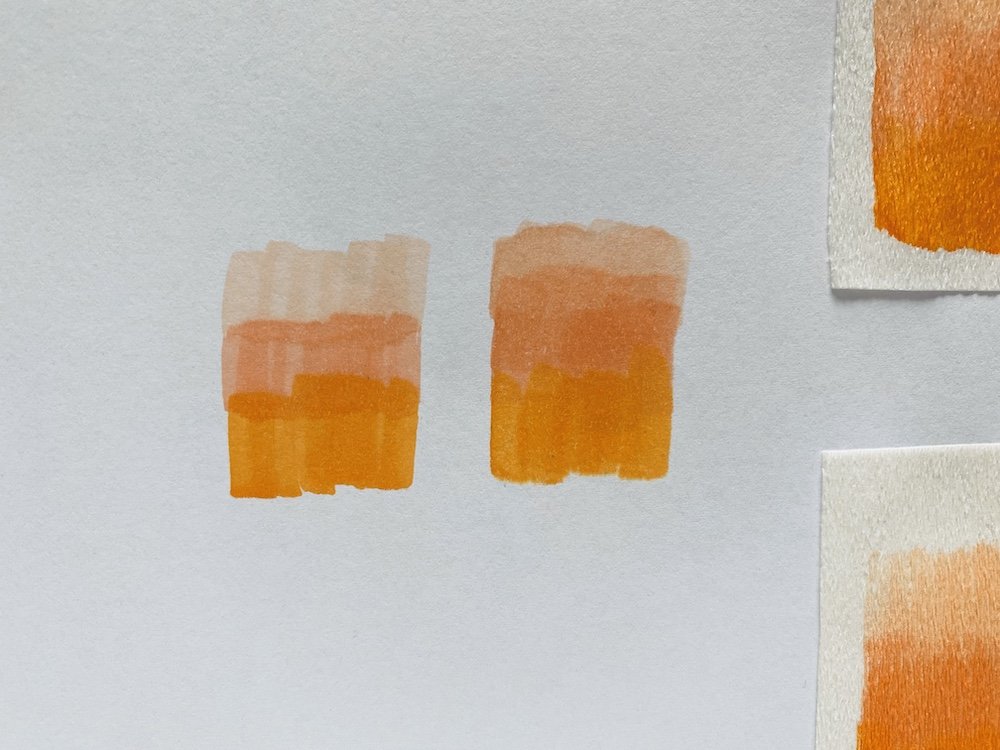
On printer paper. At left: I applied colours from dark to light, blending with just the markers. At right: I applied No. 0 first as an under layer and then applied the colours in gradation from dark to light;
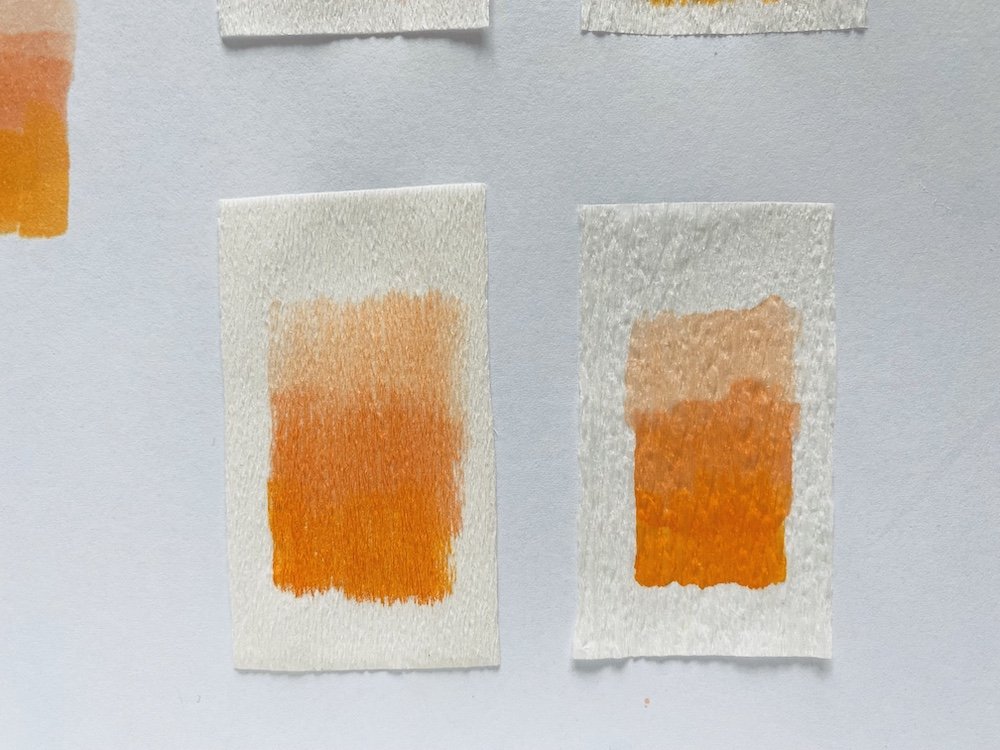
Doublette on left and 90g on right: I applied colours from dark to light, blending just with the markers;
Doublette on left and 90g on right: I applied No. 0 as an under layer and then applied colours from dark to light.
You can see that there is a noticeable difference in how smooth the gradation looks when using an under layer of No. 0. The Colorless Blender facilitates the movement of the ink so they blend better together. After you put down the colour on top of the Blender, you can continue to apply the Blender to further push the colours into each other.
Here are some more demonstrations:

(1) Dots of colour applied from smallest to largest. You can see the colour spreads along the grain lines and it’s more obvious as the dots get bigger.
(2) Using the Medium Broad brush on the left and the Super Brush on the right. Note that you can make much more delicate strokes with the Super Brush.
(3) Drawing lines diagonal to the grain using the Super Brush. The thicker the lines (right) the more obvious the ripples created by the grain lines.
(4) Drawing horizontal lines using the Medium Broad brush at the bottom, and drawing vertical lines using the Super Brush on the top.

Creating dimension by blending colours together. I first applied a colourless blender, then painted on the different colours in different spots (not as a gradation), and then using the lightest colour as a blender to blur the colours together.
8 Things to Consider when using Copic Markers with Crepe Paper:
One of the greatest challenge when working with alcohol-based markers and crepe paper is controlling the spread. Crepe paper, and specifically German crepe paper, absorbs liquids really really well. I found it incredibly difficult to control how far I wanted the colour to spread. If I wanted to leave white spaces, I had to leave more than I need because the colour would inevitably seep into that space.
To control the spread, apply the Colorless Blender and then wait for it to dry a bit before applying colour. This will reduce how much spread happens. If you find that it doesn’t spread enough, apply Blender on top of the colours to continue the spread and you’ll find it will help create more blurring between colours.
Use the Super Brush to apply colour and use the Medium Broad to apply the Colorless Blender under layer. Full disclosure - I started using the Medium Broad for the Colorless Blender because the Super Brush was dying, but I found it preferred it because it was able to apply a wider swath of Blender and I was able to press down on the paper more. I also didn’t need it to be very accurate so it was fine. When applying colour though, it’s best to use the Super Brush so you can get better control your lines and boundaries.
You won’t be able to draw lines or shapes with clean lines. This just won’t happen. The beauty of crepe paper is how absorbent is to liquids, and that means the grain lines will pull/drag the colour outwards. This is bad when you want crisp lines. It’s great when you want to create more painterly images.
But, if you have to draw lines, use a delicate hand and try to follow the grain lines as much as possible. Working with a heavy hand will drag the tip of the nib across the grains, creating ripples of colour. Try using the Super Brush’s sharp tip like a 0 or 1 paint brush and you’ll be more successful.
Get the colour you want in a light, medium, and dark. Unlike other colouring mediums, you can’t just “lighten” the colour. If you want a lighter version you can try to pull the colour out with the colourless blender, but you will find it’s difficult and not that successful. You have to purchase a lighter colour.
Use the blender to create subtle shadow and depth in your petals. Swipe the colour onto your petal and then use the blender to bleed the colour outwards, thereby blending into the petal colour. Start your colour on one edge and let the blender carry the colour towards the other. I often start my colouring on the edge of the petal where I want to control the colour.
If you want white areas or the colour of your crepe paper to show through, don’t add the blender there and leave plenty of space. I find I always underestimate how much white space I have to leave. Say I wanted a thin white edge about 1/4” around the petals. I have to leave more than that in order to ensure the colours don’t seep into that space.
I hope this post helps get the gears in your mind churning! I think there’s definitely a time and place for Copic markers and if anything else, they’re great to have around for small details like lines and subtle shading.
WANT TO LEARN MORE?
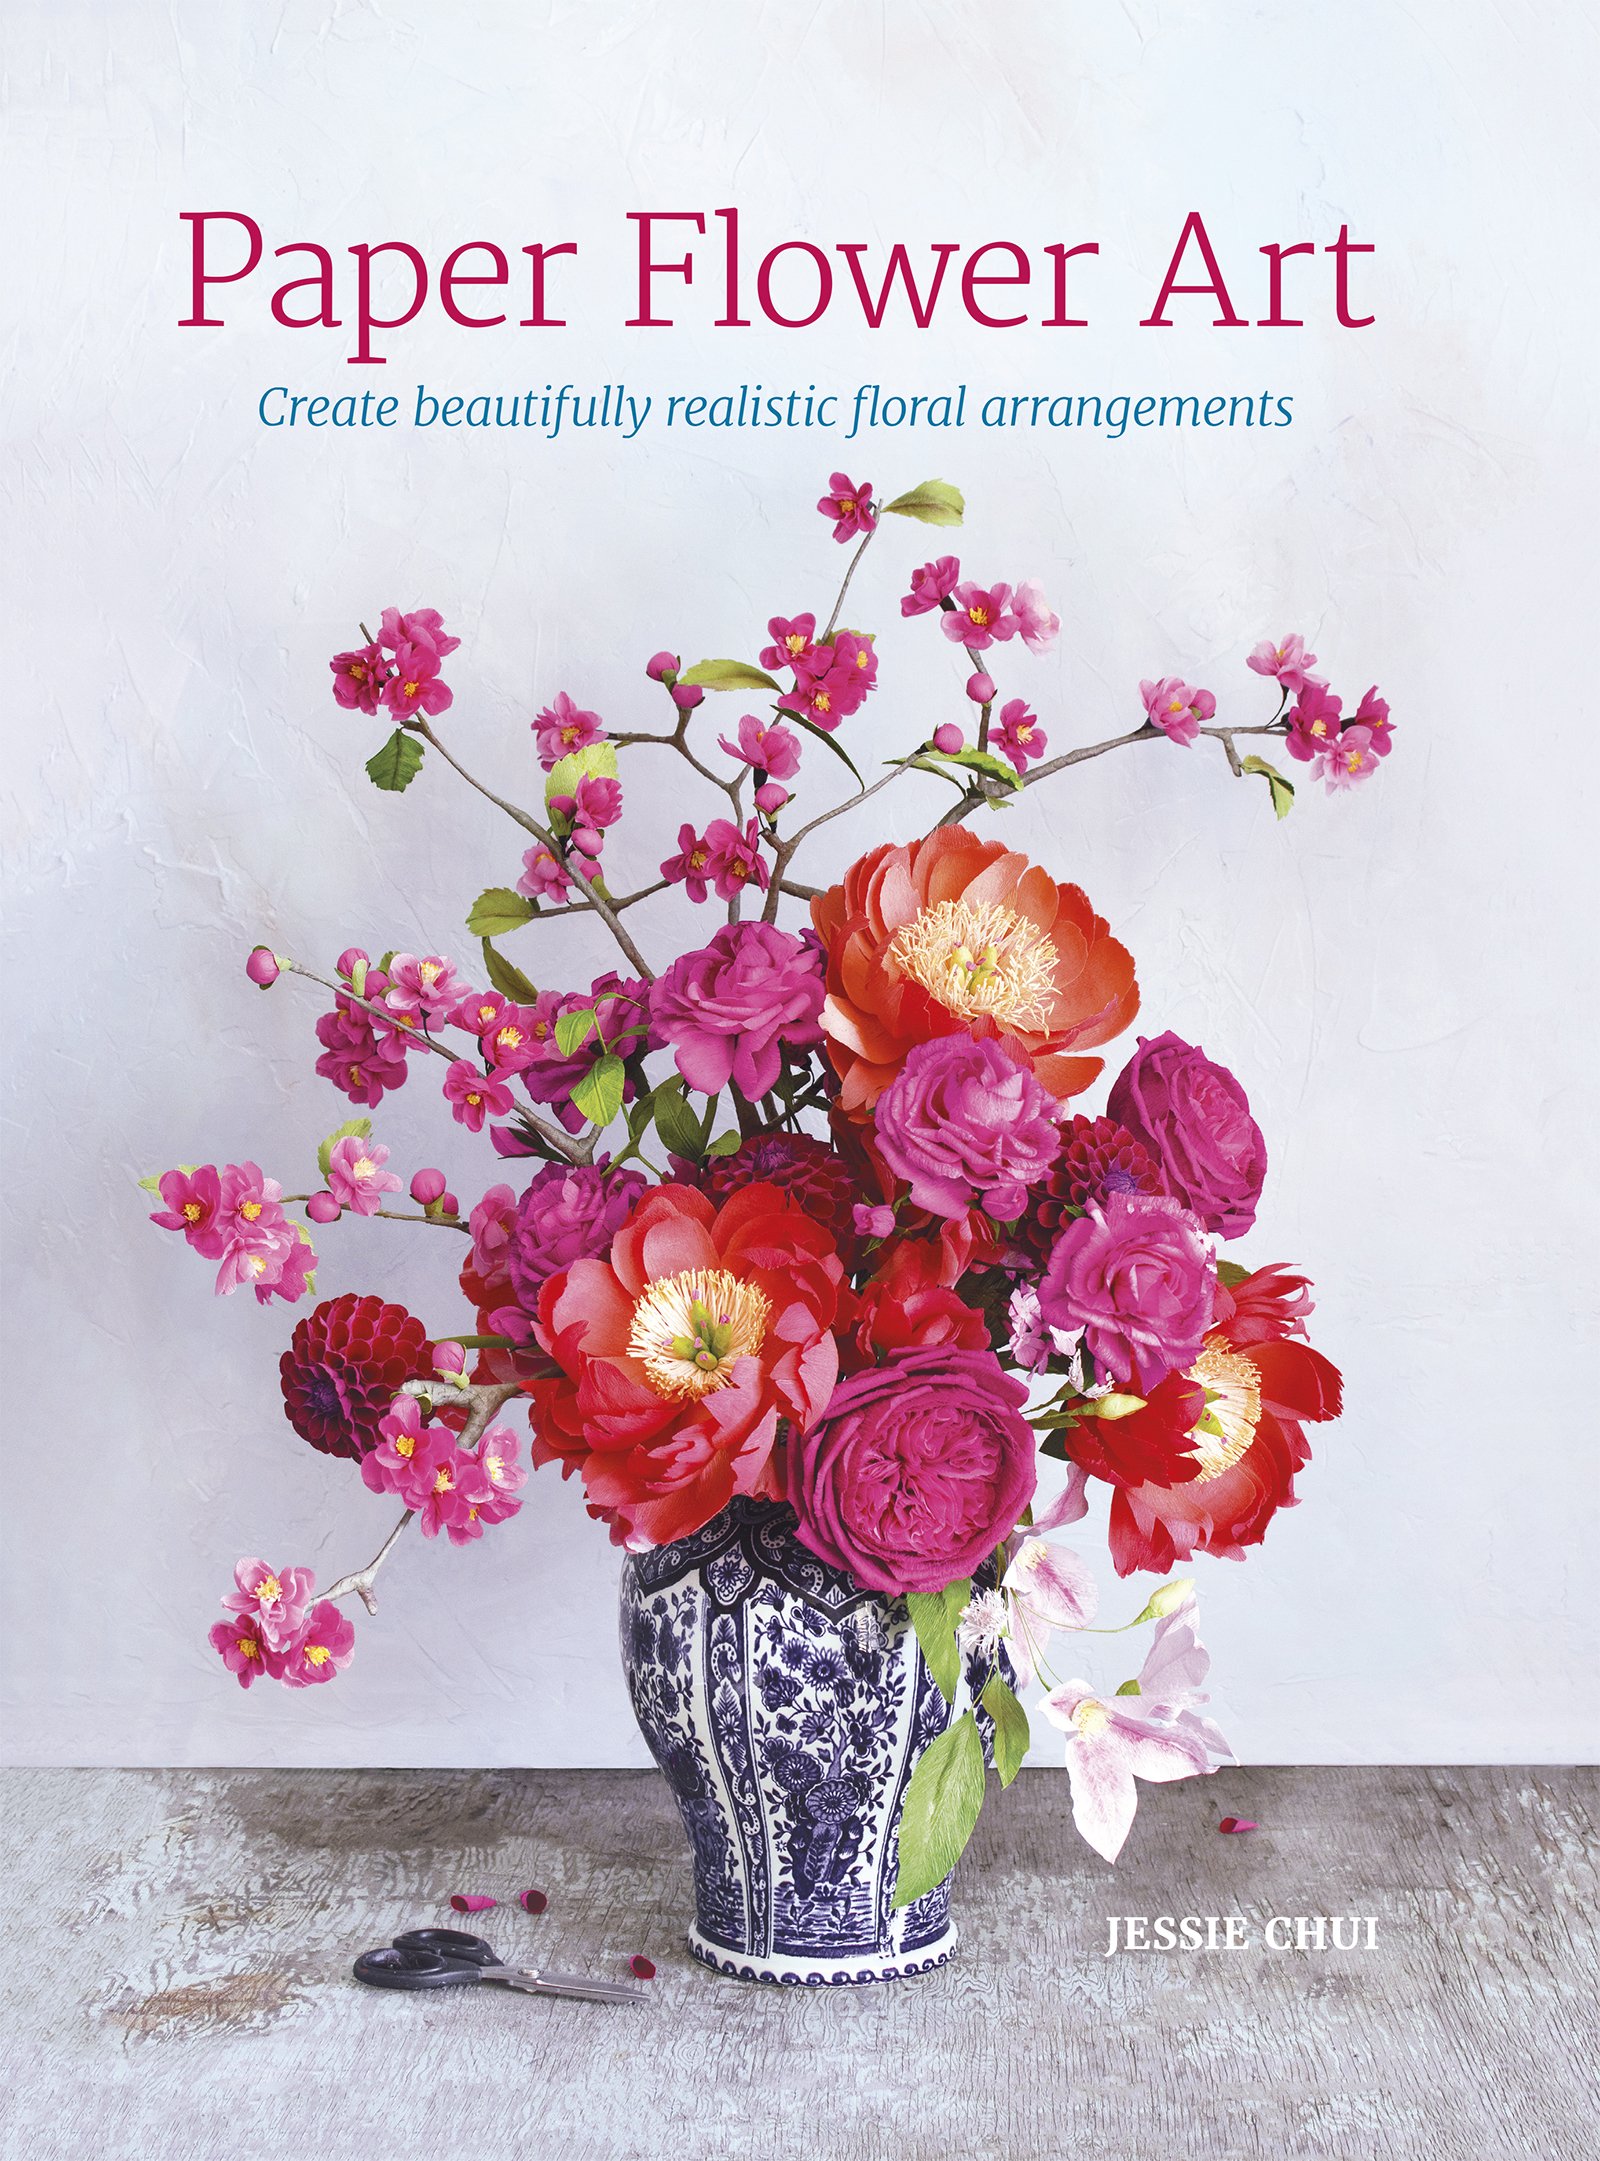
I share how I colour my crepe paper using various mediums before and after putting together the paper flowers in my book, Paper Flower Art (GMC, 2019) (BUY IN HARDCOVER or IN PAPERBACK) or head to my education website, CRAFTED TO BLOOM, for more in-depth learning.